Introduction

This guide will walk you through replacing the USB port on your childs Vtech InnoTab 3S.

  1. AN4NflwPOsSD2qge
    AN4NflwPOsSD2qge
    utWMswdXJoMSBmRY
    uyJpauGYyK1qLH6e
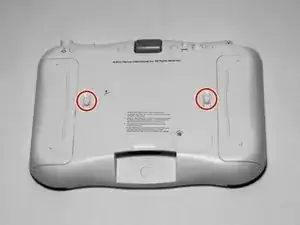
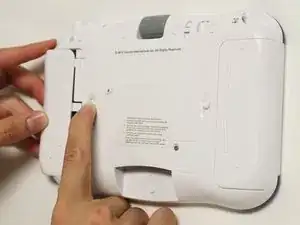
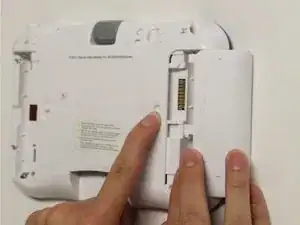
    • While holding the battery compartment locks down, slide the two battery doors outwards from the sides of the device.

    • Remove the batteries from the device.

  2. FQ2GMogw1xnN563s
    FQ2GMogw1xnN563s
    RNXSFJ4syuoZNyJt
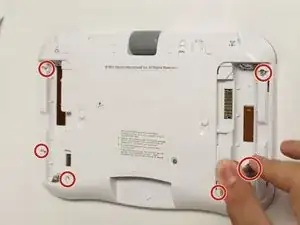
    • Remove six 7 mm screws from the interior of the battery compartment using a Phillips #1 screwdriver.

  3. aDIsGvdFQGA6eILY
    aDIsGvdFQGA6eILY
    bp5iJxHBppuBOL5W
    vHqdMPeaologKDOI
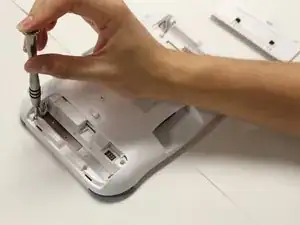
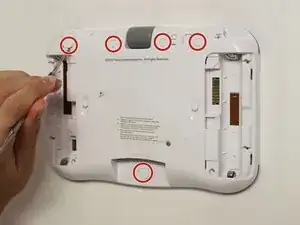
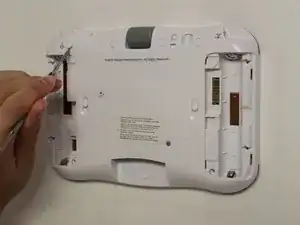
    • Using a nylon spudger, remove the five caps that hide the screws.

    • Potential for device damage: Be careful not to scrape the plastic from the device using the spudger.

    • When removing the caps, hold the spudger vertical to the board to make removal easier. Also try to push in with your spudger pointing towards the bottom of the device.

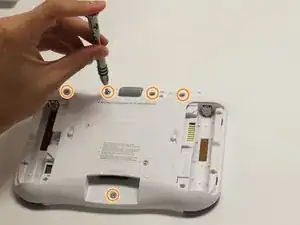
    • Remove the five 5 mm Phillips #1 screws from the rear panel of the device.

  4. hmkXcDRva6I6ngDt
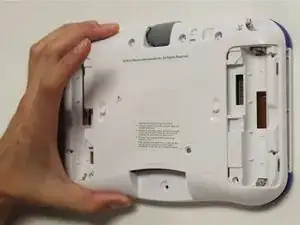
    • Carefully remove the rear panel from the front panel of the device.

    • Once the rear panel is removed, you'll be able to see the motherboard and other components within the Vtech InnoTab 3s.

  5. mWKCwtwvXiTeIymI
    mWKCwtwvXiTeIymI
    fH1LUgGl1sgu4dEM
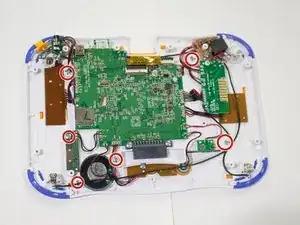
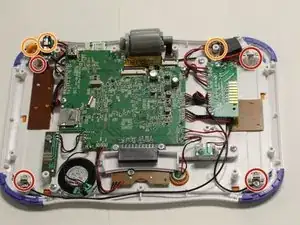
    • Remove the six screws that secure the motherboard to the front panel of the device using a Phillips #1 screwdriver.

    • Remove the other 5mm screws that secure the charger port and the buttons to the inside of the front panel.

    • Remove the six 3 mm screws securing the battery clip.

  6. UmHZvExiiaCaHjAX
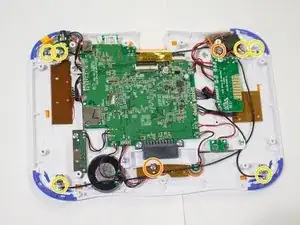
    • Using the tweezers, remove one battery clip from each corner (four total) of the Vtech InnoTab 3s.

    • With the tweezers, unsecure the charging port, headphone port, and the light switch button from the front panel of the device.

    • Potential for device damage: Avoid forceful movements when removing the motherboard to prevent damage of device components.

  7. FwVgG3vxlc3DPFbu
    FwVgG3vxlc3DPFbu
    mbPMKndouAm1qP4h
    byJlYTHRG2DIVLpU
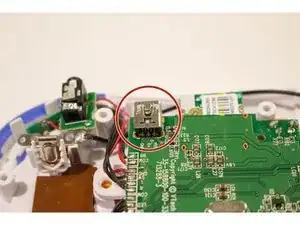
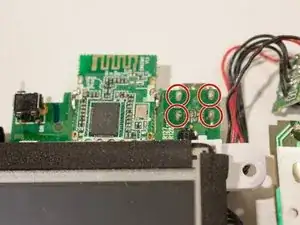
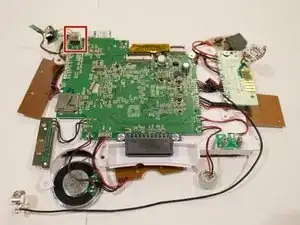
    • The mini USB port is located near the top of the device and is secured by four metal prongs underneath the port.

    • Facing the underside of the USB port, solder the metal prongs securing the USB port to the device.

    • Avoid forceful movements when soldering to prevent damage of device components and avoid personal injury.

Conclusion

To reassemble your device, follow these instructions in reverse order.
taweewatchulikavit

Member since: 27/08/15

341 Reputation

0 comments