Introduction
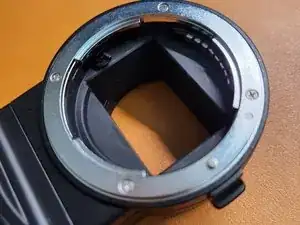
This mount is notorious for unreliability. I was able to pin point the problem of the mount losing connection with the body. This guide aims to help those who may have had this unreliable contact issue.
Also, be sure to try updating the firmware as well. At least, be warned that the 1.4 version (latest at the time of writing on Viltrox's website) bricked my mount. If that happens to you, reach out to Viltrox's support email and they'll send you a good file.
Some folks seem to have succeeded in updating the firmware so it may be hardware dependent.
-
-
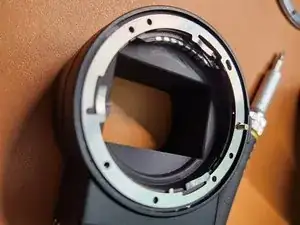
We'll first remove front Nikon lens facing plate first. Be sure to remember where the white dot is.
-
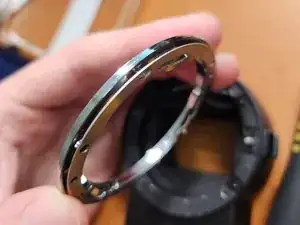
Be careful as you pull out the mounting plate and the washer behind it. Remember how it was attached.
-
-
-
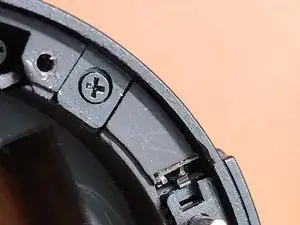
Unscrew the black screws behind the mounting plate and the washer.
-
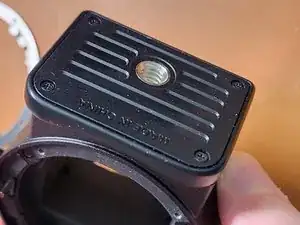
You'll also need to unscrew the bottom plate to release the black ring.
-
-
-
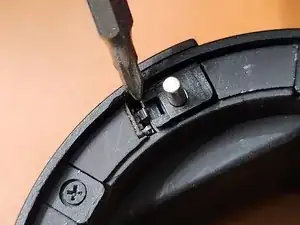
Sorry I missed some photo here but after you remove the black plate, you'll be able to pop out the mount lever and see the little flap where the tip of the screw driver in the photo is indicating. Add layers of tape to the lever where that will be contacting the flap.
-
It appears that the flap triggers "lock" position to the tiny PCB it is connected to. Making this flap more with thicker side of the lever seem to make it more reliable.
-
-
-
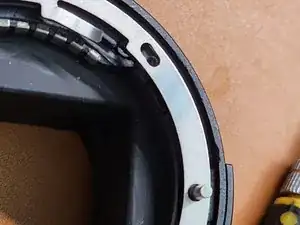
Take note of how the inner washer looks like. Bump on three sides will face inward. Also note where the mounting lever stick is "poking" through.
-
To reassemble your device, follow these instructions in reverse order.
One comment
Also, for anyone having trouble updating the mount with the firmware in Viltrox's website, reach out to their support and they'll give you a different firmware. I'll try to post it here as well. (NOTE: it seems some folks were able to update their firmware so there may be different versions of the mount and this may or may not work. This method worked for me, however).
fyun89 -
