Introduction

Use this guide to remove and replace the button and circuit board used for taking photos

  1. ttHgOHJPcuWKTAqG
    ttHgOHJPcuWKTAqG
    Qr5DhOVnqCdOOSuk
    • Remove batteries and SD card before beginning disassembly!

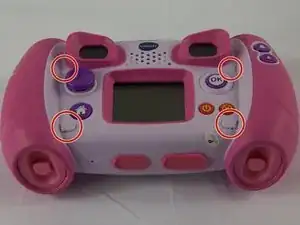
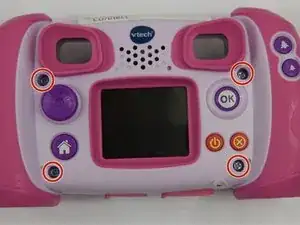
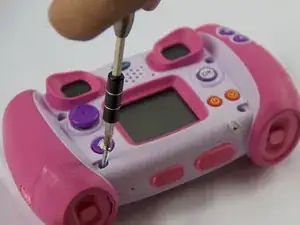
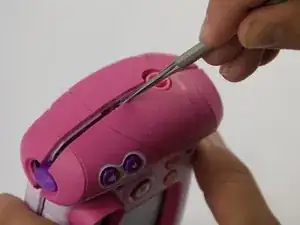
    • Locate the four plastic screw covers denoted by the markers and gently pry them up with the metal spudger.

  2. 2NoP4FUGLRFawiQu
    2NoP4FUGLRFawiQu
    iwYraI3XsRLfUTS5
    • Remove all four (11mm) screws with the Philips #0 screwdriver.

  3. kQUQy2GGQ5GbYjB4
    kQUQy2GGQ5GbYjB4
    63OOcLgW21ZNiDl1
    XLpqsQHGNswud26t
    • Remove the two battery cartridges located on the underside of the camera.

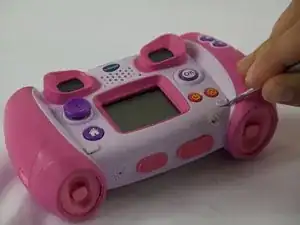
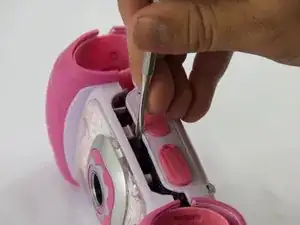
    • Once cartridges are removed, use the metal spudger to pry open the top, bottom, and both sides of the camera.

  4. 23tCpqYTQ4OAc2lc
    • Beware of the two black viewfinder lens falling out as you pry open the device!

    • The device should now be open and ready for further repair and/or replacement parts.

  5. vmiyUqlhokIo2JWd
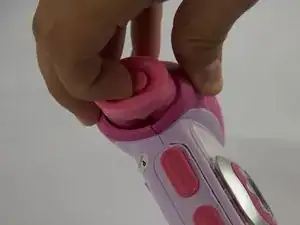
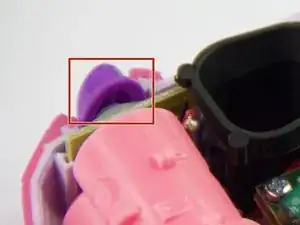
    • Remove the purple plastic that covers the button and circuit board. It should slide right out from the slot it sits in.

  6. hFtsPxMYfRjXoZH3
    • Unsolder wires connected to the right side of the circuit board. Pull the wires to the side.

  7. cHt55VVryTyiOZJl
    cHt55VVryTyiOZJl
    HkrWj4TfJaPQgdvV
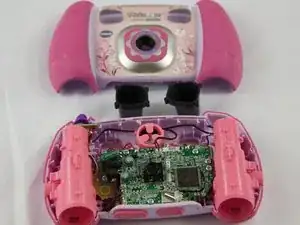
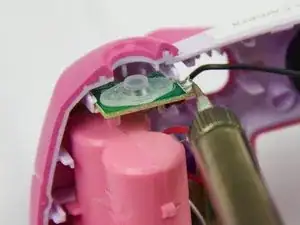
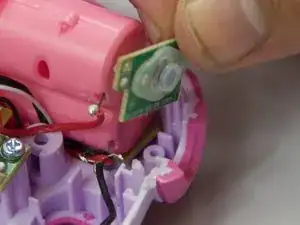
    • The button/circuit board should be loose now. Gently pull out the button/circuit board to remove it from the device.

Conclusion

To reassemble your device, follow these instructions in reverse order.

Justin Sanchez

Member since: 08/02/16

520 Reputation

0 comments