Introduction

The battery may sometimes malfunction in a device and may need to be replaced for the device to function again.

  1. udhIuANoONOQDryl
    • Make sure that the master power switch is set to the (O) position.

  2. OEPKJLlVKQEplYbY
    • Using a plastic opening tool, gently pry off the circular plating over the camera lens.

    • The circular plating is held by a mild adhesive. It will not be necessary to replace this adhesive during the reassembly process.

  3. bEVFeBR4cCunaMgj
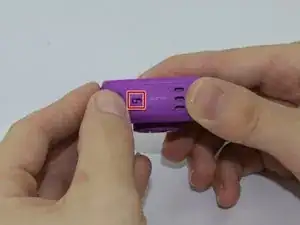
    • Use a #0 screwdriver to remove the two 2.5mm Phillips head screws located on the second layer of plating.

    • Remove the second layer of plating previously held down by the screws by gripping it with your fingers and pulling upward.

    • As there will be many screws being removed from the device, we recommend using a magnetic device such as the iFixit Magnetic Project Mat.

  4. tKAOXvUQM2gdaSSD
    • Pry off the transparent plating and paper design using a plastic opening tool.

  5. W1boYlpJOiKw1quT
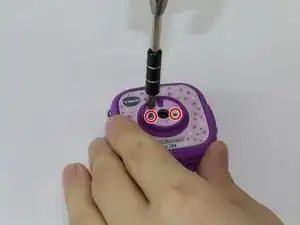
    • Unscrew the (4) 2.5mm Phillips head screws from the third layer of plating using a #0 screwdriver.

  6. QIUi4REf4NsbfqZt
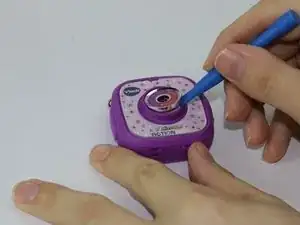
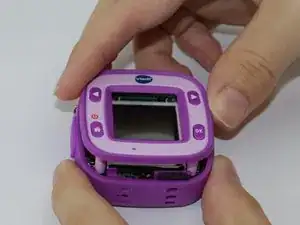
    • Turn the camera around and gently remove the plating that surrounds the LCD screen by grasping it with your fingers and pulling away from the device.

  7. sL1aEpysAnr2WJXZ
    sL1aEpysAnr2WJXZ
    3JJ2XNXM1EQCYqh5
    EIxrE2CHSPZuegyO
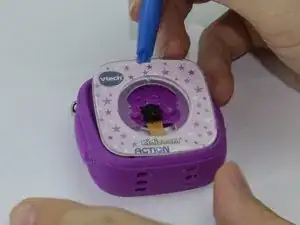
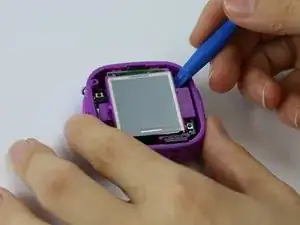
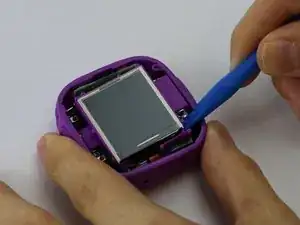
    • Use the plastic opening tool to lift the LCD screen, including the purple casing and set it aside, revealing the motherboard and connector ribbon.

    • Exercise caution while performing this step, as any excessive pulling may tear the connector ribbon from the motherboard.

    Step 7 should read: Unsecure camera lens from front of device using plastic lifting tool by gently separating adhesive. Remove LCD screen and mother board assembly by gently lifting mother board out with plastic lifting tool. Adhesive on speaker may need to be loosened to allow mother board assembly to lift easily out. Use caution not to damage camera ribbon cable as it feeds through slot in front of device. Battery is located on rear of mother board.

    T. Ryan -

  8. krUkSdsSaXuCZQnU
    krUkSdsSaXuCZQnU
    UKTLa6rXPXiKNvLR
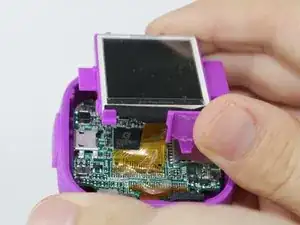
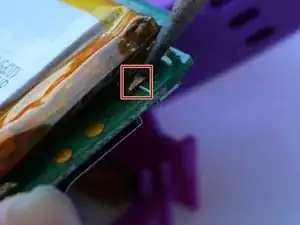
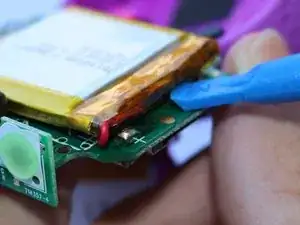
    • Use the soldering iron to unsolder the battery wires connected to the motherboard by reheating the existing solder.

    • Do not cut the two wires at the same time as this can result in shocks.

    • Soldering Iron will be very hot and can be dangerous to touch.

  9. PPKPGwEZulCfsHPR
    • Gently lift the battery away from the motherboard using a plastic opening tool.

    And then what????

    Alixandra Salmond -

Conclusion

To reassemble your device, follow these instructions in reverse order.

Ross Anderson

Member since: 10/02/16

630 Reputation

2 comments

Where will get new batteries for same.

Niketan Naik -

Where does one buy a replacement battery? And what type of battery is it?

clemsontiger04 -