Introduction

Tired of sound not working with headphones plugged into your VTech InnoTab 2. Then follow our quick guide to walk you through replacing a headphone jack on your VTech InnoTab 2.

Please note that this guide requires soldering. For more information on how to solder and desolder connections, please visit this guide.

  1. mdB3C5aOUVtD2DY5
    mdB3C5aOUVtD2DY5
    AMETR5aYq2kYuWGG
    LQjVpgPuiNGIBUee
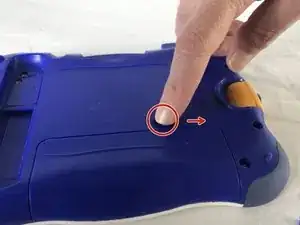
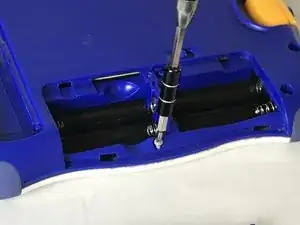
    • Apply slight pressure and slide the button above the battery cabinet to the right to open.

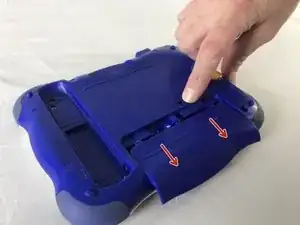
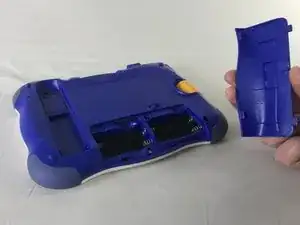
    • Remove battery cabinet cover by sliding away from the center of device.

    • This device requires 4AA batteries to function without the AC adaptor.

  2. QPPu1ckejP1dcuse
    QPPu1ckejP1dcuse
    hVCr5cjZE4LbKrsd
    OV3SCELOwINWmIU5
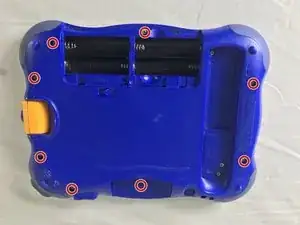
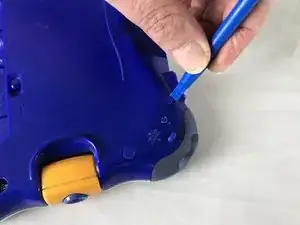
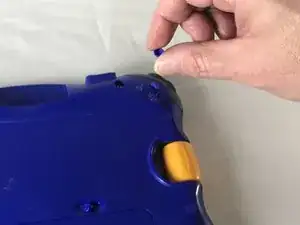
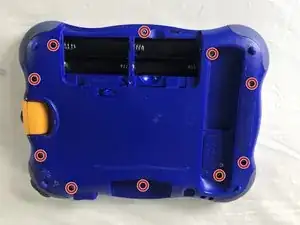
    • Remove all nine plastic caps from the back of the device using the plastic opening tool.

    • These covers are made of hard plastic so they may be difficult to remove.

  3. NqA1XCSnOtJ53uMM
    NqA1XCSnOtJ53uMM
    qDHUHFJC3nLpEDMv
    QtOCZ1AXedbikuAo
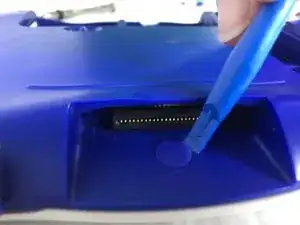
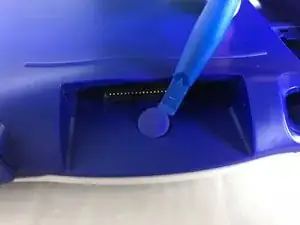
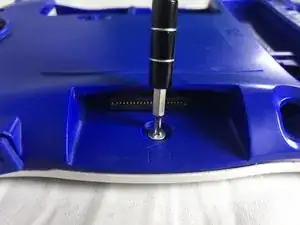
    • Remove the hard rubber tab located by the cartridge slot using the plastic opening tool.

    • Be careful not to apply excessive force.

    • Once the rubber tab is removed unscrew the single 7 mm screw using a J0 screwdriver.

  4. qOA515sf22CJckEO
    qOA515sf22CJckEO
    ku2al1gu1IQdlwjP
    • Remove all ten 7mm screws from the back panel of the device using a JO bit screwdriver.

    • Do not use excessive force while removing the screws to prevent damaging the plastic case.

  5. roFZaPf4FaH3Um4I
    roFZaPf4FaH3Um4I
    mIIV3UQcMa2yN6E2
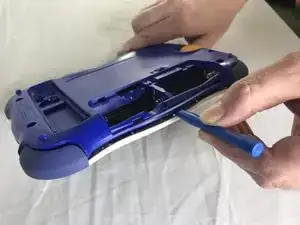
    • Using the plastic opening tool, detach the back plate from the front piece.

    • Do not use excessive force. If the back plate does not gently come on double check that all screws were removed.

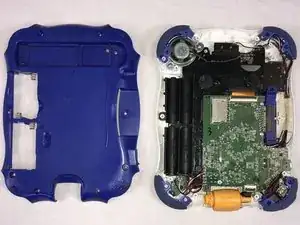
    • Once the back panel is removed, you will be able to see the motherboard and other components within the device.

  6. 4kmbIKkH11yay3S5
    4kmbIKkH11yay3S5
    HkL6YMsNEjRLxkAC
    jVQRN2ZgnnHaJOgK
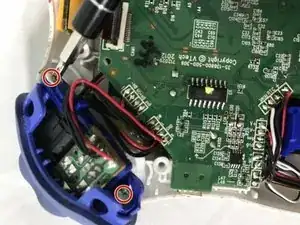
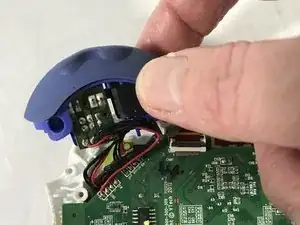
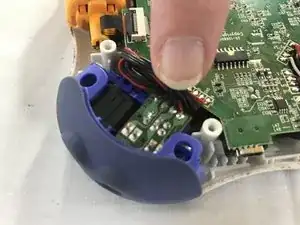
    • Remove the two 7 mm screws from the left bumper of the device using a JO screwdriver.

    • Be careful not to pull to hard when removing the bumper to avoid damage to the circuit.

  7. SbMWlhJLPCNLhOdr
    SbMWlhJLPCNLhOdr
    dZZHLarLNoSWjj6L
    px2FKF1appISmY6R
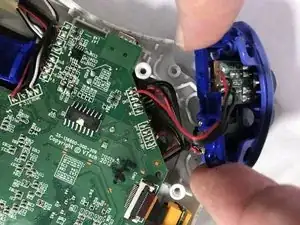
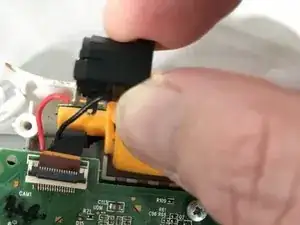
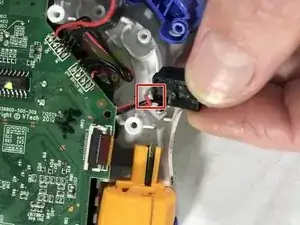
    • Use your fingers to gently remove the headphone jack.

    • De-solder the points shown to fully remove the headphone jack from the motherboard.

    • A soldering guide offered by IFIXIT can be found here Soldering Skills

Conclusion

To reassemble your device, follow these instructions in reverse order.
Roberto Valdes

Member since: 18/10/17

302 Reputation

0 comments