Introduction

This guide will explain how to replace the camera in this tablet. If there is any confusion about removing the battery, see the battery replacement guide.

  1. DAcEiWcbFYjOdwLP
    DAcEiWcbFYjOdwLP
    AX6HnoHtdZZ5Dj2d
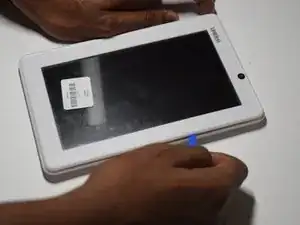
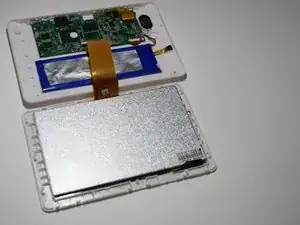
    • Use a plastic pry tool to separate the two halves of the tablet.

    • Make sure to be gentle with the pry tool and work your way around the edges of the tablet slowly.

    • Make sure the tablet is powered off before prying open.

    • There are two power ribbons connecting the screen to the back of the tablet. Make sure not to put too much stress on them.

  2. TS3gGAtBpPNsU2yv
    TS3gGAtBpPNsU2yv
    oT3EDrINpQ2dBVe2
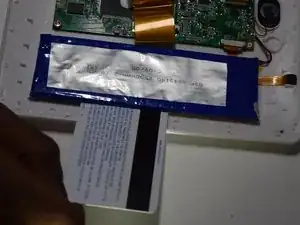
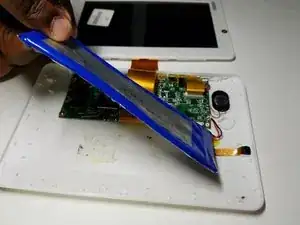
    • Use a credit card to lift the battery off the back of the tablet.

    • Do not put any pressure on the motherboard or any other internal components.

    • The battery is glued onto the back of the tablet so make sure to apply as much pressure as needed

  3. LwIDmqZplUTyFjb4
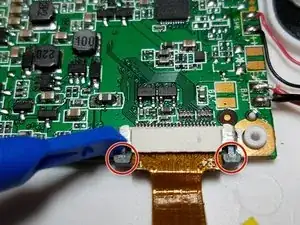
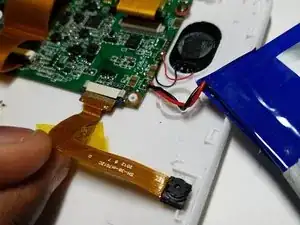
    • Undo the clips off the power ribbon connecting the camera to the motherboard using the blue pry tool.

  4. plGG1m6IDUcr65bu
    plGG1m6IDUcr65bu
    FTHLARDTVVGCGD1I
    4ddpkO6syfcEWHch
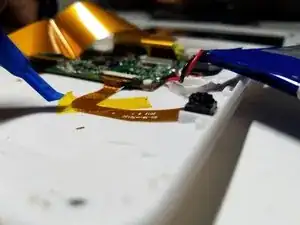
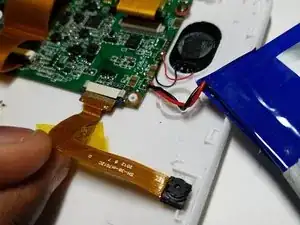
    • Use the pry tool to remove the yellow tape from the power ribbon connected to the camera.

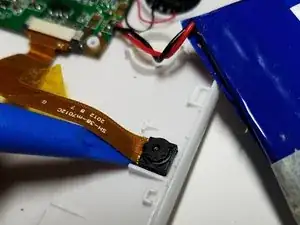
    • Place the plastic pry tool under the camera component and lift it off the tablet.

Conclusion

To reassemble your device, follow these instructions in reverse order.
Ryan Jewell

Member since: 20/10/16

422 Reputation

0 comments