Introduction

Replacing the battery on this tablet is a fairly simple process. This guide will explain the process step-by-step.

  1. RyFNTKtiENllXP51
    RyFNTKtiENllXP51
    NKFX4EMAcHO653xL
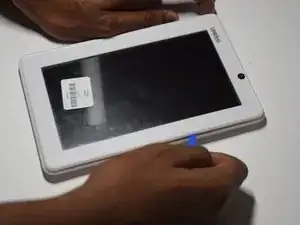
    • Use a plastic opening tool to undo the clips that attach the two halves of the tablet.

    • Be gentle with the pry tool and work your way around the edges of the tablet slowly.

    • Make sure the tablet is powered off before prying open.

    • There are two power ribbons connecting the screen to the back of the tablet. Make sure not to put too much stress on them.

  2. ChGT4ODQABWln4Vj
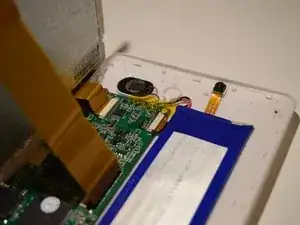
    • Lift off the tape that holds the speaker wires to the battery

    • Leave the tape off to the side

  3. gTERfGBOZCoCZADc
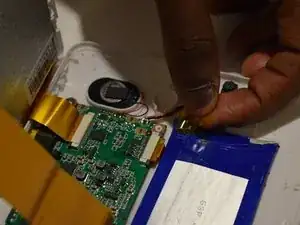
    • Use a soldering tool to disconnect the two wires (red and black) that connect the battery to the motherboard

    • Note the placement of each colored wire in the motherboard

    • If you have no experience in soldering, please follow this guide

  4. C4EvujloNM2YCxMA
    C4EvujloNM2YCxMA
    mZmi4NwtGxeUs3HK
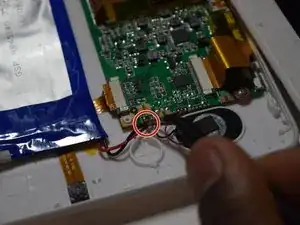
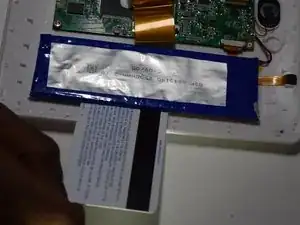
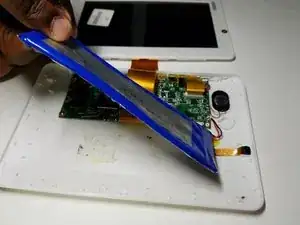
    • Use a credit card to lift the battery off the back of the tablet

    • Do not put any pressure on the motherboard or any other internal components.

    • The battery attached to the back panel with adhesive. You may need to use a heated iOpener to loosen the adhesive and remove the battery.

Conclusion

To reassemble your device, follow these instructions in reverse order.
Ryan Jewell

Member since: 20/10/16

422 Reputation

0 comments