Introduction
This is a prerequisite-only guide! This guide is part of another procedure and is not meant to be used alone.
Tools
-
-
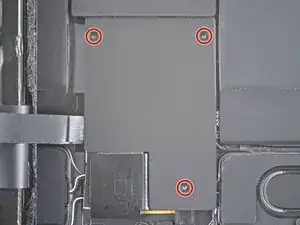
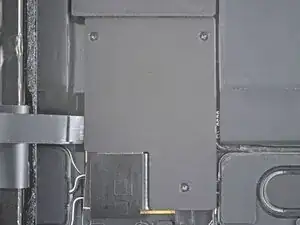
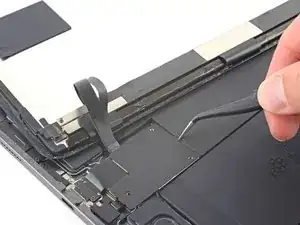
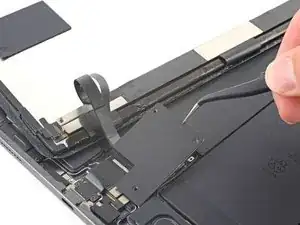
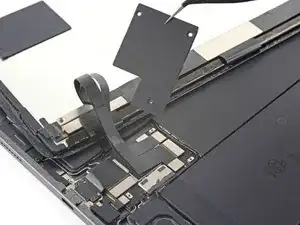
Use a Phillips screwdriver to remove the three 1.2 mm screws securing the lower cable shield to the logic board.
-
-
-
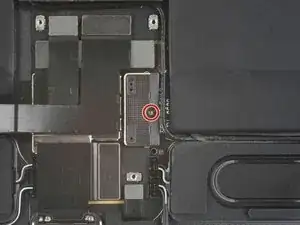
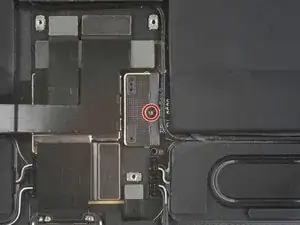
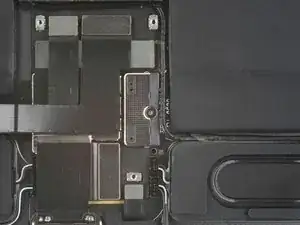
Use a Phillips screwdriver to remove the 1.8 mm screw securing the battery connector to the logic board.
-
Conclusion
To reassemble your device, follow these instructions in reverse order.
