Introduction
Do you have any broken umbrellas at home? If you do not want to throw them away, we can make these umbrellas work functionally!
If you have lost or broken the tail beads of an umbrella, use this guide to learn how to replace them.
Tail beads are very important parts of an umbrella, which connect the metal ribs, making the fabric of the umbrella secure.
By following this guide, you will not only save money, you will also contribute to the sustainability of your outdoor furnishings. Repairing and replacing individual components allows you to extend the lifespan of your umbrella, reducing waste and minimizing your environmental footprint.
Before using this guide, inspect if other parts work well (e.g., metal ribs). If not, please finish repairing the metal ribs first.
Be aware that Step 1 includes using measuring tape and Step 4 includes using sewing pins that are sharp and could cause minor injuries.
Tools
-
-
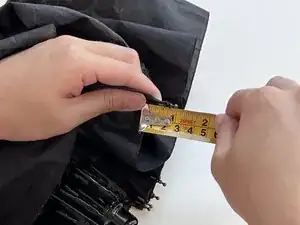
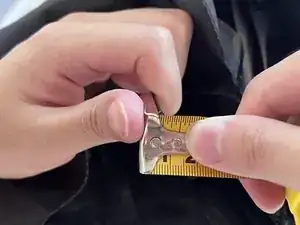
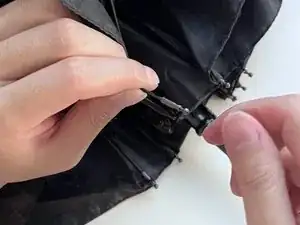
Get a tail bead with a similar length to the original beads with a diameter a little bit bigger than the metal ribs.
-
-
-
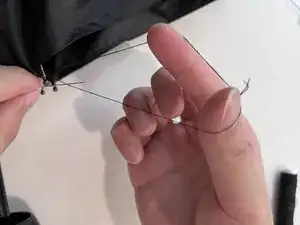
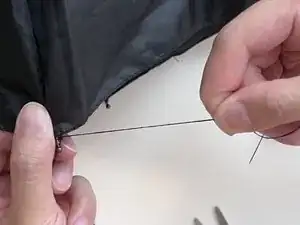
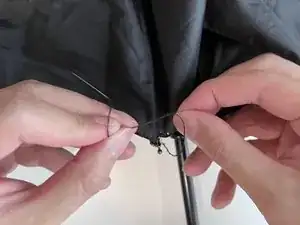
Loop the thread through a needle and tie it together. (Ensure the knot is tied.)
-
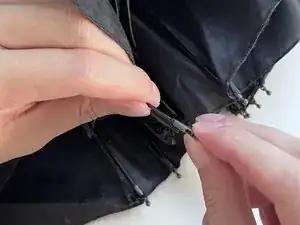
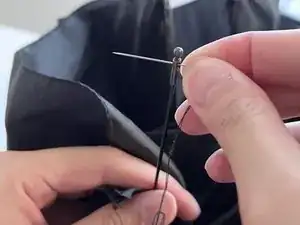
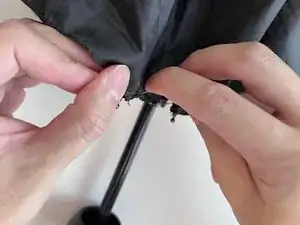
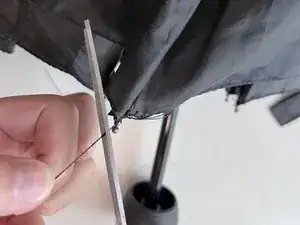
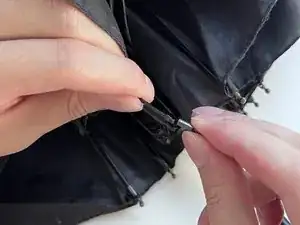
Push the needle to go through the holes, and then go through the fabric of the umbrella (Pic. 2). At the same time, hold the other side of the thread to avoid fraying.
-
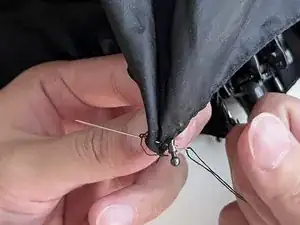
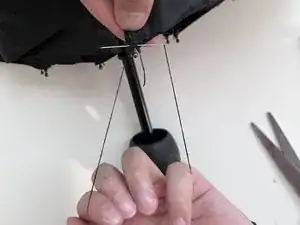
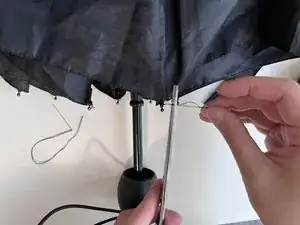
Open the tied knot side of thread (Pic. 3), allowing the needle to go through the center.
-
-
-
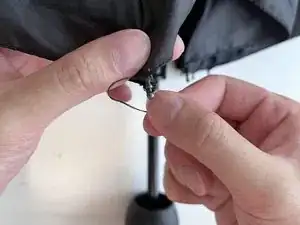
When the needle goes through the center, pull the thread, and allow the tied knot to close and stick in the tail bead.
-
Make a right-to-left stitch, allowing the needle to go through the fabric and holes again. You can make the same stitch in the same way 4 to 5 times.
-
-
-
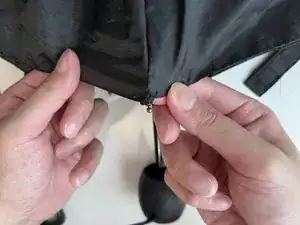
After sewing, let the thread wrap around the tail bead a few times.
-
Tie the two sides of thread, making 2-3 knots.
-
Use scissors to cut off the thread on the needle side.
-