Introduction

Removing the camera should not be difficult task, but you should use caution and make sure not to interfere with any of the cables and such in the way of the camera.

  1. QwkPnA3AZKiGZGxp
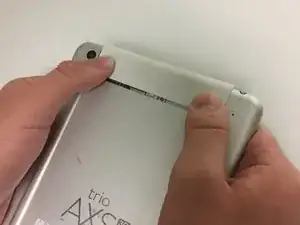
    • On the back of the device there is a white SD card case that shelters the screws that attach the back panel to the tablet.

    • Use your thumbs to slide up and off the small SD card case.

  2. G5fPVJA3koLYE5Ii
    G5fPVJA3koLYE5Ii
    wwM4BRGNpJLNKWwG
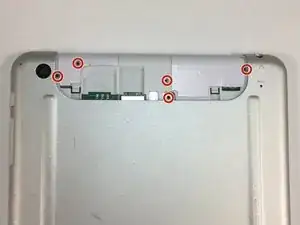
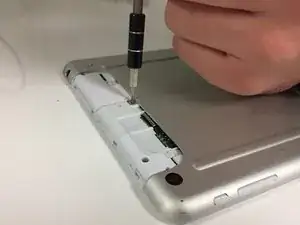
    • Using the Phillips Head #000, unscrew the 5 4mm and 3mm screws at the top.

  3. IAopWVlpFNRVH5f5
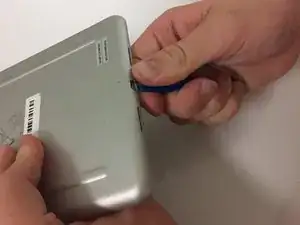
    • Insert a plastic opening tool between the back panel and the front of the tablet, and gently pry it away from the tablet.

    • Do not pry too hard as the screen is fragile and might crack.

    • It is best to start at the bottom of the tablet when prying the back panel off.

    • The volume piece will also dislodge when the back panel is removed.

  4. 6HShnWJ3uD6Yp1pI
    6HShnWJ3uD6Yp1pI
    iacr6VcDMkRgZ4yd
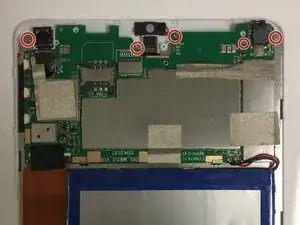
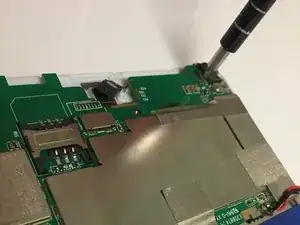
    • Unscrew 5 #000 4 mm and 3 mm screws around the strip.

  5. BAPWUb1KZKhgLaCq
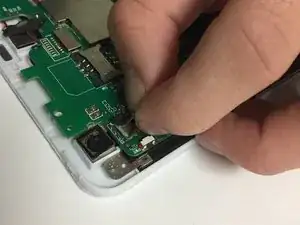
    • Undo the tape on top of the connector from the camera to motherboard.

  6. a6HOwixb1DxDsAFA
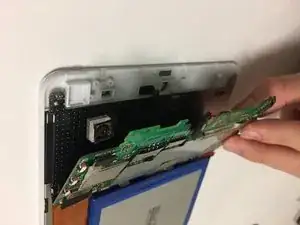
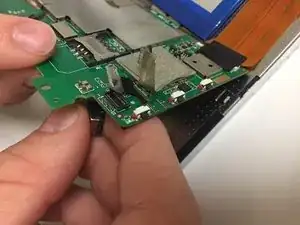
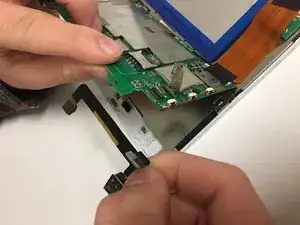
    • Slightly lift up the motherboard.

  7. eRHuKA6p6AHFBIP6
    eRHuKA6p6AHFBIP6
    YkXfHmSiDwYekMNp
    • Disconnect the camera from the motherboard on the topside and pull the camera strip out.

Conclusion

To reassemble your device, follow these instructions in reverse order.

Javoy Ross

Member since: 20/09/17

316 Reputation

One comment

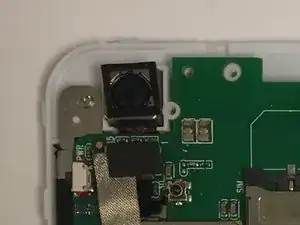
Where can I get the camera?
Amanda Springsteen -