Introduction
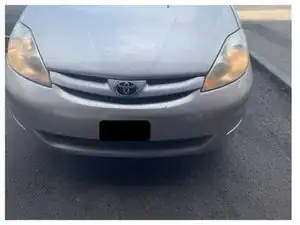
This is a guide on how to replace a 2009 Toyota Sienna headlight. The only part you need is a replacement lightbulb, which can be found at any local auto store. This repair is needed since blown out lightbulbs is a very common issue in cars. Doing the replacement yourself can save you money compared to taking your vehicle to a mechanic. However, making mistakes or damaging parts due to lack of guidance can end up costing you more in the long run. A guide helps you avoid costly errors.
Parts
-
-
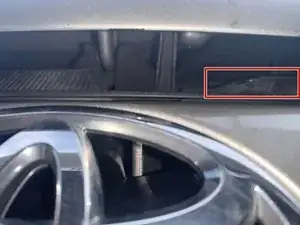
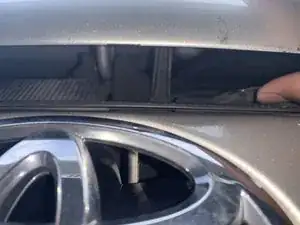
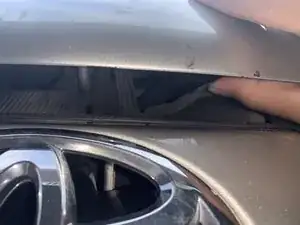
Now that you have unlocked the hood, locate the latch on top of the logo to fully release the hood.
-
Once found, lift the latch upwards and you have now freed the hood.
-
-
-
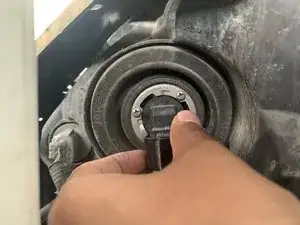
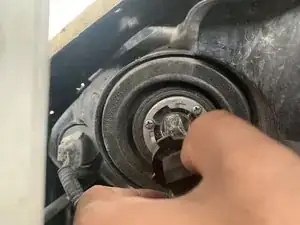
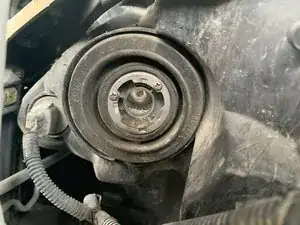
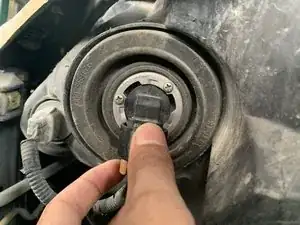
Locate the lightbulb by locating the access compartment.
-
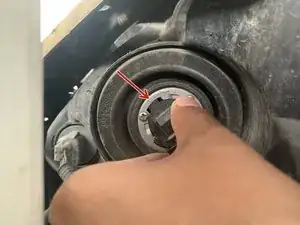
Once located, twist the compartment counter-clockwise and pull to free the lighbulb.
-
The plastic holding the compartment in place should appear in the gap shown in the picture.
-
-
-
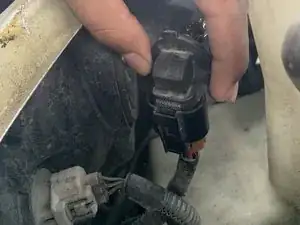
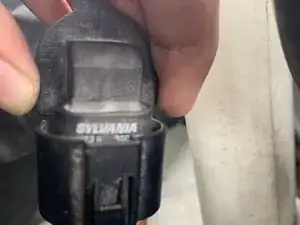
Turn the back of the bulb connector towards yourself, and prepare to remove the clasp, freeing the bulb.
-
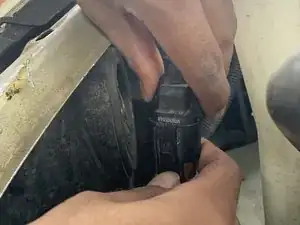
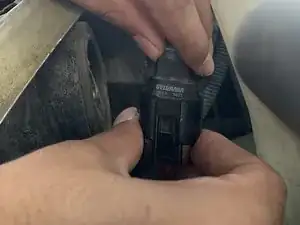
In order to free the bulb, press firmly on the clasp, and pull with enough force to pull it out, but not enough to break it.
-
-
-
Once you have the new lightbulb ready, it is time to put everything back together.
-
Simply press the new bulb into where the old one was, making sure it is locked into the clasp.
-
-
-
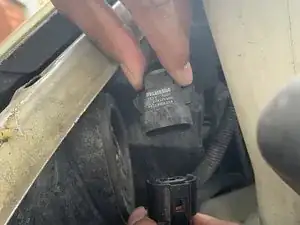
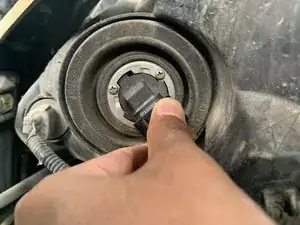
Line the connector with the empty point of where it is supposed to be locked in.
-
And this time, twist it clockwise to lock it into place.
-
To reassemble your device, follow these instructions in reverse order.
