Introduction
This guide will show you how to replace your front camera.
Tools
-
-
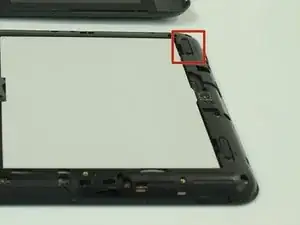
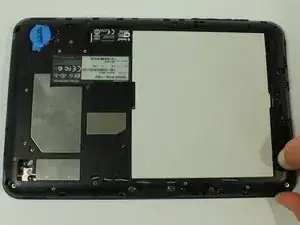
Make sure the lock switch for the back cover is unlocked.
-
The cover is unlocked when the switch is slid in the direction of the 'unlock' icon.
-
-
-
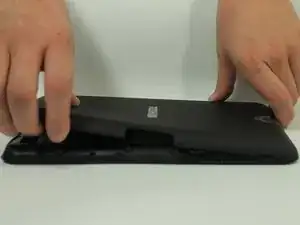
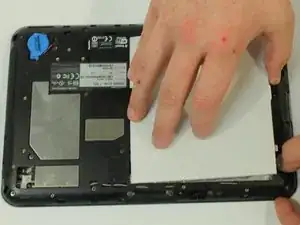
Remove back cover by prying away from the Thrive.
-
The easiest place to pry from is one of the two speakers.
-
-
-
To remove the battery, make sure the lock switch is in the unlocked position.
-
The battery is unlocked when the switch is slid to the unlocked position.
-
-
-
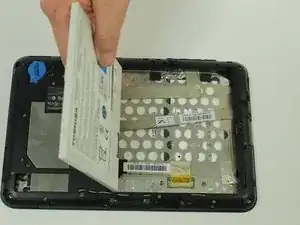
Slide the battery switch release to the right.
-
While holding the switch in place, lift up the battery.
-
-
-
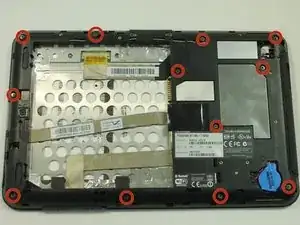
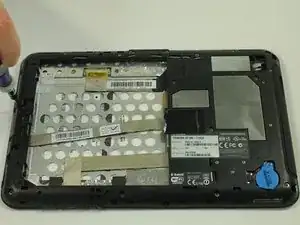
Start by using a screwdriver to remove the 12 screws holding on the back cover. The screws are 5mm in length and require a PH0 screwdriver.
-
All of these screws are identical so don't worry about getting them mixed up.
-
-
-
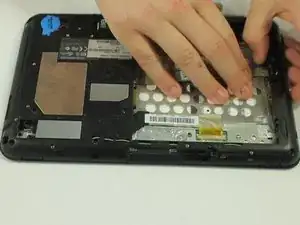
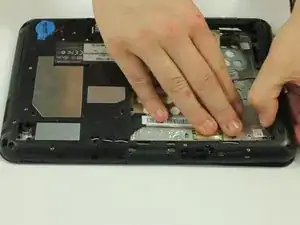
Start to gently pry the back of the device off, while leaving it loosely in place.
-
Be careful not to tear or damage the cables when removing the back.
-
-
-
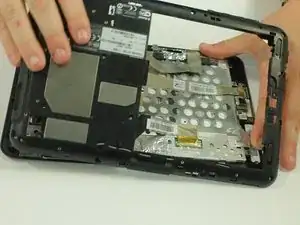
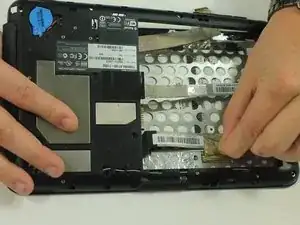
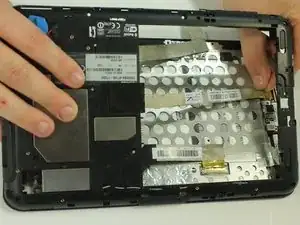
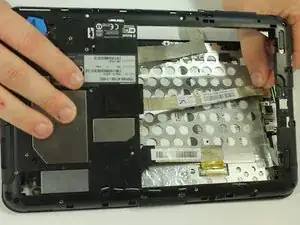
Once the back of the case is off, disconnect the wires by gently pulling on the plastic tabs as shown.
-
-
-
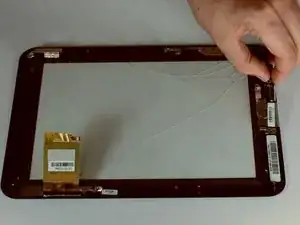
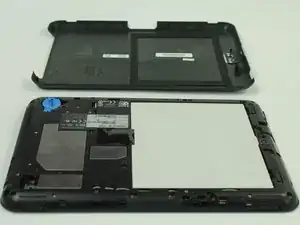
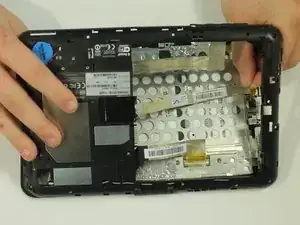
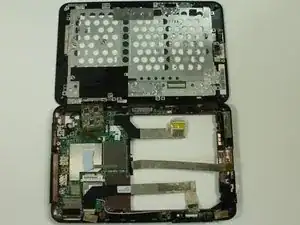
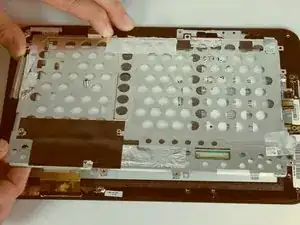
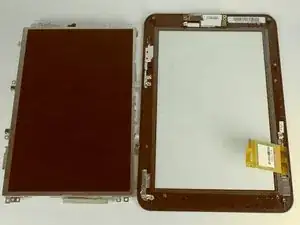
Separate the two halves of your Thrive
-
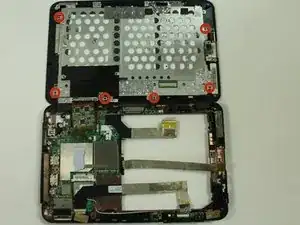
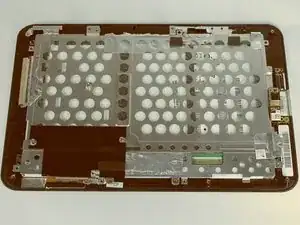
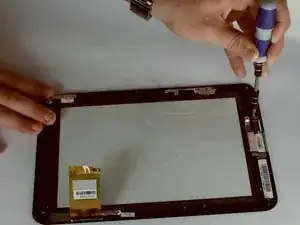
Using a Phillips screwdriver, remove the six screws holding the LCD in place. These screws are 3mm in length and require a PH0 screwdriver.
-
-
-
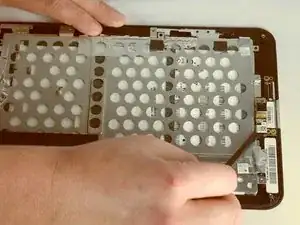
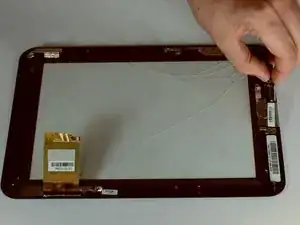
Remove the one screw holding the camera in place. The screw is 3mm in length and requires a PH0 screwdriver.
-
Lift up the camera from the screen.
-
To reassemble your device, follow these instructions in reverse order.
