Introduction
The keyboard requires more disassembly than what may seem obvious, Luckily, this laptops keyboard is one piece and easily replaceable.
Tools
-
-
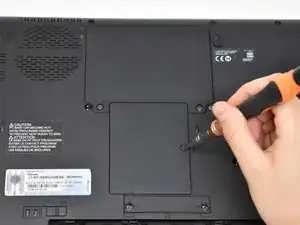
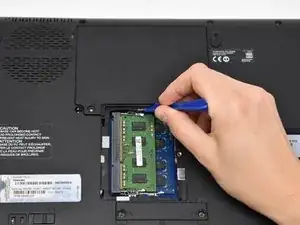
Unscrew the single screw on the RAM access panel using a Phillips #0 screwdriver.
-
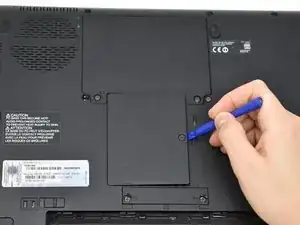
Use a plastic opening tool to pry off the access panel.
-
-
-
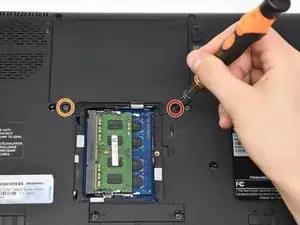
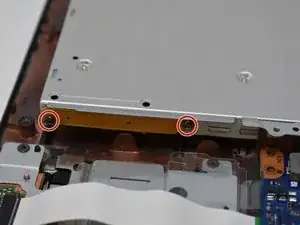
Remove the 11 mm screw from the right side of the hard drive access panel using a Phillips #0 screwdriver.
-
Remove the 3.5 mm screw from the left side of the access panel using a Phillips #0 screwdriver.
-
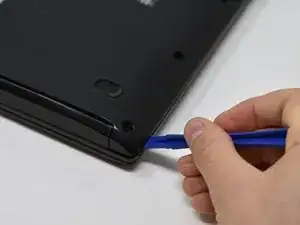
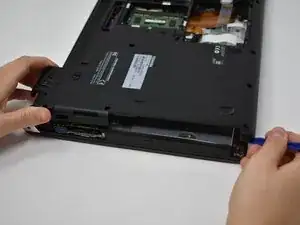
Use a plastic opening tool to pry off the access panel from the bottom.
-
-
-
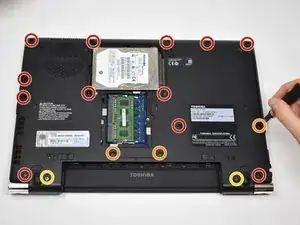
Remove twelve 5.5 mm screws from the main back cover using a Phillips #0 screwdriver.
-
Remove three 11 mm screws from main back cover and mini access panel using a Phillips #0 screwdriver.
-
Remove two 9.5 mm screws from the main back cover using a Phillips #0 screwdriver.
-
-
-
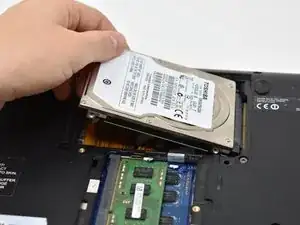
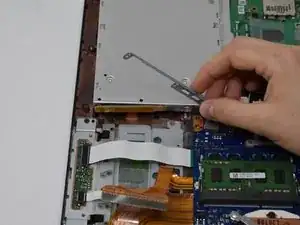
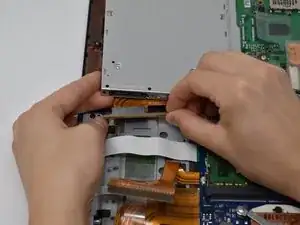
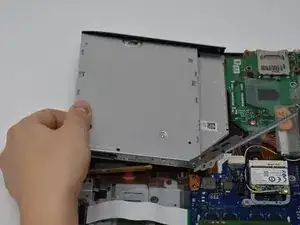
Lift the hard drive out of the access panel.
-
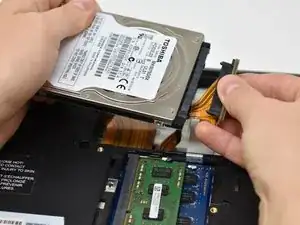
Disconnect the SATA connector from the hard drive by pulling straight out.
-
-
-
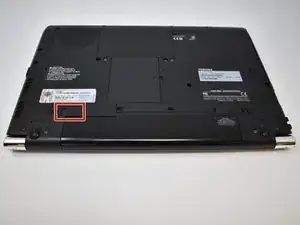
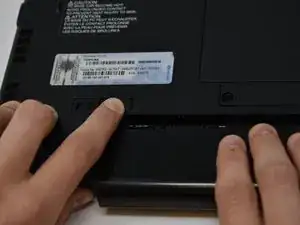
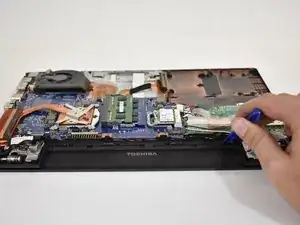
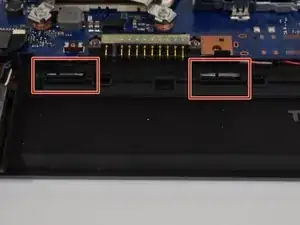
Move the 4 small tabs, that are placed along the empty battery space, in the direction of where the battery pack would be. They should stay unhooked without having to hold them.
-
-
-
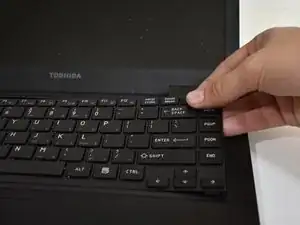
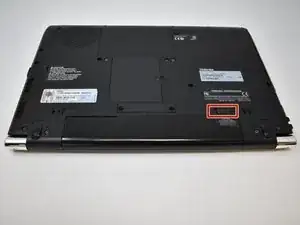
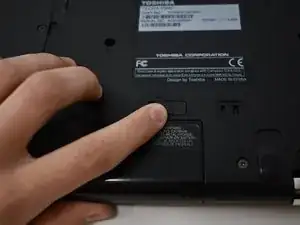
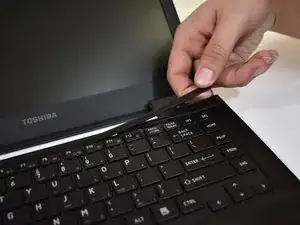
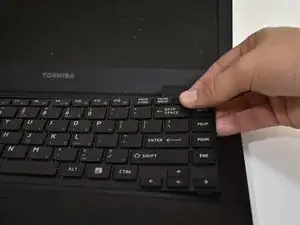
Turn the computer over again and press down on the metal notch. This will push the keyboard out of its place.
-
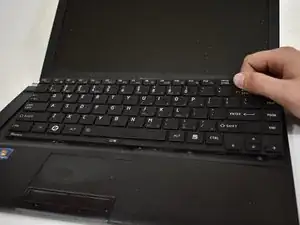
Once you can get a firm grasp on the keyboard make small motions side to side and pull it out of place.
-
-
-
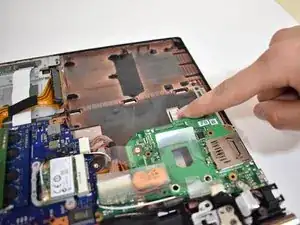
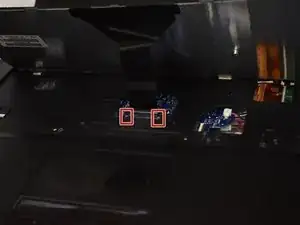
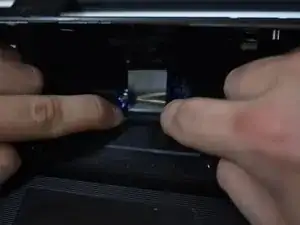
Push the two tan brackets towards the back of the computer, and safely pull out the connector ribbon.
-
To reassemble your device, follow these instructions in reverse order.
2 comments
To replace the keyboard you only need to remove one screw (marked KB) on the underside of the laptop. The keyboard can then be easily removed by taking off the plastic bezel by the top row of keys and unclipping from there. Literally a 5 minute job without the need to fully disassemble.
Bravo! You are 100% right
Thanks to your advice, I got rid of unnecessary and unnecessary disassembly work.
