Introduction
The function of the keyboard is to allow you to type on the computer. Sometimes it can break and need to be replaced.
Tools
-
-
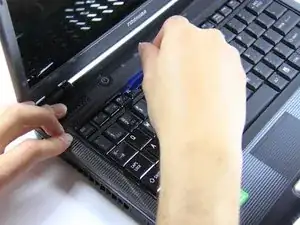
Situate the laptop so that it is open and the display is facing you.
-
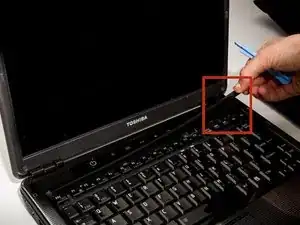
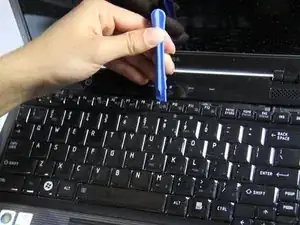
Use the plastic opening tool to pry the black plastic insert upward. The insert can be found at the top of the keyboard.
-
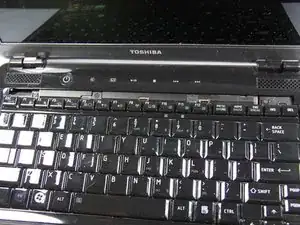
Once the insert is loose, carefully remove it from the device.
-
-
-
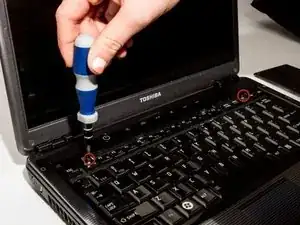
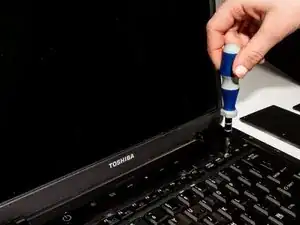
Using #1 Phillips Screwdriver, remove both of the 5 mm screws that are located beneath the insert.
-
-
-
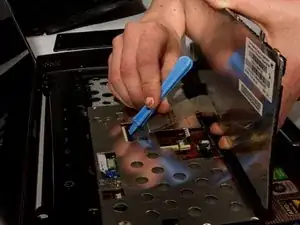
Lift up the gate on the ZIF socket to release the ribbon.
-
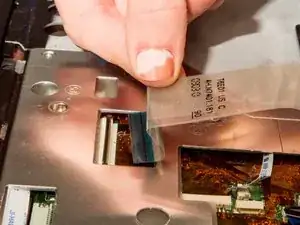
Ease the ribbon connecting the keyboard to the motherboard out of the ZIF socket.
-
Conclusion
To reassemble your device, follow these instructions in reverse order.

