Introduction
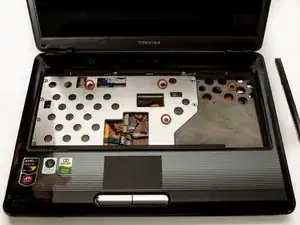
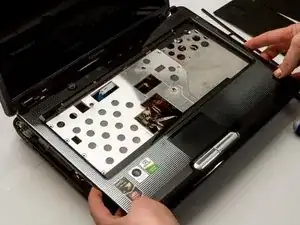
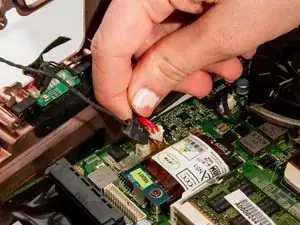
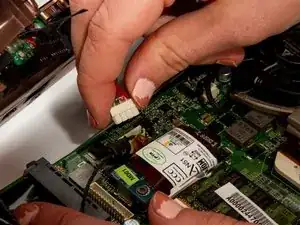
The faceplate is the area next to the keyboard that protects the inside parts of the device. Sometimes it may need to be taken off to repair other parts. This guide will show how to remove it.
Tools
-
-
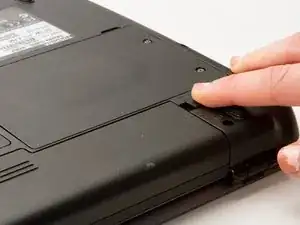
Turn the laptop over.
-
Slide back the left lock, and you should hear a click when it is successfully locked back in.
-
-
-
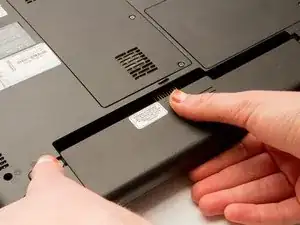
Rotate the laptop 180 degrees so that the battery is near you.
-
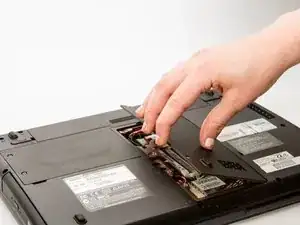
Hold back the spring slide and pull the battery out.
-
-
-
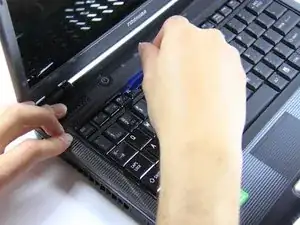
Situate the laptop so that it is open and the display is facing you.
-
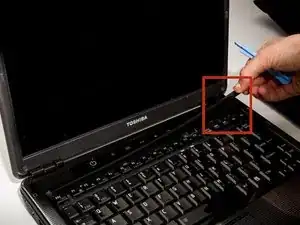
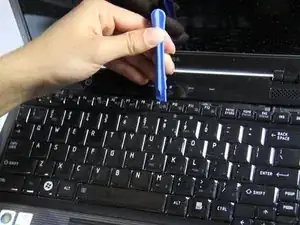
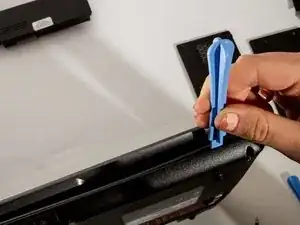
Use the plastic opening tool to pry the black plastic insert upward. The insert can be found at the top of the keyboard.
-
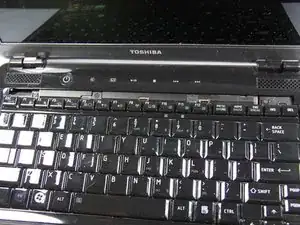
Once the insert is loose, carefully remove it from the device.
-
-
-
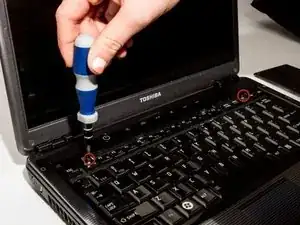
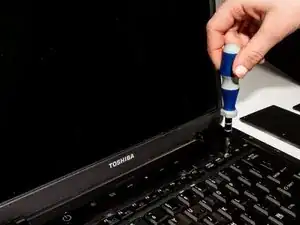
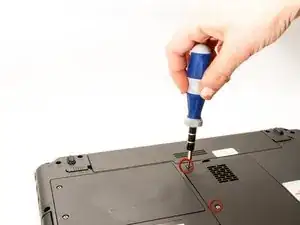
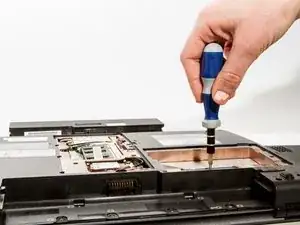
Using #1 Phillips Screwdriver, remove both of the 5 mm screws that are located beneath the insert.
-
-
-
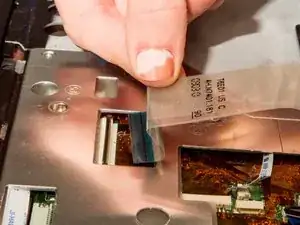
Lift up the gate on the ZIF socket to release the ribbon.
-
Ease the ribbon connecting the keyboard to the motherboard out of the ZIF socket.
-
-
-
With the keyboard removed, locate the marked screws.
-
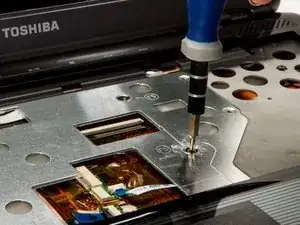
Remove the marked, 5mm screws using the #1 Phillips Screwdriver.
-
-
-
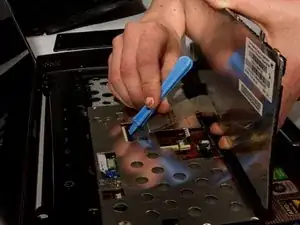
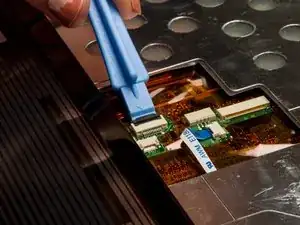
In the opening above the mouse pad, use the plastic opening tool to push up the black gate of the ZIF socket.
-
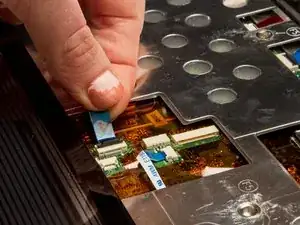
Remove the ribbon from the ZIF socket.
-
-
-
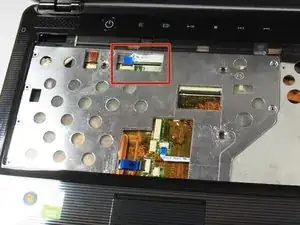
Locate the wide opening at the top near the screen.
-
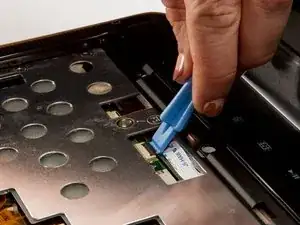
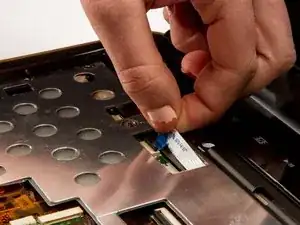
Use the plastic opening tool to open the black ZIF socket.
-
Remove the blue ribbon.
-
-
-
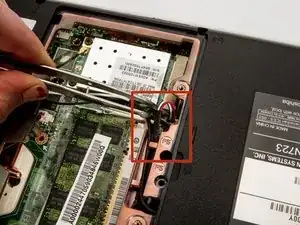
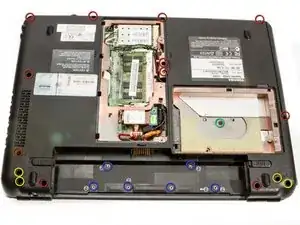
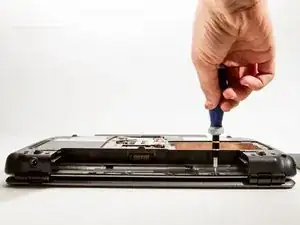
Remove screws for back assembly.
-
11 x F5 (5 mm #1 Phillips)
-
6 x F2 (2 mm #0 Phillips)
-
4 x F8 (8 mm #1 Phillips)
-
1 x F3 (3 mm #1 Phillips
-
-
-
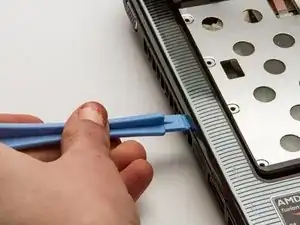
Use the plastic opening tool to separate the top faceplate.
-
Carefully lift the faceplate off of the base by sliding the plastic opening tool around the outside of the device. You'll hear clicks as you do this.
-
To reassemble your device, follow these instructions in reverse order.
