Introduction
Tools
-
-
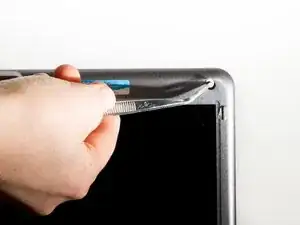
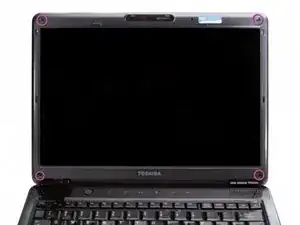
Use tweezers to remove the small rubber covers over the screws on the top and bottom of the laptop case.
-
-
-
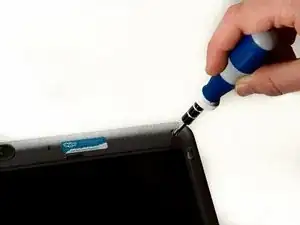
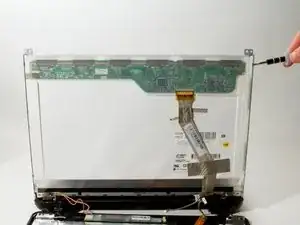
Use a #1 Phillips screwdriver to remove the 3mm screws located on both sides of the top of the laptop as well as the lower corners.
-
-
-
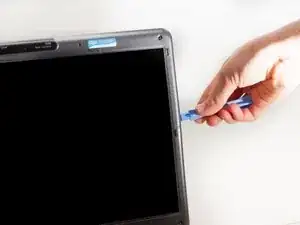
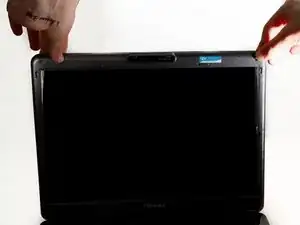
Use a plastic opening tool to separate the front plastic panel from the back side of the top of the laptop.
-
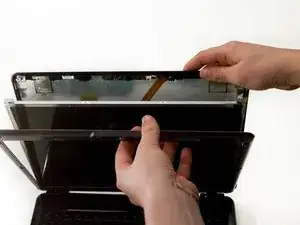
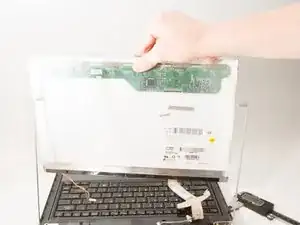
Carefully pull the top away from the back.
-
-
-
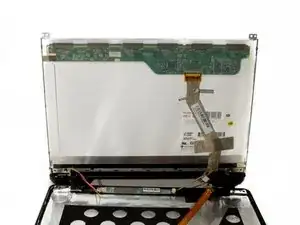
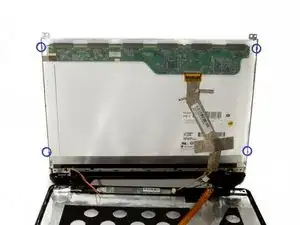
Carefully remove the screen from the side brackets.
-
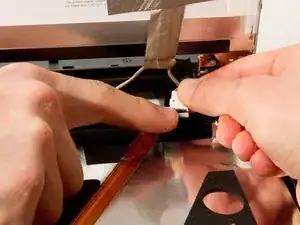
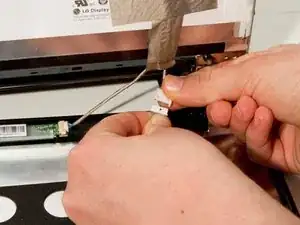
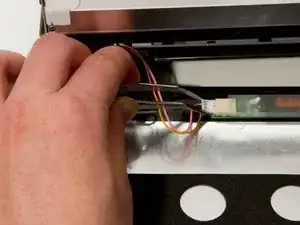
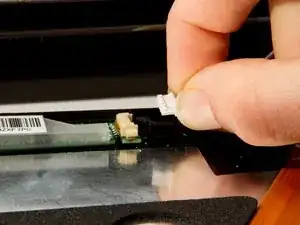
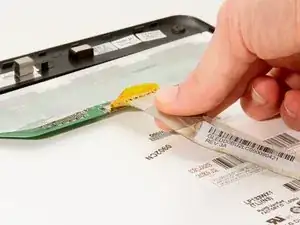
Remove the LCD ribbon connector from the display.
-
Conclusion
To reassemble your device, follow these instructions in reverse order.
