Introduction
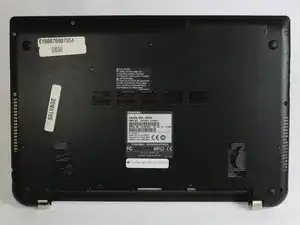
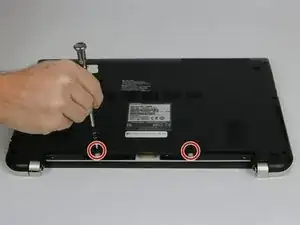
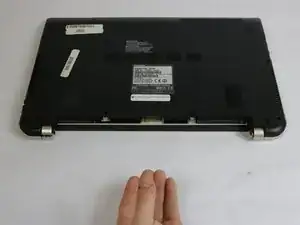
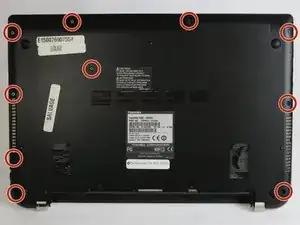
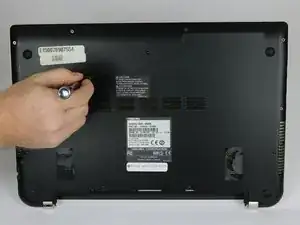
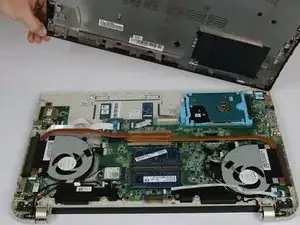
The bottom cover will need to be removed in order to access replaceable parts inside of the laptop. This is a simple process that requires the removal of ten easily removed screws in addition to the battery removal.
Tools
-
-
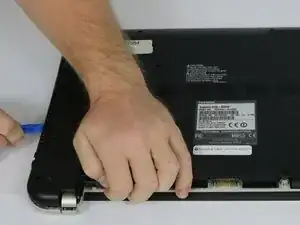
Wedge the tip of a plastic opening tool between the back cover and the metal frame.
-
Twist the plastic opening tool, while wedged, in order to release the retaining tabs from the frame.
-
Repeat these steps in a circular pattern around the laptop to release all retaining tabs.
-
-
-
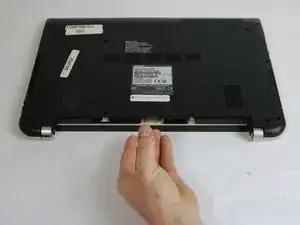
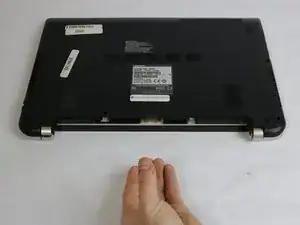
Once all retaining tabs are released from the frame, you can pull up on the back cover to remove it.
-
Conclusion
To reassemble your device, follow these instructions in reverse order.
