Introduction

Use this guide to remove the Toshiba Satellite P55t-A5116 Keyboard.

  1. CADLvF5LdkXipRSr
    CADLvF5LdkXipRSr
    wts6drfPDYm2lJ4I
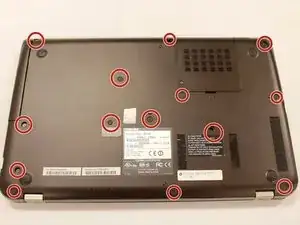
    • Close laptop and turn it upside down

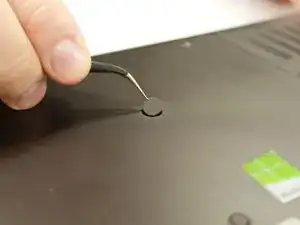
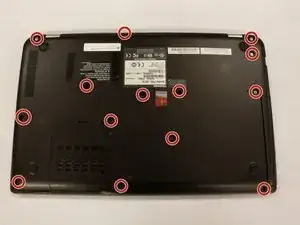
    • Remove the 14 circular rubber covers with tweezers along with one smaller more cylindrical rubber cover.

  2. THlrAcKoxvU2OKvH
    THlrAcKoxvU2OKvH
    bbVIAQOKKVIPOmmJ
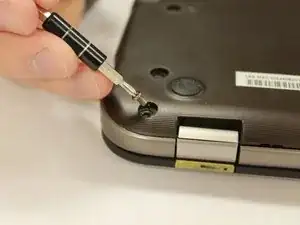
    • Using the #PH0 screw head, remove 14 (5.7 mm) screws from the back casing.

  3. j13kleImC3UAxvqp
    j13kleImC3UAxvqp
    oxSsXPVEeFRRsNIL
    vKamp5fhccpD6QGg
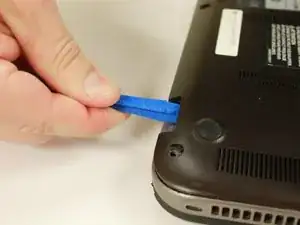
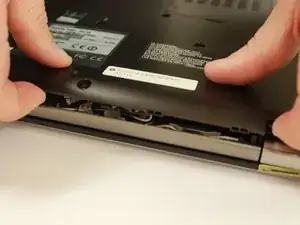
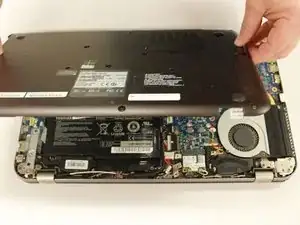
    • Gently pry off the bottom case with the plastic opening tools.

    • Find the seam between the back case and the rest of the laptop casing.

    Great write-up of process, BUT VERY IMPORTANT step to insert after Step 3: With the back off, you will have access to the wide ribbon cable for the keyboard.  See the 2nd and 3rd photos in Step 17 below.  Before doing anything else, flip up the ribbon clamp and remove the ribbon.  Inspect the underside (electrical contact side) of the cable and blow out the connector.  Carefully fully reinstall ribbon cable, but before clamping top back down, pull cable out about the width of a hair.  Then push clamp down.  This will allow tiny pins to contact a fresh spot on the exposed runs.  Then test.  This 100% fixed multiple problems with my keyboard without doing anything else (after buying a new keyboard, now just a spare…)  and saved a TON of time and trouble.  I think some people replace the keyboard and think this is what fixed it, but doing the above would have worked.  I suspect after a few years some galvanic corrosion develops that affects the tiny connections.  This makes new connections which work perfectly.

    Steve Chamberlin -

  4. I5gLh2ODsiHqqXqk
    I5gLh2ODsiHqqXqk
    faNbALwQqpuKePRa
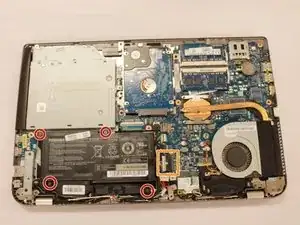
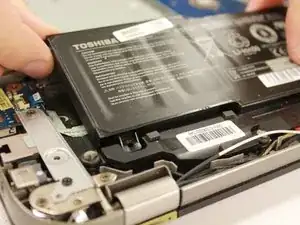
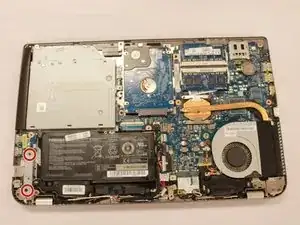
    • Use the #PH0 screw head, remove 4 (5.7mm) screws.

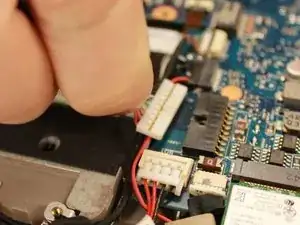
    • Unplug the battery's 10 pin connector and gently lift the battery out of the laptop.

  5. EYQMPWEw2xF5GgTL
    • Gently remove battery from the laptop.

  6. OmSLoF6JToNatPMl
    OmSLoF6JToNatPMl
    A46T21fZVKrPsFiC
    XBUfrildS3DCNmkV
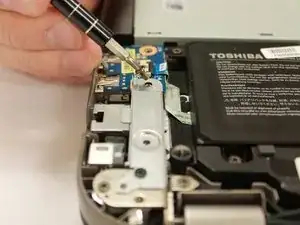
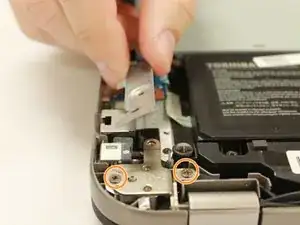
    • Using the #PH0 screw head, remove 2 (5.7 mm) screws.

    • Remove metal plate.

    • Using the #PH0 screw head remove 1 (5.7mm) screw and 1 (4.15mm) screw.

  7. ZtObhK1CS1vCvmCX
    ZtObhK1CS1vCvmCX
    pBlypVBYmvesDoUG
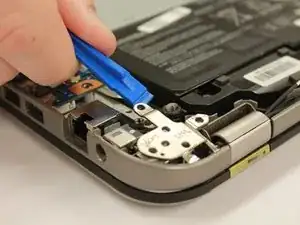
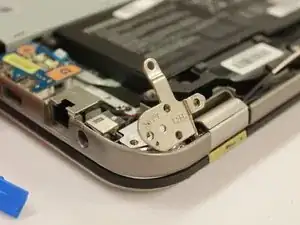
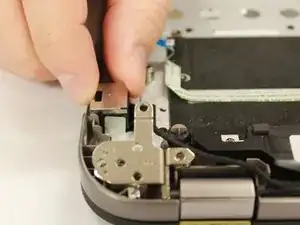
    • Use the plastic opening tool to push the left hinge up.

  8. WXvqosSiZO1hZgfX
    WXvqosSiZO1hZgfX
    CgCOd3GOcGjA4Klk
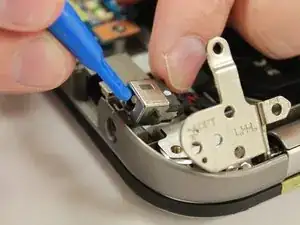
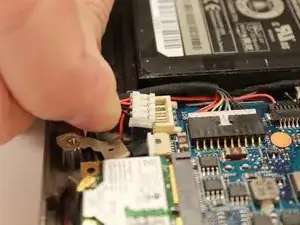
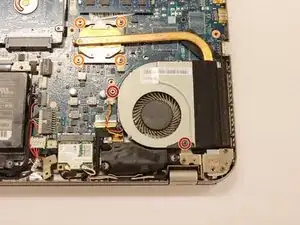
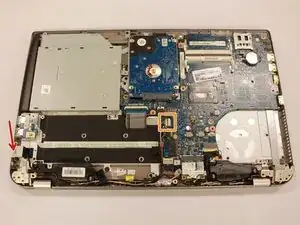
    • Gently pull up the power jack. Follow the cord until you reach the connector.

    • Unplug the 4 pin connector and remove from laptop

  9. GUo3LEQVddZoANIs
    • Using a PH0 screwdriver, remove 2 (5.7mm) screws.

    • Using a PH0 screwdriver, remove 4 (3.68mm) screws.

  10. JK53UhyTyrXjpYuP
    JK53UhyTyrXjpYuP
    2CcUm3SUi1WhgTJW
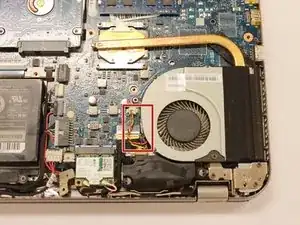
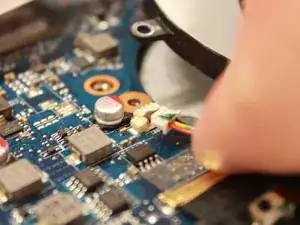
    • Unplug the 3 pin connector

    • Remove fan.

  11. bDFgOWdWMqMAnDu5
    bDFgOWdWMqMAnDu5
    Qts45NgejhyDwZK2
    4UTqAYv4nRXLdSi1
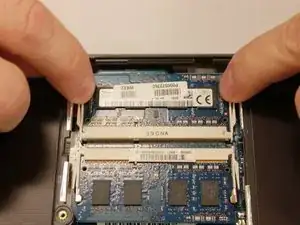
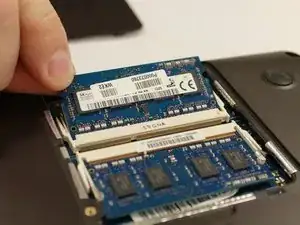
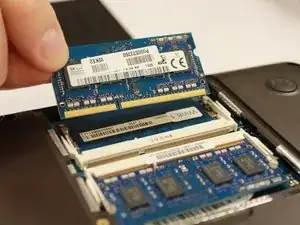
    • Pull out the latches on either side.

    • The RAM should pop up.

    • Remove the RAM.

    • Repeat for the other side.

  12. 6q4odrZDsmMhi2tg
    6q4odrZDsmMhi2tg
    sgOOHx3sMA3gK6Ue
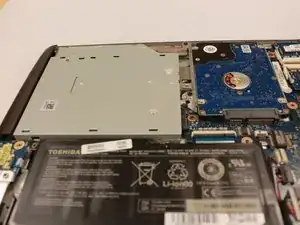
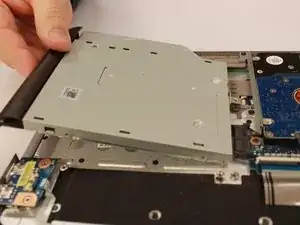
    • Remove the DVD drive by pulling it sideways out of the laptop

  13. 6ZMHUQaCbMFR5o2l
    6ZMHUQaCbMFR5o2l
    VdGyhTnmNTCV2h6Z
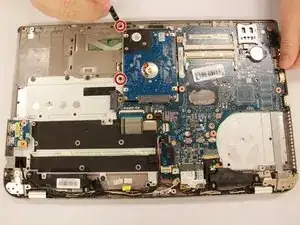
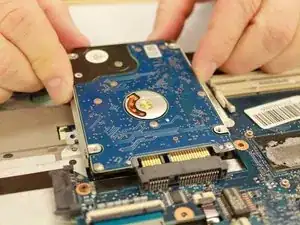
    • Using the PH0 screw head, remove 2 (4.23mm) screws.

    • Slide the hard drive out.

  14. xYDu6V4LGCajAXET
    xYDu6V4LGCajAXET
    dK53GBwXdA2YoT4V
    AGfU1oE15r5wMYjH
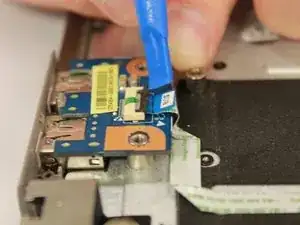
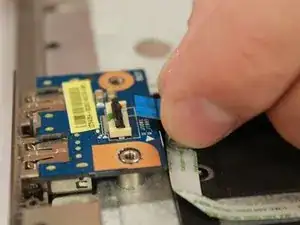
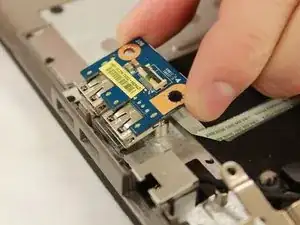
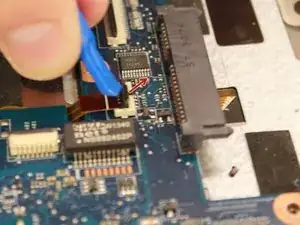
    • Use a plastic opening tool to gently lift the black ribbon tab and unplug the ribbon cable.

    • Remove the ribbon.

    • Lightly pull up the USB Port from the metal supports and take out of the laptop.

  15. BA3wE5OZw3yEdKek
    BA3wE5OZw3yEdKek
    BY1J3OjVZ61UI6lS
    • Remove LAN port/ ethernet port. Lift up the ethernet port.

    • Unplug the 8 pin connector.

  16. L2YX4OB1VTkOEC1U
    L2YX4OB1VTkOEC1U
    IMGlheTogl3wnLLT
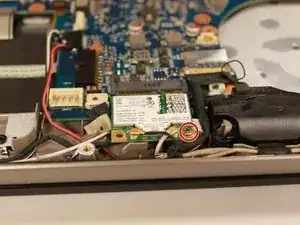
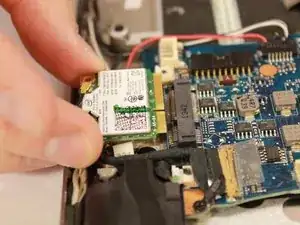
    • Using the PH0 screw head, remove 1 (3.8mm) screw.

    • Separate the wireless adapter chip from the motherboard.

  17. iaodldP2sGEfceDV
    iaodldP2sGEfceDV
    gO4rILX6VZtngihv
    mOuct5PKXNZvoOdc
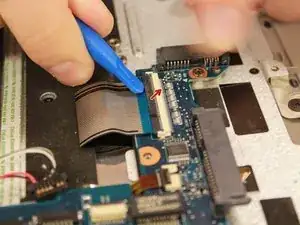
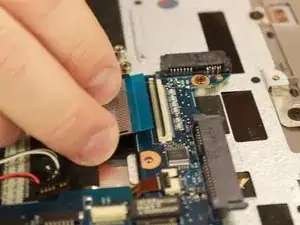
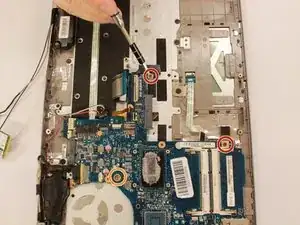
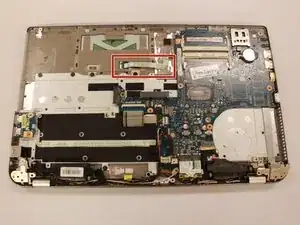
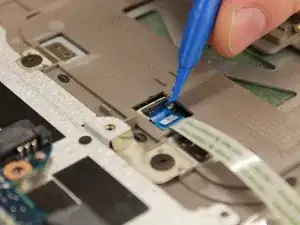
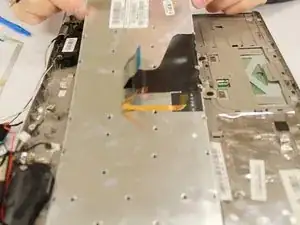
    • Using a plastic opening tool, lift up the black ribbon tab and the smaller orange tab which are connected to the keyboard underneath.

    • Unplug the ribbons.

  18. iNMEd2EOf3mMKTEW
    • Using the PH0 screw head, remove 2 (5.7mm) screws.

    • Using the PH0 screw head, remove 1 (4.2mm) screw.

  19. iDhZTAEtCwANoYOJ
    iDhZTAEtCwANoYOJ
    vSkQHl2dMXL6UNf4
    • Using a plastic opening tool, remove the CP Tab that was plugged into the touchpad.

  20. cZL5ecZss1HODB2L
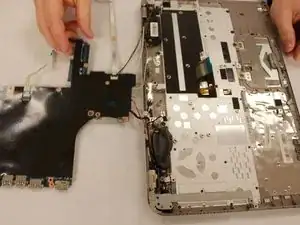
    • Lift up the mother board and gently flip it over to sit upside down next to the laptop.

  21. XSN1xDoG1sW4lWGT
    XSN1xDoG1sW4lWGT
    qXSYQ2IkKWtK6hUo
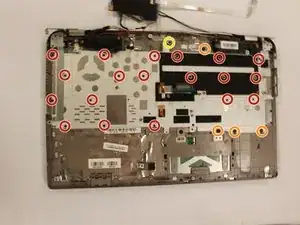
    • Using the #J000 screw head, remove 20 (1.67mm) small screws.

    • Using the #J000 screw head, remove 4 (2.44mm) wide flathead screws.

    • Using the #J000 screw head, remove 1 (4.1mm) screw.

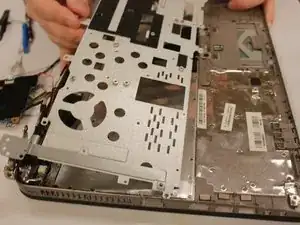
    • Gently lift up the metal frame from the laptop.

  22. lusISkXeBalEUcgp
    lusISkXeBalEUcgp
    aNJ2y62fsh6fYbpi
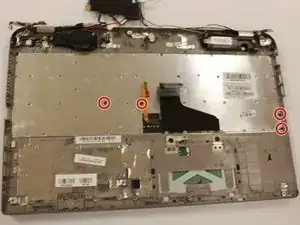
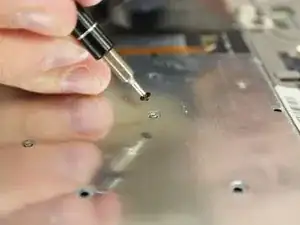
    • Using the #J000 screw head, remove 4 small (1.67 mm) screws.

  23. Wq5OZ1EN4jZyN4bI
    Wq5OZ1EN4jZyN4bI
    ekwxxRvYk6e1FGst
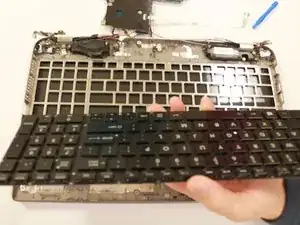
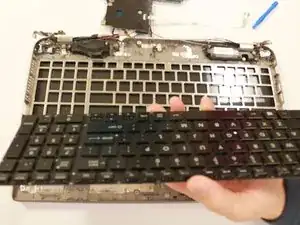
    • Gently lift up the keyboard out of the laptop.

Conclusion

To reassemble your device, follow these instructions in reverse order.

Brittany Castillo

Member since: 19/01/17

878 Reputation

2 comments

This is by far the most informative instructions I have ever come upon. Not only does it explain the keyboard removal (which was my issue), but also explains the removal of pretty much every component that might need to be replaced excluding the screen. Thumbs up! I will definitely refer all my friends all colleagues to iFixit. Again Thumbs up!

Steven L Koontz -

Make certain you view the comment at Step 3, it’s hidden unless you click on it. May save you time…
Steve Chamberlin -