Introduction
The screen is a component that is susceptible to extensive damage. In addition, the screen is the one of the most common components that is replaced. If your screen is cracked or if the images aren’t properly displaying on your laptop, follow these instructions to remove the screen in your laptop.
Tools
-
-
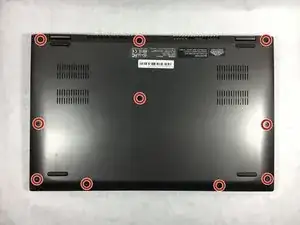
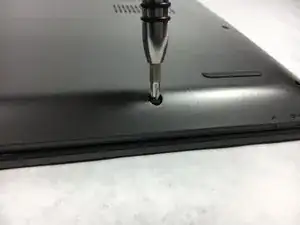
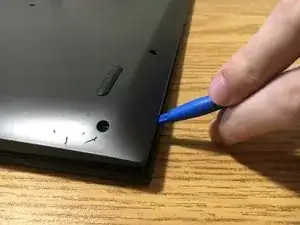
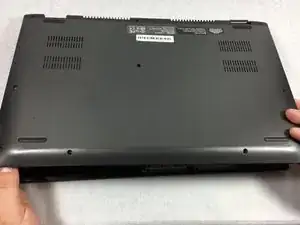
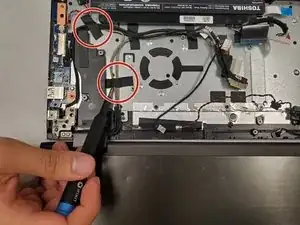
Insert the opening tool in between the back panel and the laptop to pry it open.
-
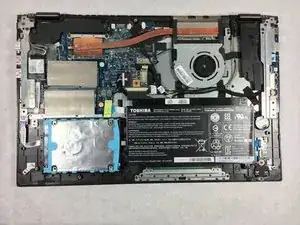
Lift the panel from the front off of the laptop.
-
-
-
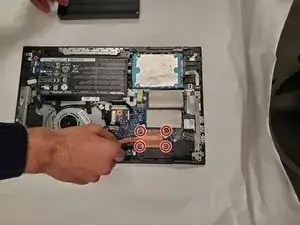
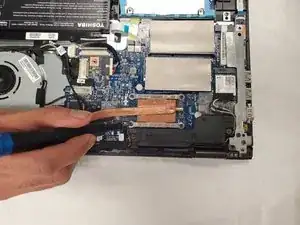
Remove the screws securing the 4 corners of the heatsink.
-
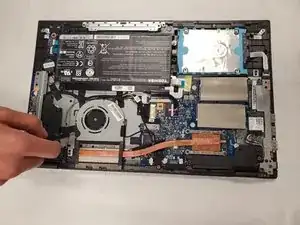
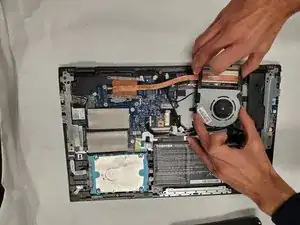
Gently remove the heatsink. Keep in mind thermal paste is used and it may be slightly difficult to remove.
-
-
-
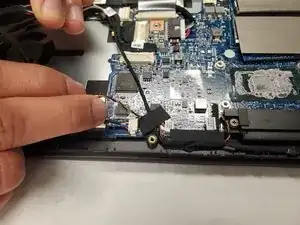
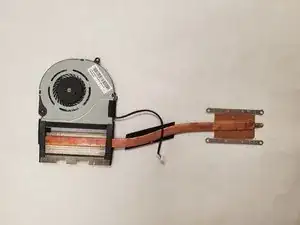
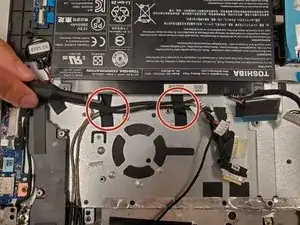
Remove the small, beige colored connector securing the fan to the laptop and remove the fan and heatsink assembly from the laptop.
-
-
-
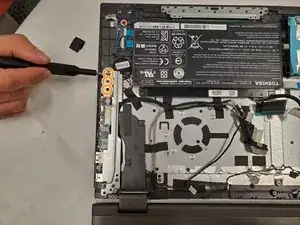
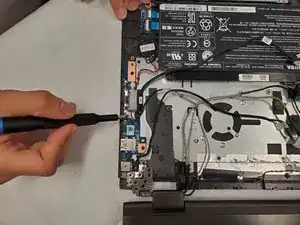
Using the Phillips #00 screwdriver, remove the two screws securing the silver USB protector located on the far right side of the laptop, and pry off the protector.
-
Remove the three screws at the top end of the USB protector using the Phillips #00 screwdriver.
-
-
-
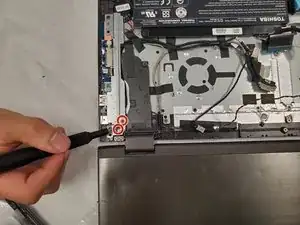
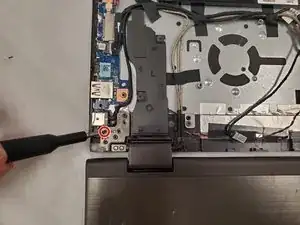
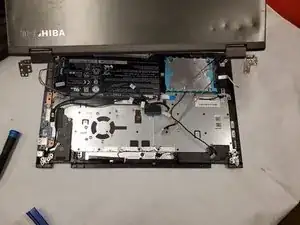
Using the Phillips #0 screwdriver, remove the screws on metal hinge securing the screen to the laptop.
-
-
-
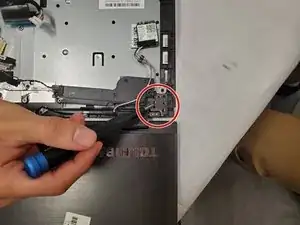
Repeat the previous step to remove the screws on the other hinge securing the display to the device.
-
To reassemble your device, follow these instructions in reverse order.
Please where to buy this back panel , thank you
Yvette Menthong Mana -