Introduction
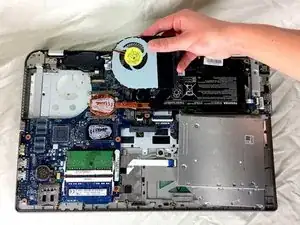
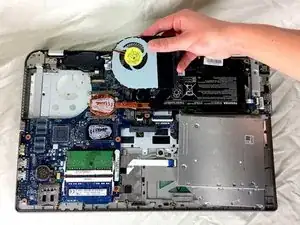
Replacing a damaged or broken fan can help increase the lifespan of your laptop as well as improve performance and limit overheating. First we will remove the back of the laptop. After, we will carefully unscrew and replace the damaged or broken fan.
Tools
-
-
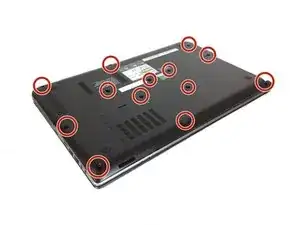
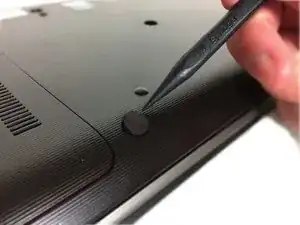
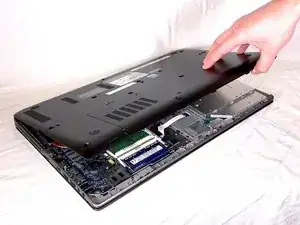
Remove the bottom cover of your laptop. For instructions on how to do this, visit the Toshiba Satellite P55-A5312 Back Cover Removal Guide
-
-
-
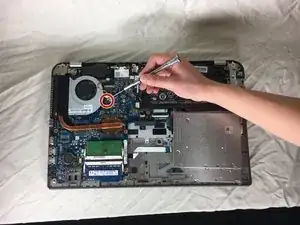
Locate the 2.5x6mm black screw to the bottom of the tri-colored wires that holds down the fan to the motherboard.
-
Unscrew it with a Philips #0 screwdriver.
-
-
-
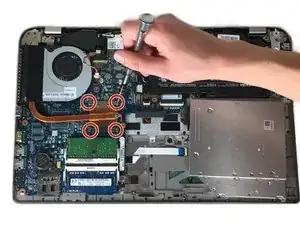
Locate the 4 2x3mm screws holding down the orange heatsink.
-
Unscrew them with a Philips #0 screwdriver.
-
-
-
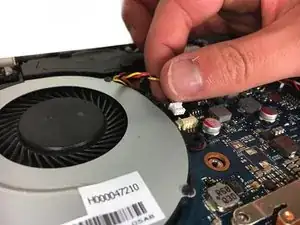
Remove the white holder of the red, yellow, and black wires from the beige piece by gently pulling on it.
-
To reassemble your device, follow these instructions in reverse order.
