Introduction
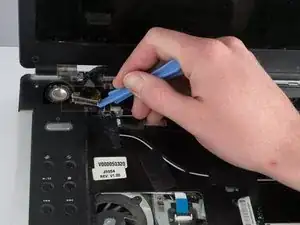
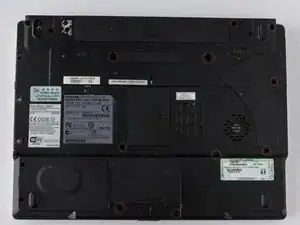
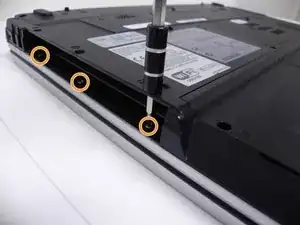
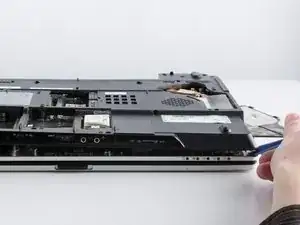
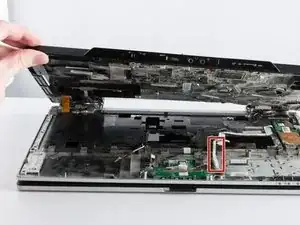
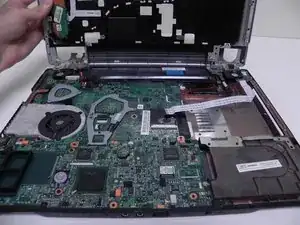
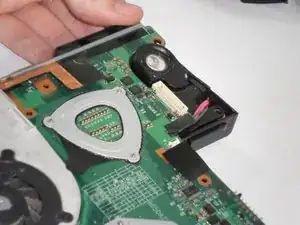
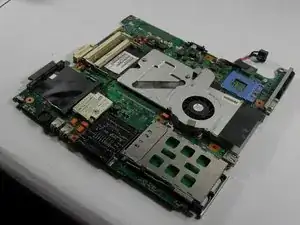
Use this guide to replace a damaged motherboard in your Toshiba Satellite M45.
The Motherboard is a circuit board that connects important hardware such as the Graphics Cards, Solid State Drives, Hard Drives, Ram, Mouse and keyboard.
A faulty motherboard can damage the hardware components connected making it undetectable by the computer and may slow down performance. A faulty motherboard can cause overheating, show the monitor screen freezing or a display bluescreen. Signs of a damaged motherboard are dust build up, burnt chipset and a computers old age.
Before using this guide, make sure to review the Toshiba Satellite M45 troubleshooting page-check to see if your laptop has a motherboard related problem. If you are sure it’s a motherboard related problem then make sure to review the troubleshooting page- Motherboard related problems sometimes can be fixed with updating the BIOS or configuring the CMOS.
Tools
-
-
Flip the laptop to the bottom side.
-
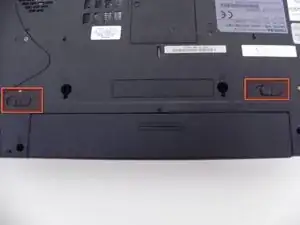
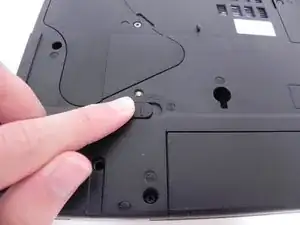
Locate and slide the two battery locks to disconnect the battery.
-
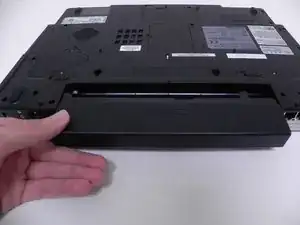
Remove the battery by sliding it out away from the computer (horizontal with the casing).
-
-
-
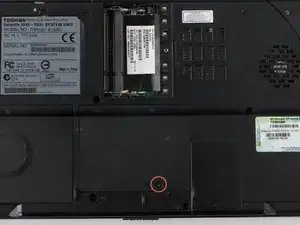
Use a #1 Phillips head screwdriver to remove the screw on the middle right of the RAM's cover panel.
-
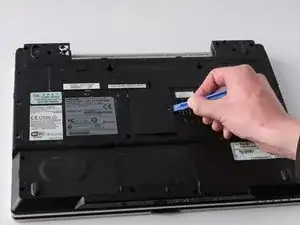
Then, use a the blue iFixit Opening Tool to pry the cover panel off.
-
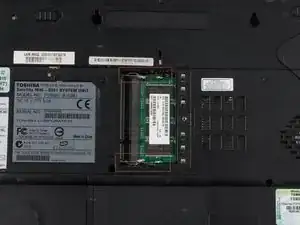
Push on to the RAM tabs to disconnect the RAM form the device.
-
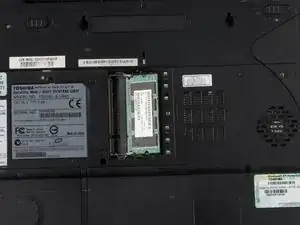
The RAM will pop off from the socket. Gently pull the RAM out of the socket.
-
-
-
Use the #1 Phillips head screwdriver to unscrew the panel.
-
Disconnect the black and white wires.
-
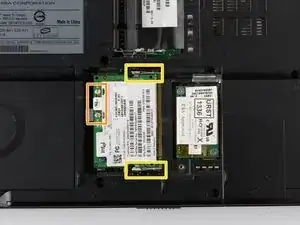
Push on the tabs to disconnect the Wi-Fi card.
-
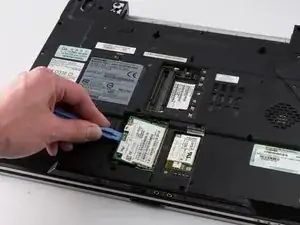
Use the blue iFixit Opening Tool to pull the Wi-Fi Card out.
-
-
-
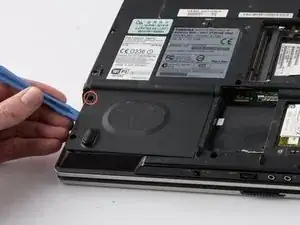
Use the #1 Phillips head screwdriver as to remove the hard drive screw.
-
Use the blue iFixit Opening Tool to pry the cover off.
-
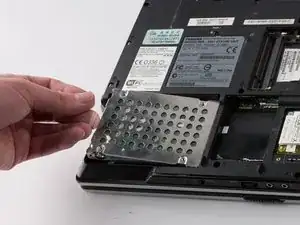
Use the plastic flap to pull the hard drive out of its slot.
-
-
-
Use the #1 Phillips head screwdriver remove the Optical Drive screw.
-
Use the blue iFixit Opening Tool to pry the Optical Drive out of the slot from the side of the casing.
-
Use your hands to pull the rest of the Optical Drive out.
-
-
-
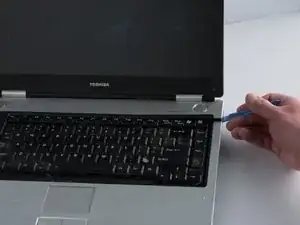
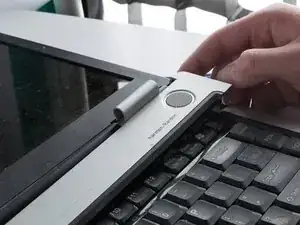
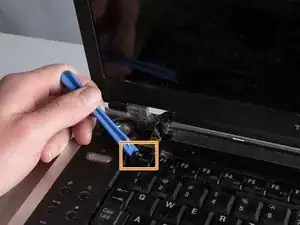
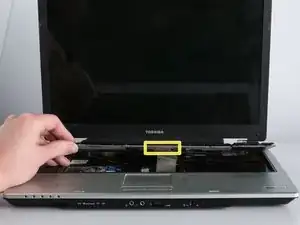
Carefully use the blue iFixit Opening Tool to pry the panel above the keyboard from the left and right side.
-
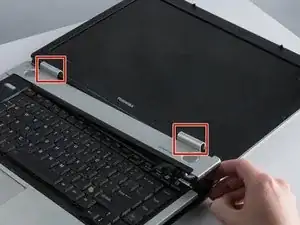
Push back the screen until it is flat with the laptop.
-
Gently remove the clips that connect the panel to the screen.
-
-
-
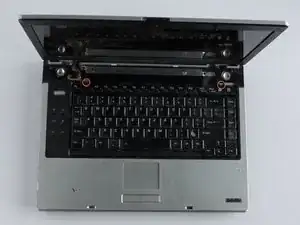
Use the Phillips #1 screwdriver to remove the two screws.
-
Gently pry the keyboard from the laptop using the blue iFixit opening tool.
-
Slowly lift the keyboard away from the laptop.
-
Remove the ribbon that connects to the laptop.
-
-
-
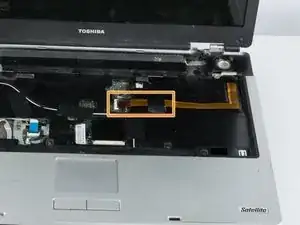
Disconnect the video cable, then slowly and firmly pull the video cable upwards.
-
Disconnect the brown ribbon located in the middle area of the laptop.
-
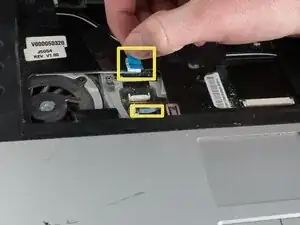
Disconnect the two white ribbons located in the bottom left of the laptop.
-
Firmly pull out the two white ribbons.
-
-
-
Use the Phillips #00 Screwdriver to unscrew all the screws.
-
Unscrew three additional screws through the three holes on the optical drive.
-
-
-
Turn the laptop upside down.
-
Use the blue iFixit Opening Tool to slowly pry the case upward.
-
Remove the white ribbon
-
To reassemble your device, follow these instructions in reverse order.
