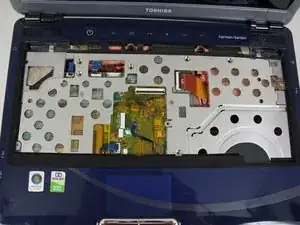
Introduction
Tools
-
-
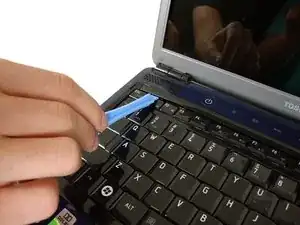
Insert the plastic opening tool above the F1 key.
-
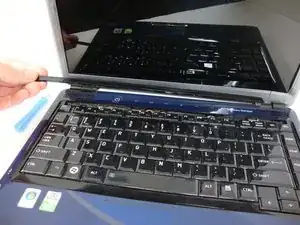
Apply upward pressure until the black plastic strip snaps off. The entire strip will easily come off from left to right.
-
-
-
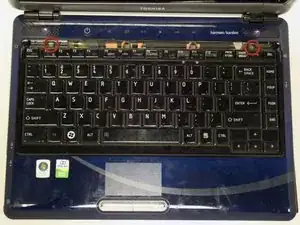
Find the screws above the F1 and INS keys.
-
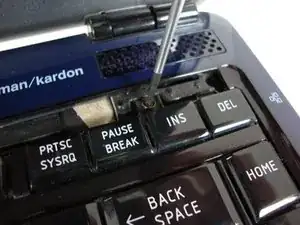
Unscrew both screws with a Phillips #0 screwdriver.
-
-
-
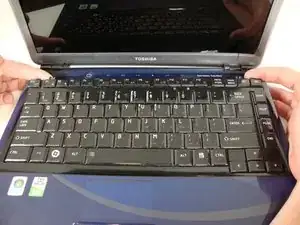
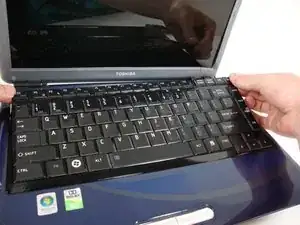
Slowly lift the top edge of the keyboard out with your fingers.
-
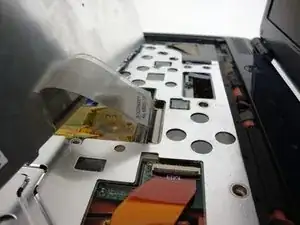
The ribbon cable located on the back of the keyboard will become accessible.
-
-
-
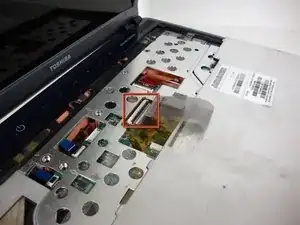
Locate the black ribbon cable flap.
-
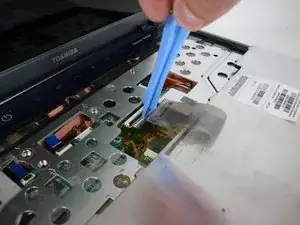
Detach flap with plastic opening tool. The ribbon cable will become free.
-
Conclusion
To reassemble your device, follow these instructions in reverse order.
