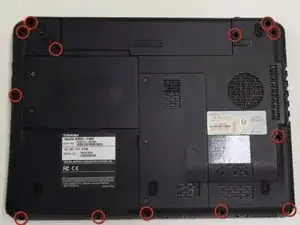
Introduction
Tools
-
-
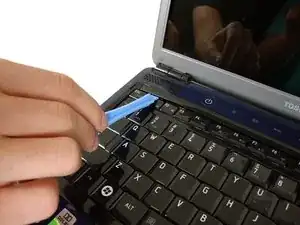
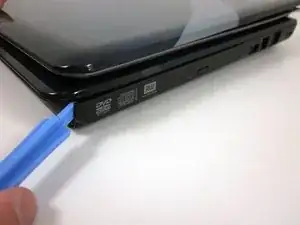
Insert the plastic opening tool above the F1 key.
-
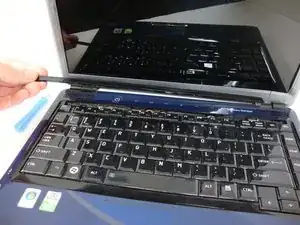
Apply upward pressure until the black plastic strip snaps off. The entire strip will easily come off from left to right.
-
-
-
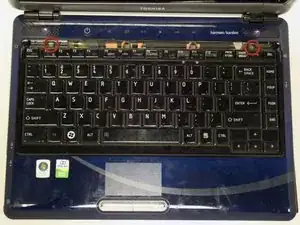
Find the screws above the F1 and INS keys.
-
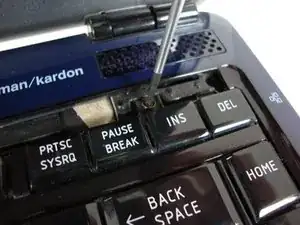
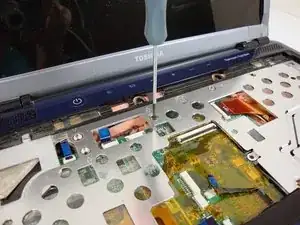
Unscrew both screws with a Phillips #0 screwdriver.
-
-
-
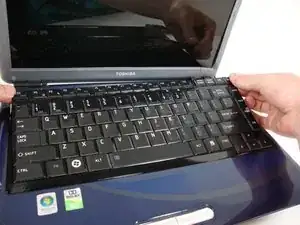
Slowly lift the top edge of the keyboard out with your fingers.
-
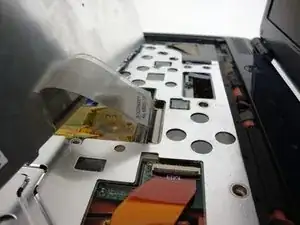
The ribbon cable located on the back of the keyboard will become accessible.
-
-
-
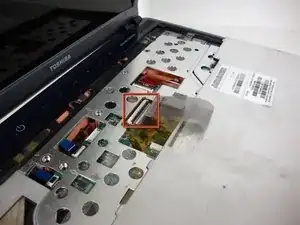
Locate the black ribbon cable flap.
-
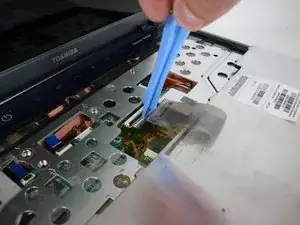
Detach flap with plastic opening tool. The ribbon cable will become free.
-
-
-
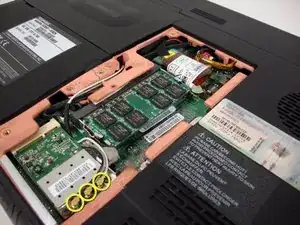
Disconnect the three circled antennas by lightly pulling upward with your fingers. They should detach easily.
-
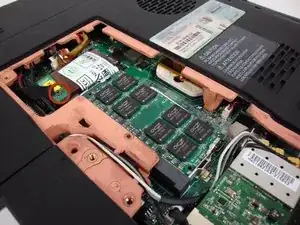
Note: Yours may only have two (2) antennas. Pay attention to the Orientation of the Aluminum bracket with the pads for reinstallation.
-
-
-
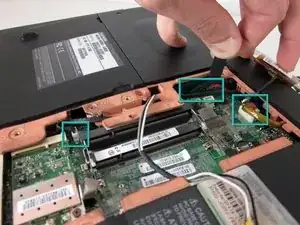
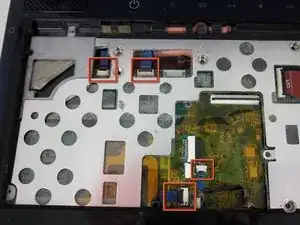
Detach the four blue ribbon cables carefully with tweezers. Some of the ribbons may require a flap to be raised because it secures the ribbon in.
-
-
-
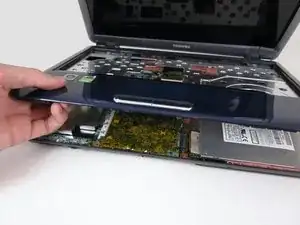
Remove the top plastic cover by lifting upward from the bottom left-hand corner as shown. The cover will come off easily.
-
-
-
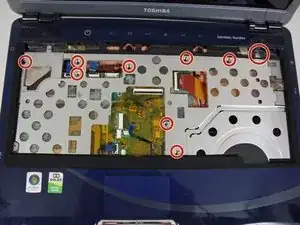
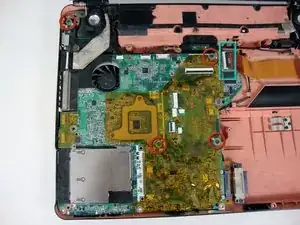
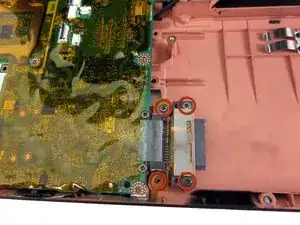
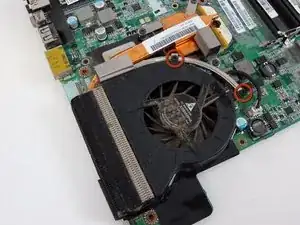
Remove the circled motherboard screws with a Phillips #0 Scewdriver.
-
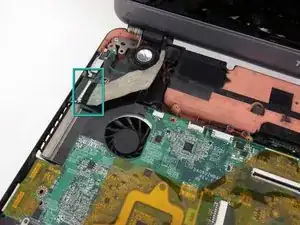
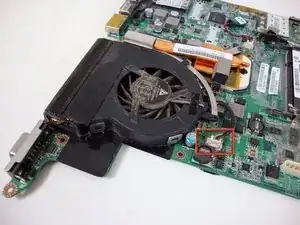
Disconnect this ribbon cable.
-
-
-
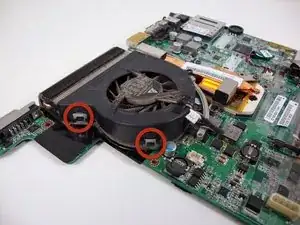
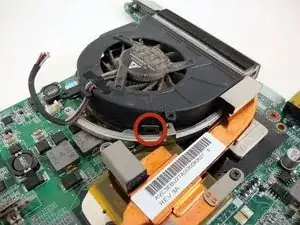
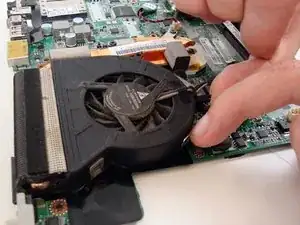
Locate the 3 circled clips holding the fan to the motherboard.
-
Pry each clip outward while applying upward force on the fan as shown.
-
-
-
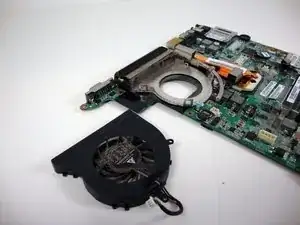
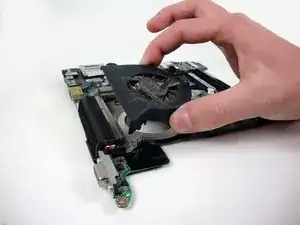
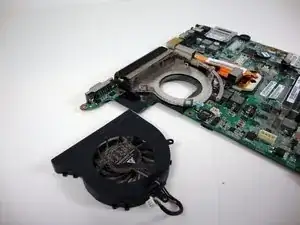
Carefully pull out the fan.
-
Optionally you may clean the fan with Air + Q-Tips. To remove the blade turn the fan over and gently pull the fan blade from the housing.
-
To reassemble your device, follow these instructions in reverse order.
