Introduction
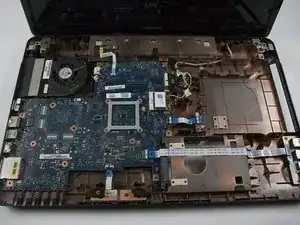
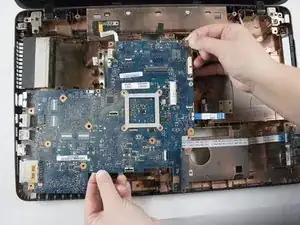
Replacing the motherboard is a good alternative to purchasing a new computer if you know your motherboard is bad. This is a straightforward procedure that can be done with care and enough time. This guide will show you how to remove and replace the motherboard.
Tools
-
-
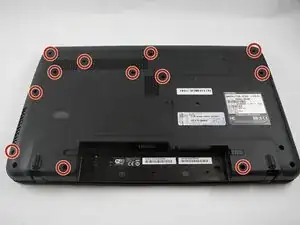
Make sure the laptop is unplugged and powered off.
-
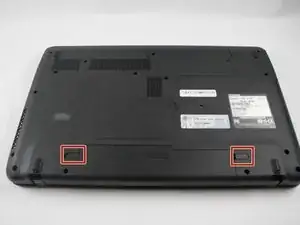
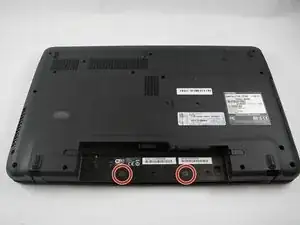
Locate the battery latches on the underside of the laptop.
-
-
-
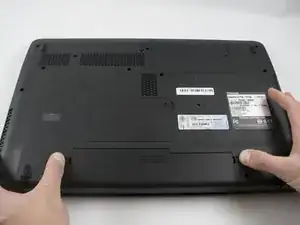
Slide the right latch to the right until you hear it lock into place.
-
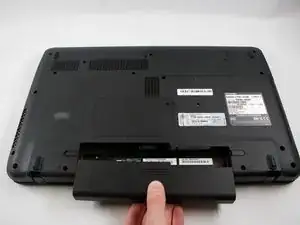
Slide the left latch to the left and hold it.
-
-
-
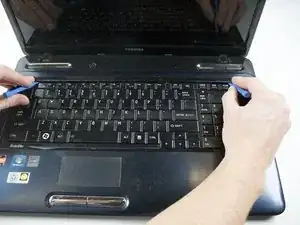
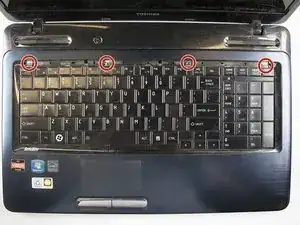
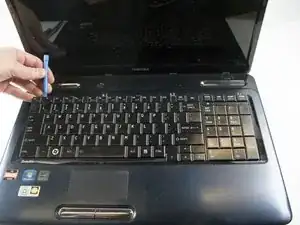
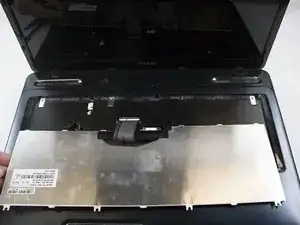
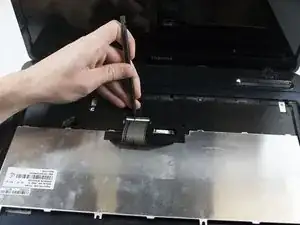
The ribbon is attached by a white clip. Wedge the white clip up carefully using the spudger. This will release the connector ribbon and you can now remove the keyboard.
-
-
-
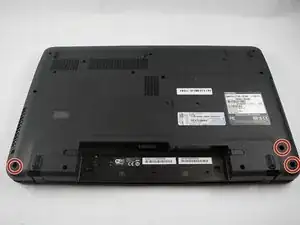
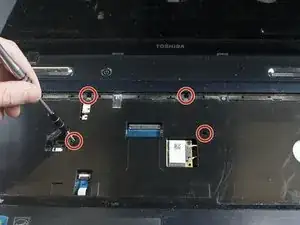
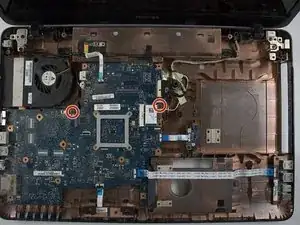
Remove the two screws from the underside of the laptop, where the battery was located, using the Phillips #1 screwdriver,
-
-
-
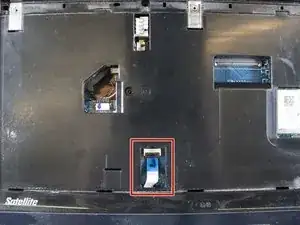
Detach the ribbon cable with black clip by carefully using the spudger tool and prying up the black clip gently or gently lift up on the blue tab until the clip releases the ribbon cable.
-
-
-
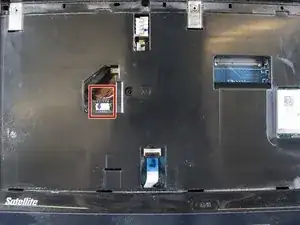
Detach the wire connector by using the flat side of the spudger tool to pry the connector apart; this can also be accomplished by gently wiggling the connector until it comes apart.
-
-
-
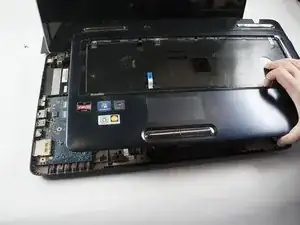
Remove the top plastic cover by lifting it from one of the corners. It should come off easily.
-
-
-
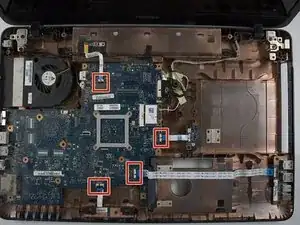
Disconnect the wire ribbon cables by gently lifting up the clips with the spudger or gently lifting on the blue tabs until the clips release the ribbon cables.
-
-
-
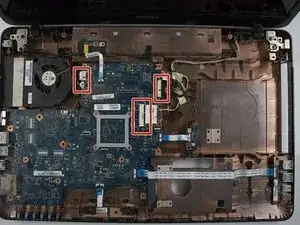
Disconnect the wire connectors by gently prying them apart with the flat end of the spudger. This can also be accomplished by gently wiggling the connector until it comes apart.
-
To reassemble your device, follow these instructions in reverse order.
