Introduction
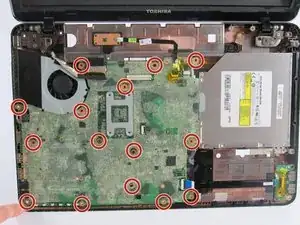
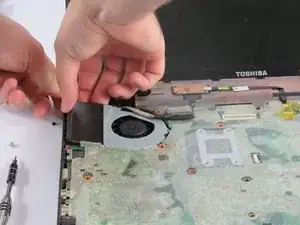
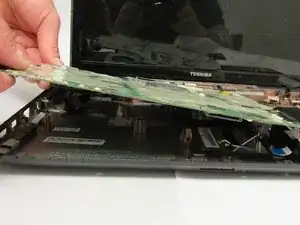
Usually when people hear that their motherboard needs to be replaced they think that it is the end for their computer. It is something that should be done with care since there are many intricate parts. It's good to have something to put your screws in, too.
Tools
-
-
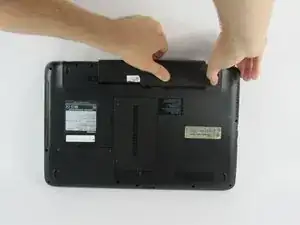
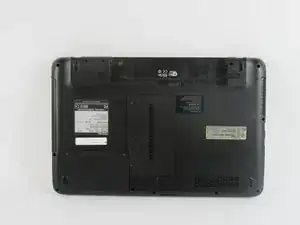
After shutting down your laptop, turn your laptop over and click the left tab left, then pull the right tab right as you pull the battery out.
-
-
-
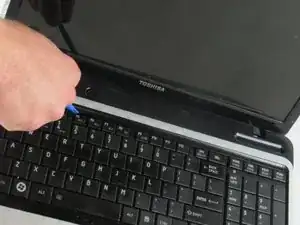
Using the plastic opening tool carefully pry the plastic strip that sits at the top of the keyboard.
-
-
-
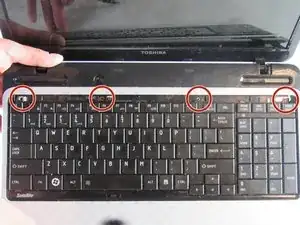
Use the Phillips PH00 to unscrew the four 4mm screws that holds the keyboard in place.
-
Using the plastic opening tool carefully pry your keyboard out without disturbing the cord underneath it.
-
-
-
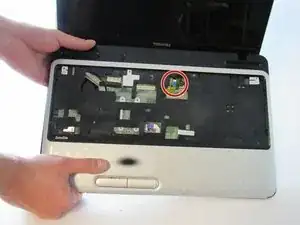
Remaining is the cord that connects the keyboard to the motherboard. Remove this cord after the tabs are pressed in that releases keyboard.
-
-
-
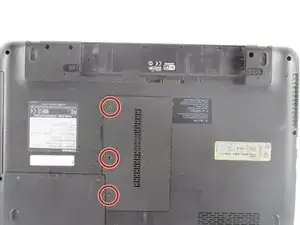
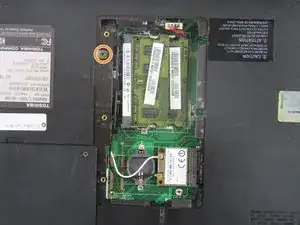
Using the Phillips PH00 screwdriver remove the three 4mm screws from the cover for the RAM.
-
Use the Phillips PH00 to remove the one 4mm screw that holds the ODD.
-
Slide the ODD outward.
-
-
-
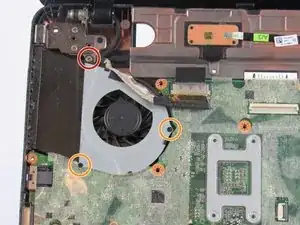
Use the Phillips PH00 screwdriver to remove one 4mm screw.
-
Use the Phillips PH00 screwdriver to remove the two 3mm screws from the fan.
-
To reassemble your device, follow these instructions in reverse order.
One comment
This my laptop for now .
