Introduction
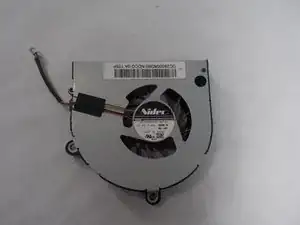
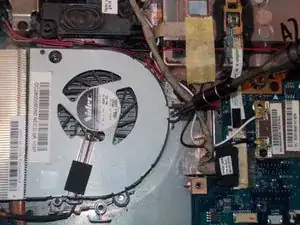
If your device appears to be running hot on a consistent basis it is possible that you may have a malfunctioning fan. If the fan is filled with dust, broken, or damaged this repair guide will show you how to dismantle the device and replace the cooling fan.
Tools
-
-
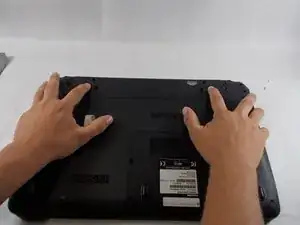
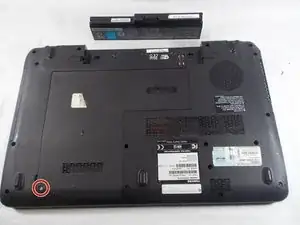
Flip the laptop on a scratch free surface, exposing underneath the laptop.
-
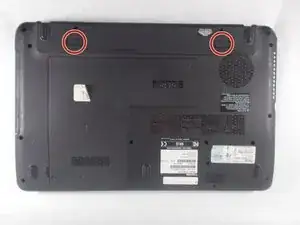
Identify the unlocking latches denoted by the red circles.
-
-
-
Simply slide the latches outward to the unlocked position.
-
The latches should stay in the unlocked position. If not, hold them in the unlocked position.
-
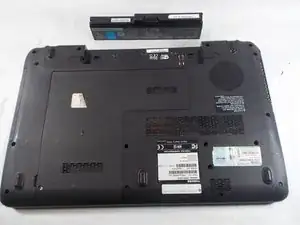
With the latches in the unlocked position, slide the battery out, away from the laptop.
-
-
-
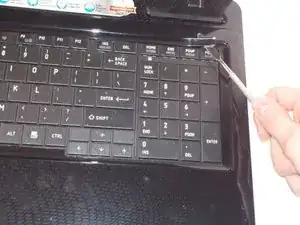
Use a spudger to pry under the corner of the thin piece of plastic located above the keyboard.
-
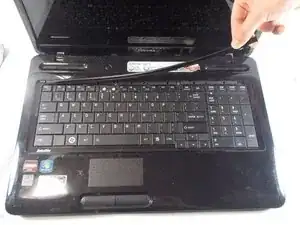
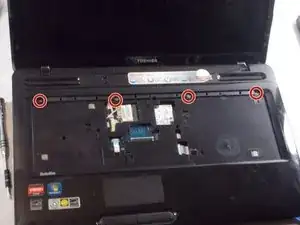
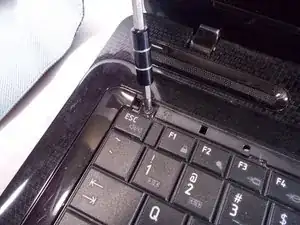
Once part of the plastic guard is up, continue to pull up gently until the piece pops off of the laptop exposing 4 screws.
-
-
-
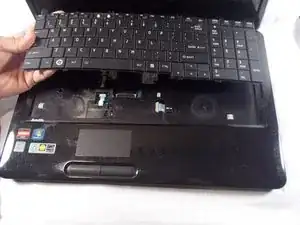
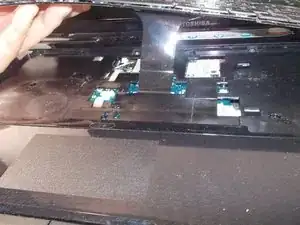
With the screws removed, you are ready to take out the keyboard. Lift the keyboard from the top and carefully pull the keyboard away from the laptop.
-
-
-
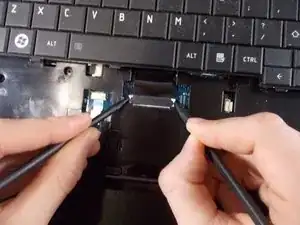
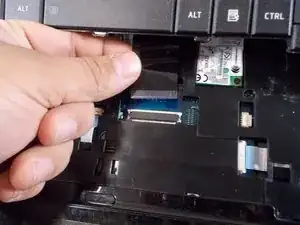
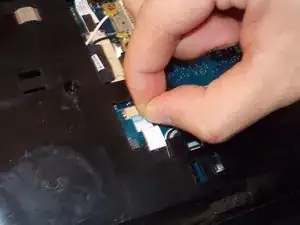
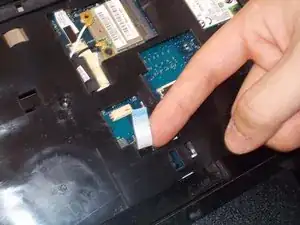
With the connector exposed, use a couple spudgers to hold the two clips in and carefully slide out the ribbon connector.
-
Once removed, the keyboard is free to be replaced with a new one.
-
-
-
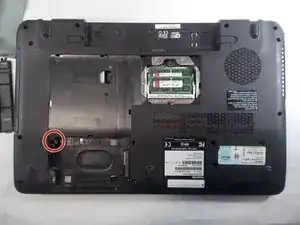
With the device flipped on its back, identify the screw shown and remove with Phillips head #1 screwdriver.
-
-
-
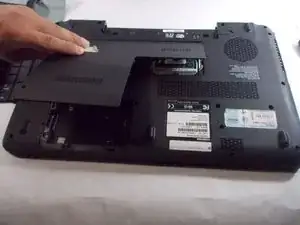
Lift the removal tab upward, you will hear the clips that hold the tab release. Move in a clockwise direction releasing the remaining clips. Once all clips are released, remove the cover.
-
-
-
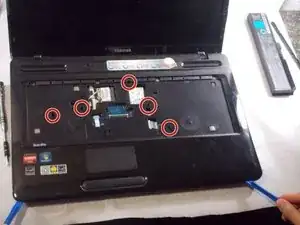
Turn device over so you are looking at the top of the device. Then, remove these five 5mm screws from under the keyboard.
-
-
-
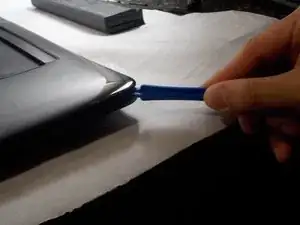
Pry from under the top case housing along the perimeter of the device with the plastic opening tool.
-
-
-
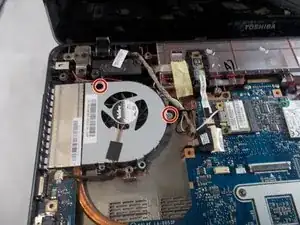
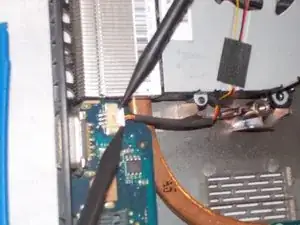
Use a spudger to disconnect the fan wire from its connector.
-
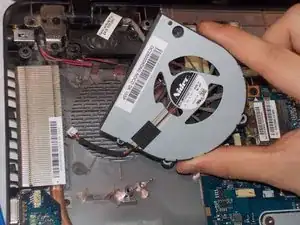
Remove the fan from the device.
-
To reassemble your device, follow these instructions in reverse order.
