Introduction

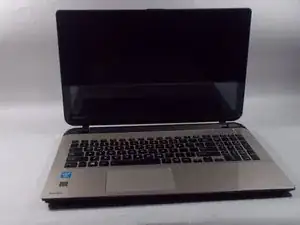
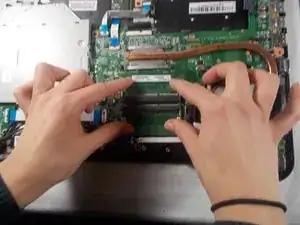
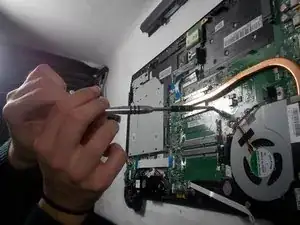
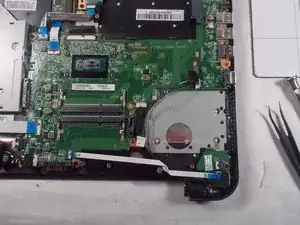
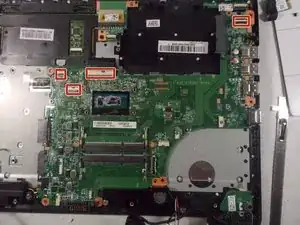
This guide will help you replace a broken motherboard in your laptop. It is a detailed process but this guide will allow you to easily remove and replace your motherboard.

  1. 1BFfNXAtPKFBJmqt
    1BFfNXAtPKFBJmqt
    B1PUNPA4McvEHiVy
    hDiN52dVVruo6sZM
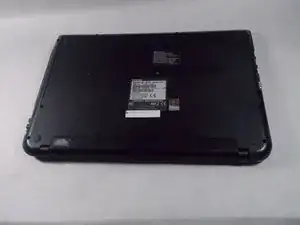
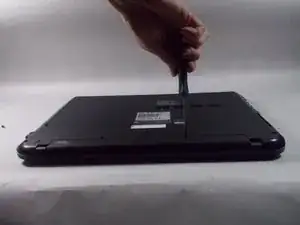
    • Make sure you turn the laptop off first.

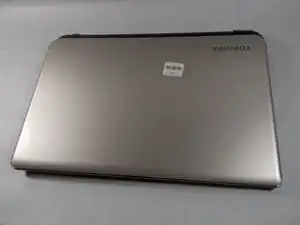
    • Close the laptop lid and flip it over so that Toshiba logo is facing down.

  2. EiZBkC14YutbeY6k
    EiZBkC14YutbeY6k
    PekJaZAiuDvEvg4M
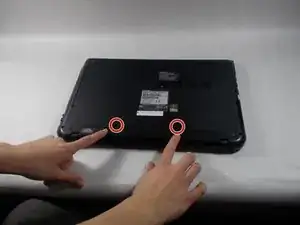
    • Remove the two 6.5 mm Phillips head screws indicated using a Phillips #00 screw driver.

  3. skdvSognqLBe5eEy
    skdvSognqLBe5eEy
    65xWCmJvsfucGIQU
    JZThWWiEdMZKcWGG
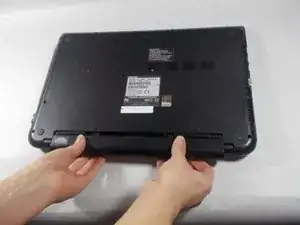
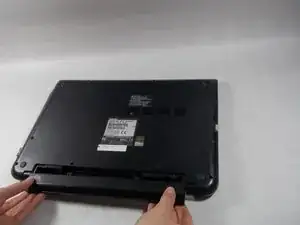
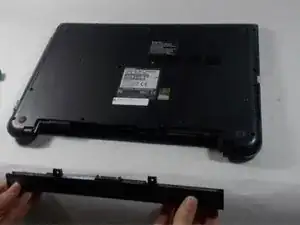
    • Once the screws are removed, slide the battery pack out of the computer.

  4. dt5CRUPBgweFbOPY
    dt5CRUPBgweFbOPY
    1LfJSvja61bJgfNY
    WhDKjcCA1WyYJBjG
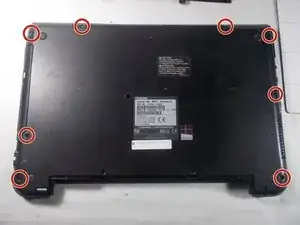
    • Remove all 6.5 mm Philips head screws on the back cover of the laptop with a Philips #00 screwdriver.

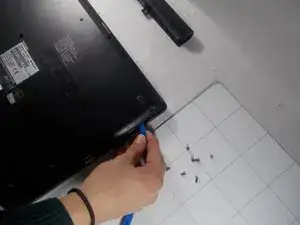
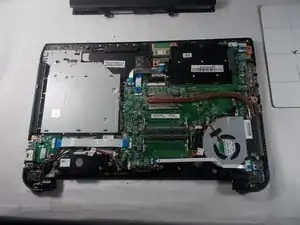
    • Use the plastic opening tool to remove the back cover from the laptop.

    • Be aware that static discharge can cause damage to sensitive electrical components within the computer. To avoid this you can wear an anti-static wrist strap.

  5. uqCnfxUUv2GpnOJh
    uqCnfxUUv2GpnOJh
    TeOWfBt4qGOaoAqZ
    uBfrOuowtTiSGUAY
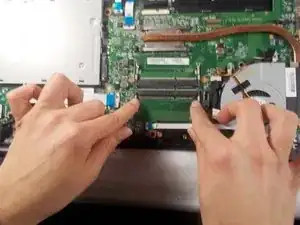
    • This laptop does not have a RAM present. Follow instructions to replace your own.

    • Evenly press down on the clips on either side of the RAM stick.

    • To pull out the RAM stick, be sure to align the notches on the RAM stick with the notches in the RAM holder.

  6. eP63w6haB2ZaEBIQ
    eP63w6haB2ZaEBIQ
    ikexYGOjaHuWXuCj
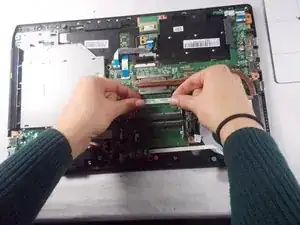
    • Remove the ribbon by flipping up the tabs and using the black tweezers to gently pull the ribbon out from both ends.

  7. OaT5f6xaktYvEnGp
    OaT5f6xaktYvEnGp
    RybdrXCCukenMOW5
    OiNNEh3XlJvMJdWv
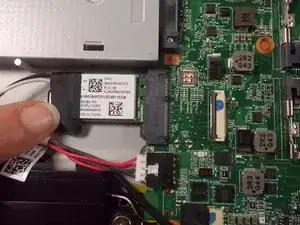
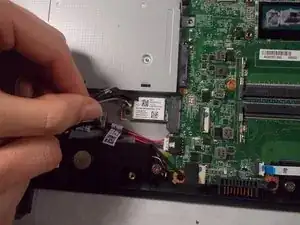
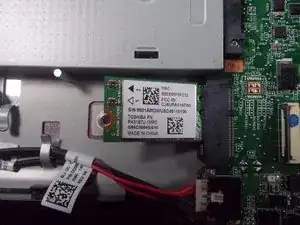
    • Remove the tape from the card.

    • Disconnect the wires using the #4 black spudger tool.

  8. OmFm3IbOKQWxedXO
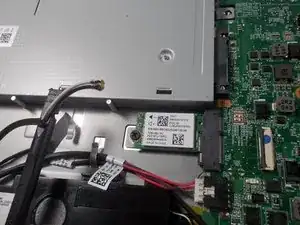
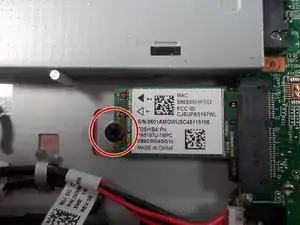
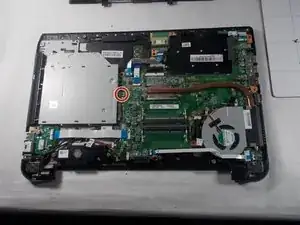
    • Remove the 3mm Phillips head screw with a Phillips #00 screwdriver.

  9. wlRQHw4tOlgQmlOe
    wlRQHw4tOlgQmlOe
    haM6tdrATdTLN3f1
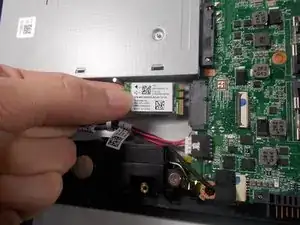
    • Pull up on the wireless card and remove it from the device.

  10. 2r2kUOSoIEZiiFyf
    2r2kUOSoIEZiiFyf
    oILZARorDWRBvY2L
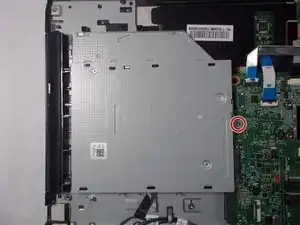
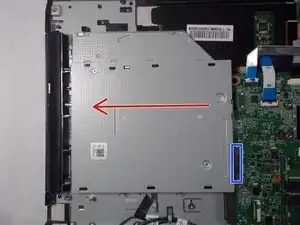
    • Remove the 3 mm Philips head screw that connects the CD drive to motherboard with a Phillips #00 screwdriver.

  11. USSTvLFtVmlLfRHq
    USSTvLFtVmlLfRHq
    5uNPcLAoyXBcvGsH
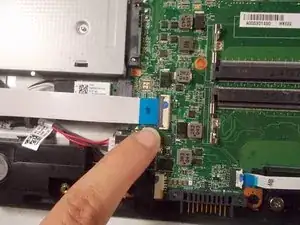
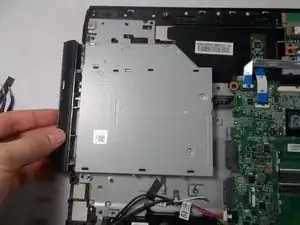
    • Gently pull the CD drive out, disconnecting it from the motherboard connector marked in blue.

  12. BPt5HKkX1rfVWPLY
    BPt5HKkX1rfVWPLY
    b5HxDTfdWPMH1LxF
    lpL4BRr6xfdrDuSX
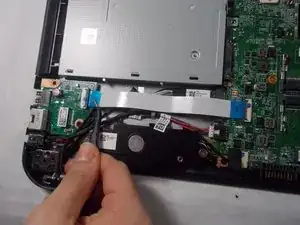
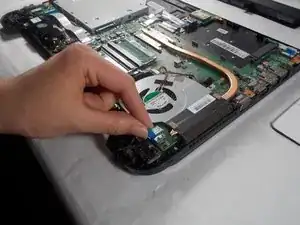
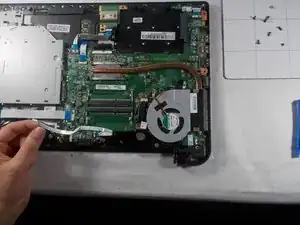
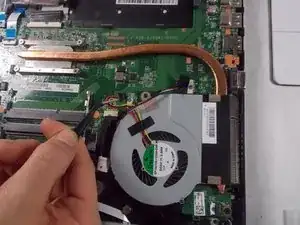
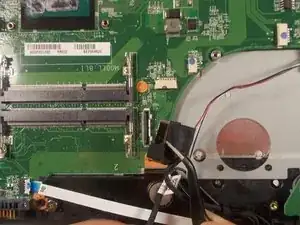
    • The ribbon and wire must be moved out of the way of the fan.

    • Using a black tweezer tool, lift the tab holding the ribbon in place and then gently pull it out.

    • Using the same tweezer tool, again lift the tab holding the wires in place and gently pull them out.

  13. Xsy3LiNiFj1bAomZ
    Xsy3LiNiFj1bAomZ
    RImWOFoLRssNJFLv
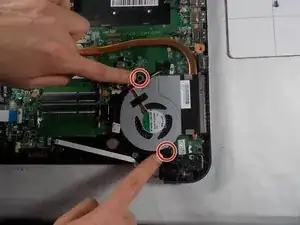
    • Unscrew the two 3mm Phillips head screws on each fan using the Phillips #00 screwdriver.

  14. XrDuJPS5LZa4AQ2u
    XrDuJPS5LZa4AQ2u
    4AVhKUJemgxvciZT
    eJQmCj5gONMOEI3U
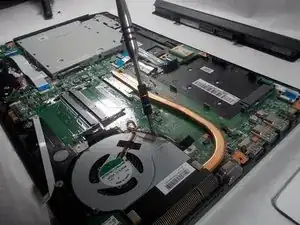
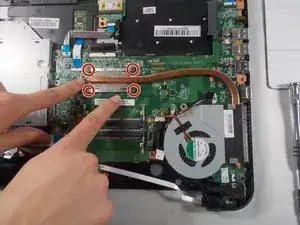
    • Unscrew the four, 3mm Phillips head screws holding the last piece to the laptop using a Phillips #00 screwdriver.

    • Gently pull the cooling fan with heat sink off the laptop and set aside.

  15. Dd2VDtdByBH2ToTU
    Dd2VDtdByBH2ToTU
    PXWyEEViAAdp6jvj
    xieaspJOaEPXBkhE
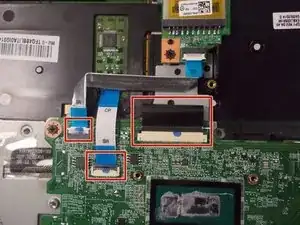
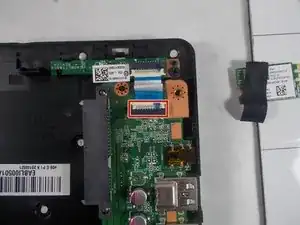
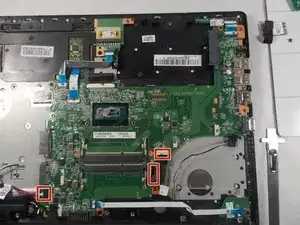
    • Disconnect all of the ribbons by lifting the tabs and gently pulling them out.

  16. mAtwPyGaVIDlj4G1
    mAtwPyGaVIDlj4G1
    McLKIBaLrVBdjGD5
    CMOiKDYOOpja3Stv
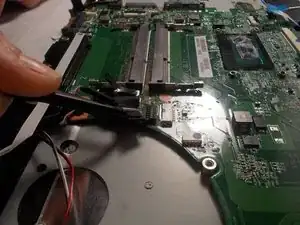
    • Remove the wires from the motherboard using the tweezers.

  17. 5i41AFg2dXVH3gQ4
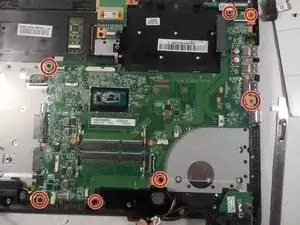
    • Remove all seven of the 3mm Phillips head screws with the Phillips #00 screwdriver.

  18. MDR6yjgv1sHl4LoU
    MDR6yjgv1sHl4LoU
    oBTUHRANP5dM2EY5
    na1wkVix3EDLaRhN
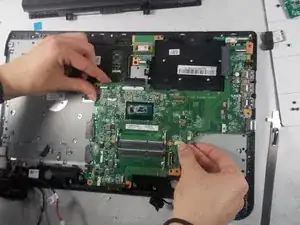
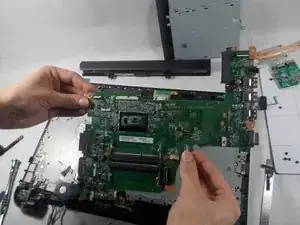
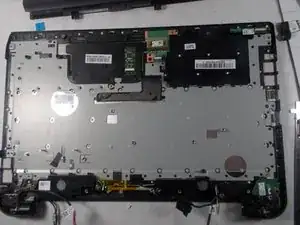
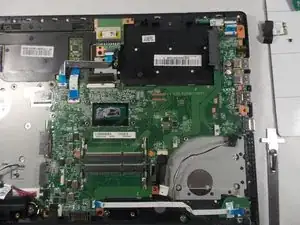
    • Gently lift the motherboard from the back of the laptop.

    Where is the cmos battery on this laptop?

    s landa -

Conclusion

To reassemble your device, follow these instructions in reverse order.
Noelle Dulude

Member since: 19/03/18

480 Reputation

0 comments