Introduction
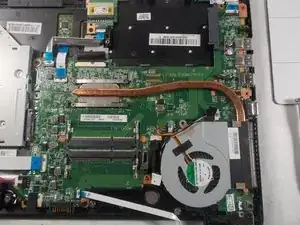
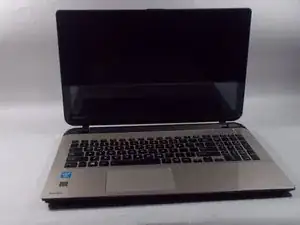
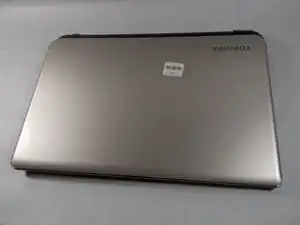
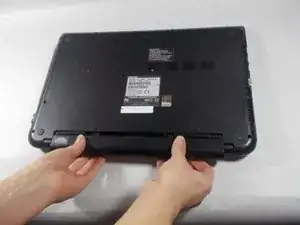
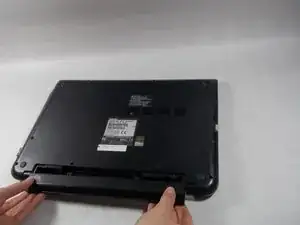
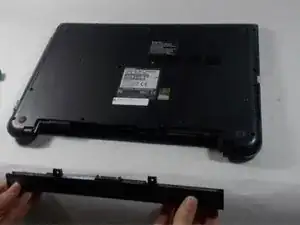
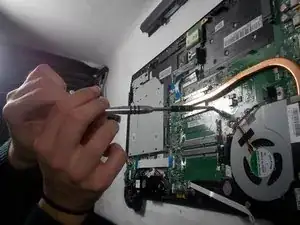
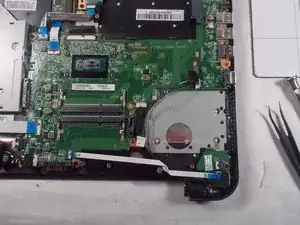
This guide will help in the replacement of a broken cooling fan with heat sink in your laptop. The purpose of the fan is to pull cool air in to prevent overheating in the laptop. To fix this broken part, this guide will instruct you how to replace the cooling fan by removing the lower cover to access it.
Tools
Parts
-
-
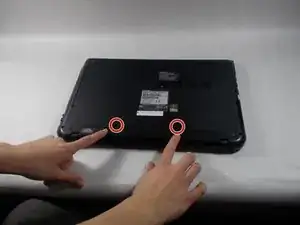
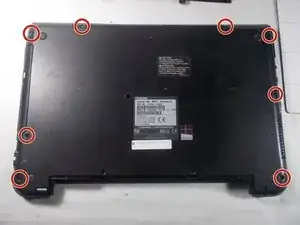
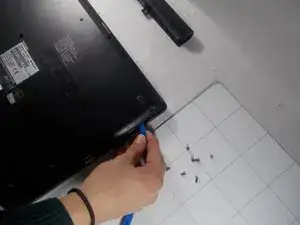
Remove all 6.5 mm Philips head screws on the back cover of the laptop with a Philips #00 screwdriver.
-
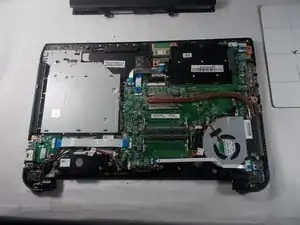
Use the plastic opening tool to remove the back cover from the laptop.
-
-
-
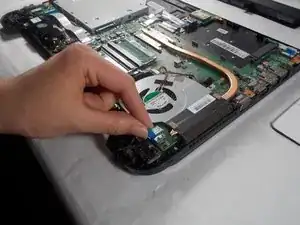
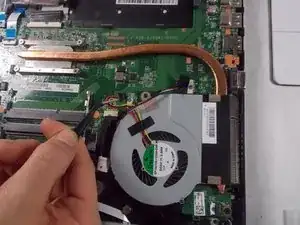
Using a black tweezer tool, lift the tab holding the ribbon in place and then gently pull it out.
-
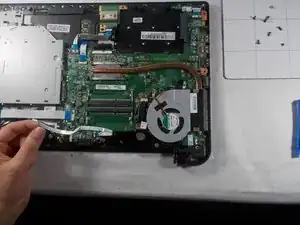
Using the same tweezer tool, again lift the tab holding the wires in place and gently pull them out.
-
-
-
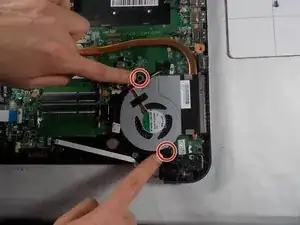
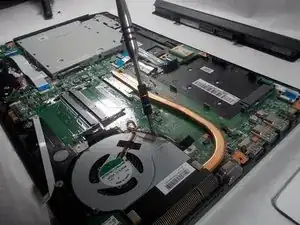
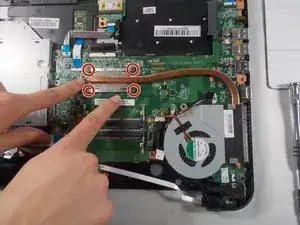
Unscrew the four, 3mm Phillips head screws holding the last piece to the laptop using a Phillips #00 screwdriver.
-
Gently pull the cooling fan with heat sink off the laptop and set aside.
-
To reassemble your device, follow these instructions in reverse order.
