Introduction

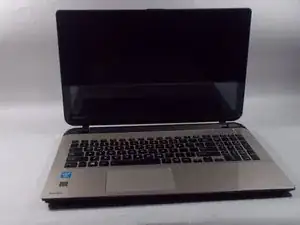
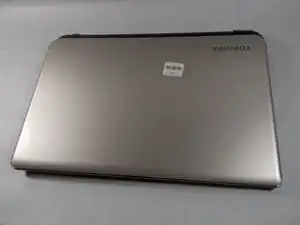
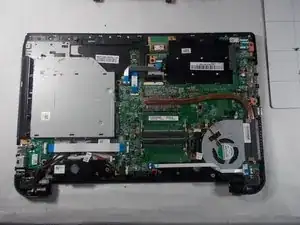
This guide will help you replace a faulty CD drive in your laptop. It will instruct you to remove the back cover of the laptop in order to access the CD drive. You must then unscrew the drive and replace it with the new drive

  1. 1BFfNXAtPKFBJmqt
    1BFfNXAtPKFBJmqt
    B1PUNPA4McvEHiVy
    hDiN52dVVruo6sZM
    • Make sure you turn the laptop off first.

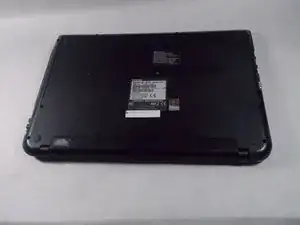
    • Close the laptop lid and flip it over so that Toshiba logo is facing down.

  2. EiZBkC14YutbeY6k
    EiZBkC14YutbeY6k
    PekJaZAiuDvEvg4M
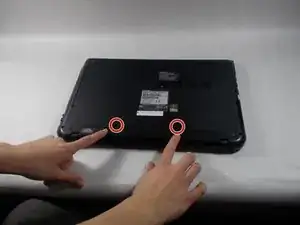
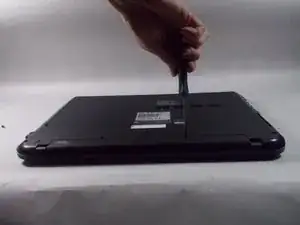
    • Remove the two 6.5 mm Phillips head screws indicated using a Phillips #00 screw driver.

  3. skdvSognqLBe5eEy
    skdvSognqLBe5eEy
    65xWCmJvsfucGIQU
    JZThWWiEdMZKcWGG
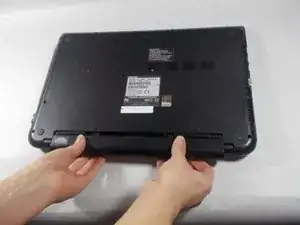
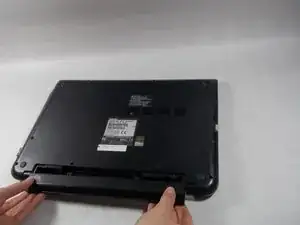
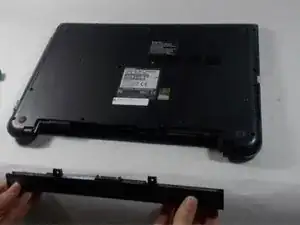
    • Once the screws are removed, slide the battery pack out of the computer.

  4. dt5CRUPBgweFbOPY
    dt5CRUPBgweFbOPY
    1LfJSvja61bJgfNY
    WhDKjcCA1WyYJBjG
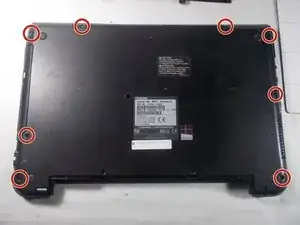
    • Remove all 6.5 mm Philips head screws on the back cover of the laptop with a Philips #00 screwdriver.

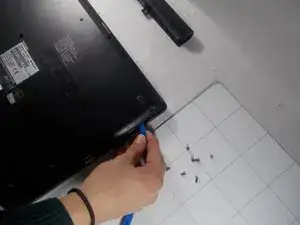
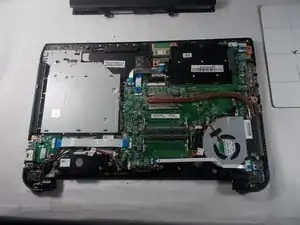
    • Use the plastic opening tool to remove the back cover from the laptop.

    • Be aware that static discharge can cause damage to sensitive electrical components within the computer. To avoid this you can wear an anti-static wrist strap.

  5. 2r2kUOSoIEZiiFyf
    2r2kUOSoIEZiiFyf
    oILZARorDWRBvY2L
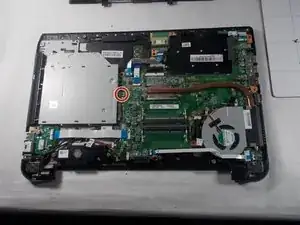
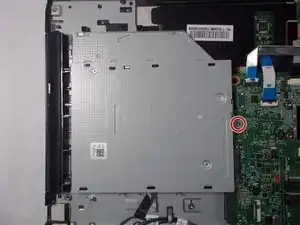
    • Remove the 3 mm Philips head screw that connects the CD drive to motherboard with a Phillips #00 screwdriver.

  6. USSTvLFtVmlLfRHq
    USSTvLFtVmlLfRHq
    5uNPcLAoyXBcvGsH
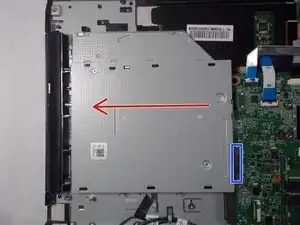
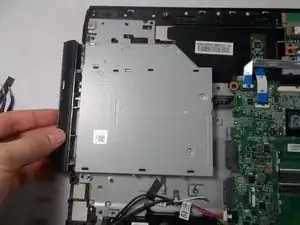
    • Gently pull the CD drive out, disconnecting it from the motherboard connector marked in blue.

Conclusion

To reassemble your device, follow these instructions in reverse order.
Garrett Garofalo

Member since: 19/03/18

298 Reputation

0 comments