Introduction

The hard drive stores all of the critical information required by the laptop for proper functioning and saves all the data files created by the user. The hard drive is designed to be easily removed to allow for easy replacement in cases where the device breaks or upgraded if the user requires more memory.

  1. 6PvUPOJHQIYAYUfL
    6PvUPOJHQIYAYUfL
    yoZEVkKjxVJCDQBl
    LVIwIUaeQqSgEQxQ
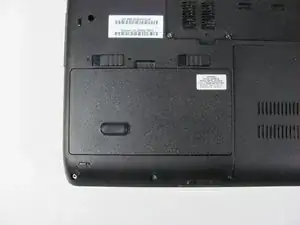
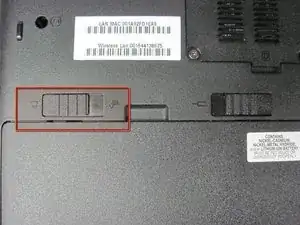
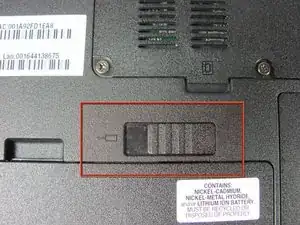
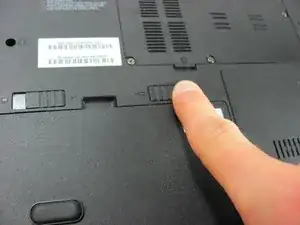
    • Make sure the battery lock switch is switched to the unlocked position.

    • The battery is unlocked when the battery lock switch is slid to the side with an image of an unlocked lock.

  2. THHqDxNA6MXFkTwi
    THHqDxNA6MXFkTwi
    vwNqrMfSEBV5ITIL
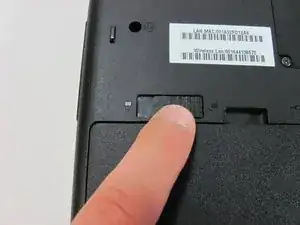
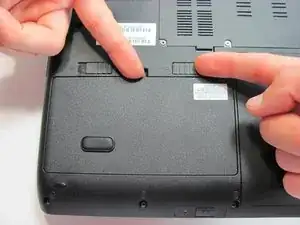
    • Slide the battery release switch to the left.

    • The switch is spring loaded, so you must hold the switch in place while removing the battery.

  3. XPvCrG255Cx3wDUL
    XPvCrG255Cx3wDUL
    mirIw4JqnSe4HREv
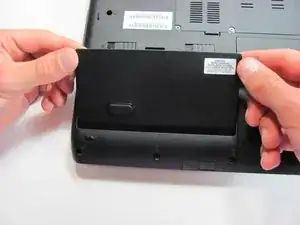
    • Using a finger, lift up the battery.

    • The battery release switch must be held in place.

  4. 3VEpWbRd5uM2eTUf
    3VEpWbRd5uM2eTUf
    wnpcIYC4nJWDOP6y
    mexQeKG3ZlFT2cCw
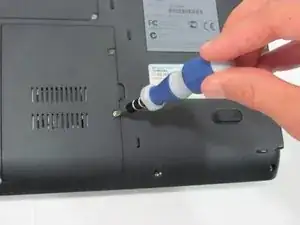
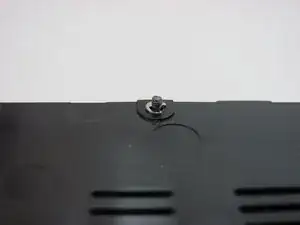
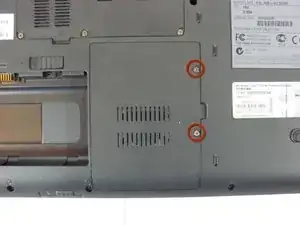
    • Remove the two Phillips screws holding the panel in place.

    • These screws cannot be removed completely from the panel. They are fastened to the panel to avoid loss.

  5. fJrJujuVw4tEsMOy
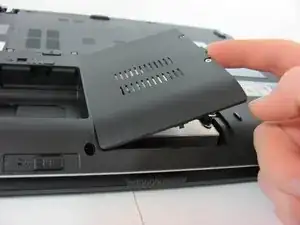
    • To remove, lift up the panel's tab.

  6. 4ueTRpsffUlRIG2E
    4ueTRpsffUlRIG2E
    ohcjxOKIvsFNRBmT
    b3ruIUpSyD1BViYK
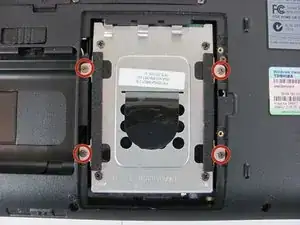
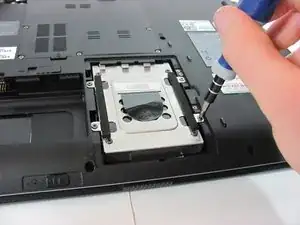
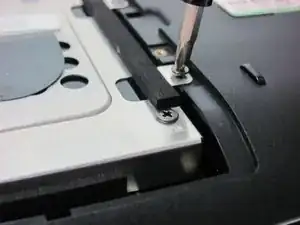
    • Remove the screws attaching the hard drive and bracket.

    • Four 4.6 mm Phillips screws.

  7. YAXwfXLYrAeW5VhF
    YAXwfXLYrAeW5VhF
    1e24c1D24FXEJA1B
    6Y6BMkKKEPotOtcZ
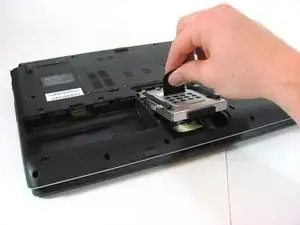
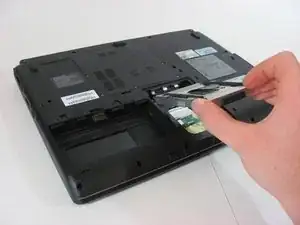
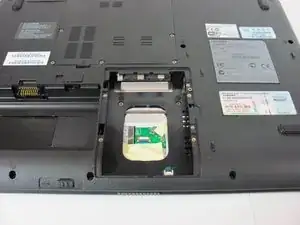
    • Lift up the black tab to expose hard drive.

    • Grab the hard drive bracket and pull to remove.

  8. kB3KcRj1TBGJRMSr
    kB3KcRj1TBGJRMSr
    g4kGNOosBjIVYqwx
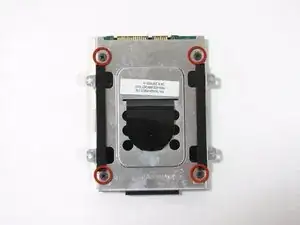
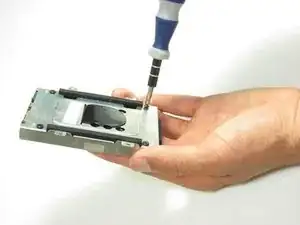
    • Remove the screws attaching the hard drive to hard drive bracket.

    • Four 3.6 mm Phillips screws.

  9. c4uDy1kFYCKJi2rr
    c4uDy1kFYCKJi2rr
    FnATEZbMymCFjMWC
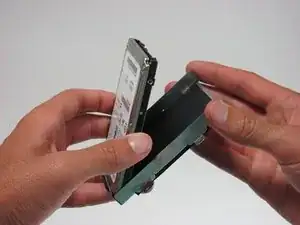
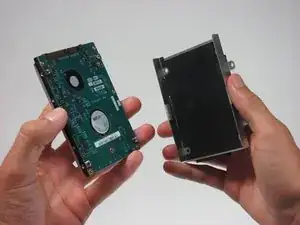
    • Separate the hard drive from hard drive bracket to complete removal.

Conclusion

To reassemble your device, follow these instructions in reverse order.
Stephen Sippel

Member since: 16/04/13

194 Reputation

0 comments