Introduction

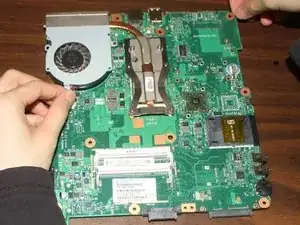
In order to replace the motherboard the hard drive, RAM, keyboard and motherboard cover need to be removed.

  1. rsZfbiTU5bFnIpvD
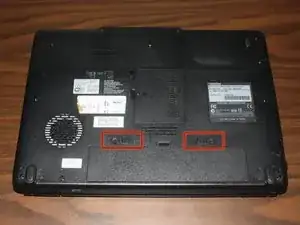
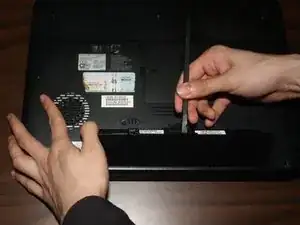
    • Locate the two sliding battery locks on the underside of the laptop.

  2. DVVaPQIxyEOZ4RJX
    DVVaPQIxyEOZ4RJX
    mnsBlg2g1VoGZY1G
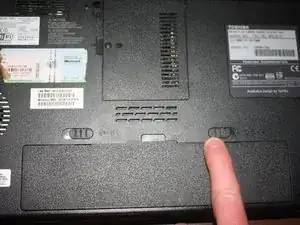
    • Locate the right battery lock and slide it to the right.

  3. UqnScxCURSIdGJKW
    UqnScxCURSIdGJKW
    wMsbyZYHSIGnemOg
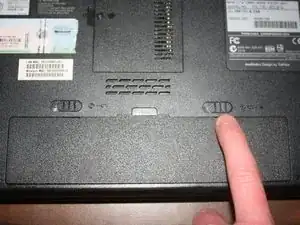
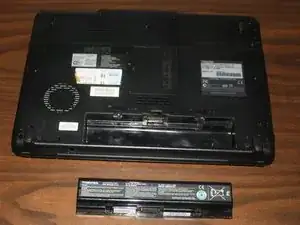
    • While holding the left battery lock to the left, lift up the battery using the tab located on the top center of the battery.

  4. UY14jbjiRACLwbWk
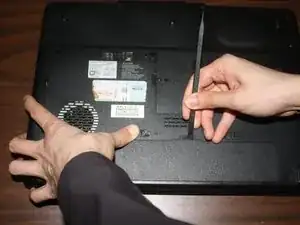
    • Remove the battery from the laptop.

  5. pPgIpTpdl1WV3Kxw
    pPgIpTpdl1WV3Kxw
    WbmCPQwlJyYKaHkQ
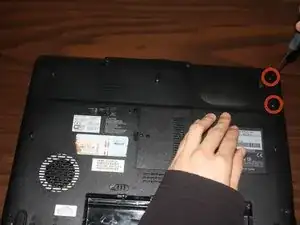
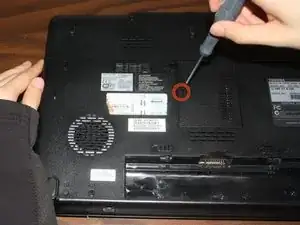
    • Unscrew the screws enough to remove the top cover.

  6. jOx3QTlc533qggan
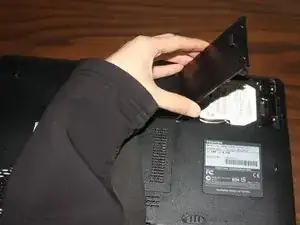
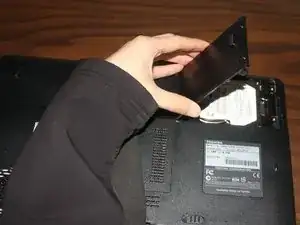
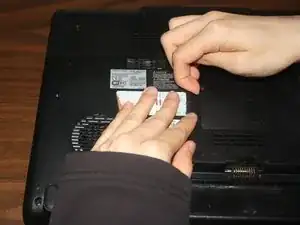
    • Remove the cover by lifting the right side up at an angle before removing the entire cover.

  7. YT4aDBnPXcqT2P5S
    YT4aDBnPXcqT2P5S
    DV6dl3dKnuWvb3UV
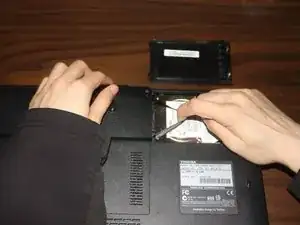
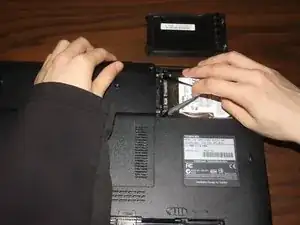
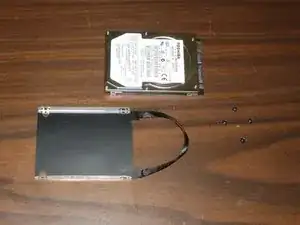
    • Remove the hard drive from the SATA slot by tugging lightly on the ribbon cable to the right.

  8. MW6mTITdpVJxZyTb
    MW6mTITdpVJxZyTb
    34hj2AMV1xhClu4I
    P3Jlrgj3XvXLYZB3
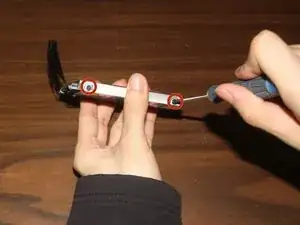
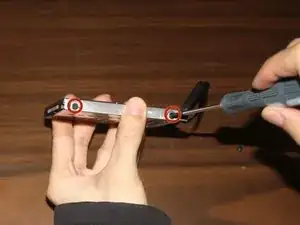
    • To separate the hard drive from the caddy, unscrew the two screws.

  9. GXaiCAj1X5bNM64I
    GXaiCAj1X5bNM64I
    ZRf6eOqArK1sLaxa
    AFrMKcNukGMaHQPO
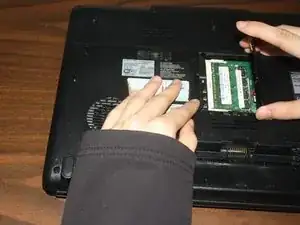
    • Unscrew the RAM cover and rotate the cover up to remove it. The screw should not be fully removed from the cover itself.

  10. FXN6XSDRQKT5Gl5X
    FXN6XSDRQKT5Gl5X
    thWUMmKdIyvgXFmg
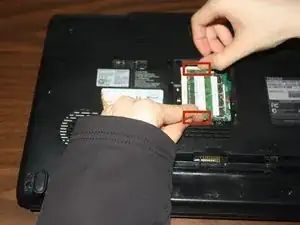
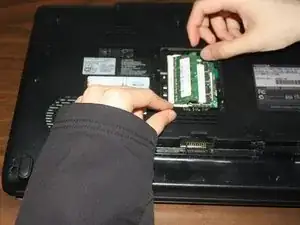
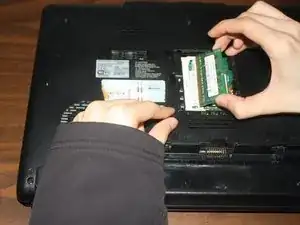
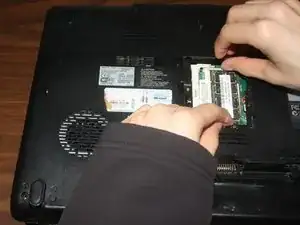
    • Push the small levers at the sides of the RAM module away from each other. The RAM module should automatically rotate upwards.

  11. uWLM2QivpZiMEbnw
    uWLM2QivpZiMEbnw
    k2ObrLWaQTD5tsOB
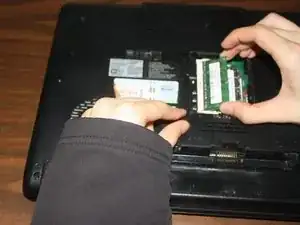
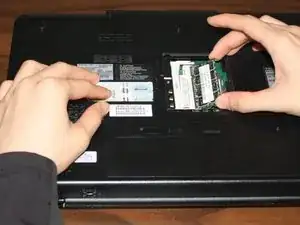
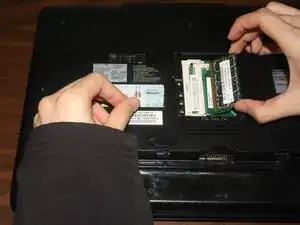
    • Remove the RAM module by pulling it out at the angle it was rotated to.

  12. 3MUyPRPQVnUEE2JU
    3MUyPRPQVnUEE2JU
    RAuZit5YIiBHvPAK
    L13vD2244tlo3XrA
    • If you want to replace the second RAM module, apply steps 2 and 3 to do so.

  13. FVCtYWGXny2E1s1V
    FVCtYWGXny2E1s1V
    TINinKaTQvX6aBBA
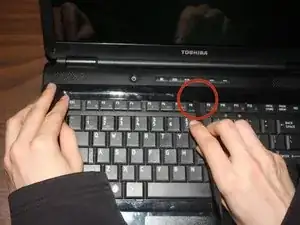
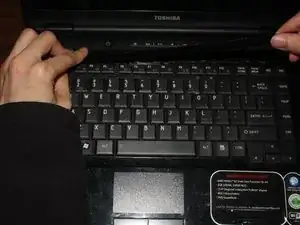
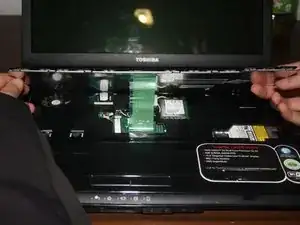
    • Locate the plastic strip at the top of the keyboard.

    • Use a pry tool to remove the plastic strip.

    • Using your hands pull out the rest of the plastic strip.

  14. SuJOopFVPPxaOmwh
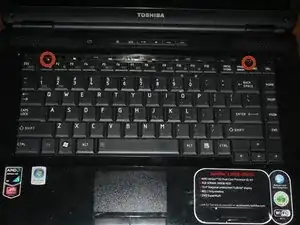
    • Use a phillips head #0 screwdriver to remove the two 3.75mm screws holding the keyboard in place.

  15. S2FjgLFYOvRiARfU
    S2FjgLFYOvRiARfU
    qSZoAcXlfLvQeuDG
    NBKTQEkV2drjGM6d
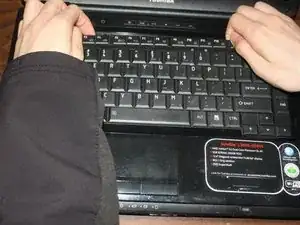
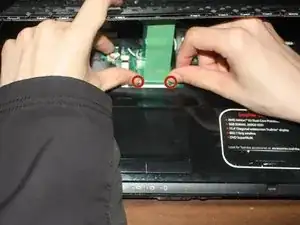
    • Lift up the top of the keyboard to remove it.

    • Under the keyboard there is a ribbon cable connecting the keyboard to the laptop. Do not just quickly pull out the keyboard.

    • Unlock the ribbon cable by pushing on the locks that are located on both sides of ribbon cable.

    • Unplug the ribbon cable from the laptop.

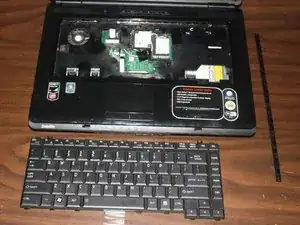
  16. T2HvnPmIjts2E1qZ
    • Remove the keyboard completely from the laptop.

  17. HhJyLaCWFTdDwPhS
    HhJyLaCWFTdDwPhS
    5GjXkV5CpNNOVixY
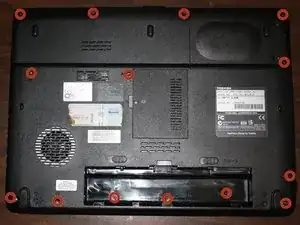
    • Remove all 6.75mm screws from the bottom of the laptop. The 3 screws under the battery are 3.75mm.

    • Remove all 5.25mm screws from the top of the laptop.

  18. ZEXxD34GgIfyWK4N
    ZEXxD34GgIfyWK4N
    yNLdTH6QDvWAvba6
    CrLdnIRn6b2RvVUp
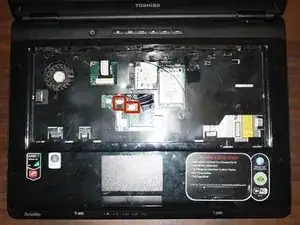
    • Unplug the wires highlighted with red squares.

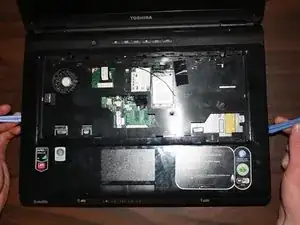
    • Using a pry tool and yours hands to remove the motherboard cover.

  19. FS2wPvlUgUAmOhiC
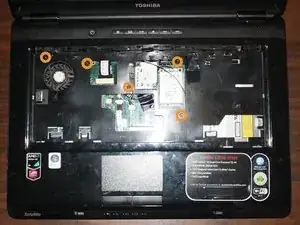
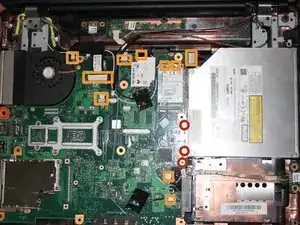
    • Unscrew all the screws indicated by the red circles (The bottom two screws are 10.75mm and the top screw is 5mm).

    • Unplug all the wires indicated by the orange squares.

    • Some wires may have a lock on them that needs to be pulled out before the wire is removed.

    Please where is the CMOS here?

    Olatunde Fasanya -

  20. 3oK6rmQTrUcVK4ED
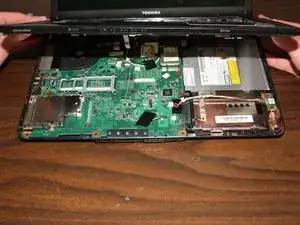
    • At this point the motherboard can be fully removed from the laptop.

Conclusion

To reassemble your device, follow these instructions in reverse order.
William

Member since: 26/03/14

875 Reputation

0 comments