Introduction
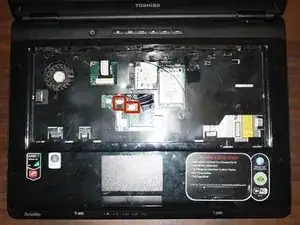
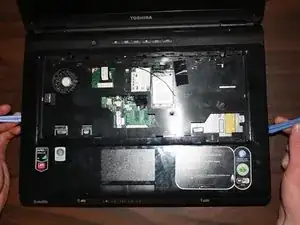
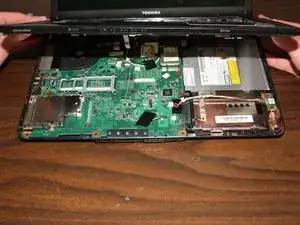
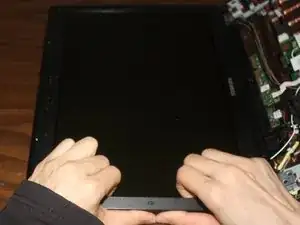
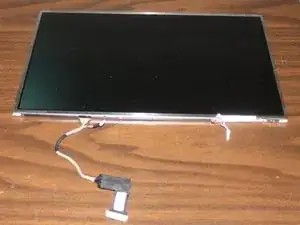
In order to replace the LCD screen on your device the keyboard and motherboard cover need to be removed.
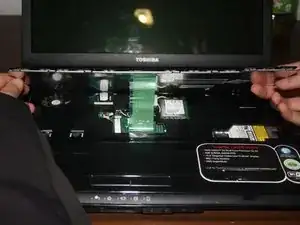
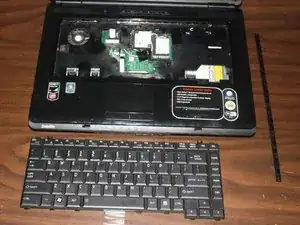
The keyboard needs to be removed due to the cable connecting it to the motherboard interfering with the removal of the top part of the motherboard case.
The top part of the motherboard case needs to be removed due to it being in the way of the removal of the front part of the LCD case.
Tools
-
-
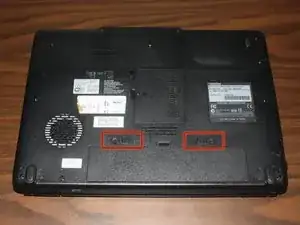
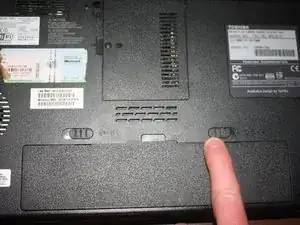
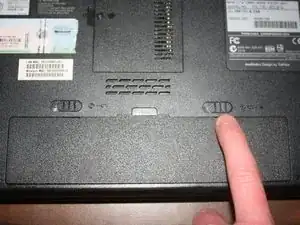
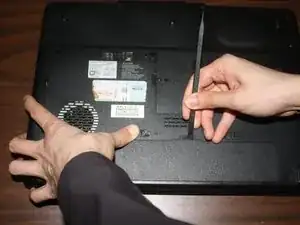
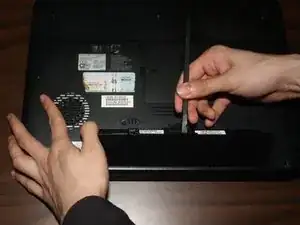
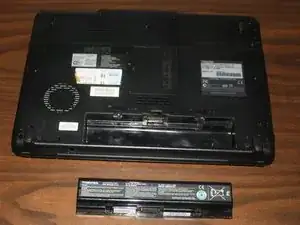
While holding the left battery lock to the left, lift up the battery using the tab located on the top center of the battery.
-
-
-
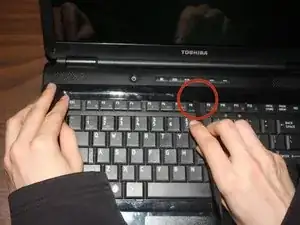
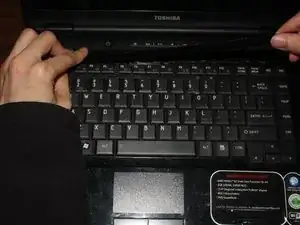
Locate the plastic strip at the top of the keyboard.
-
Use a pry tool to remove the plastic strip.
-
Using your hands pull out the rest of the plastic strip.
-
-
-
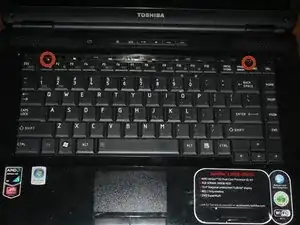
Use a phillips head #0 screwdriver to remove the two 3.75mm screws holding the keyboard in place.
-
-
-
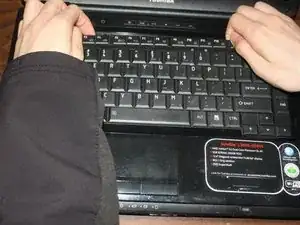
Lift up the top of the keyboard to remove it.
-
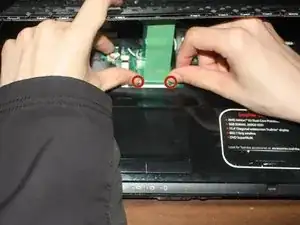
Unlock the ribbon cable by pushing on the locks that are located on both sides of ribbon cable.
-
Unplug the ribbon cable from the laptop.
-
-
-
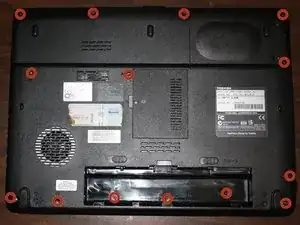
Remove all 6.75mm screws from the bottom of the laptop. The 3 screws under the battery are 3.75mm.
-
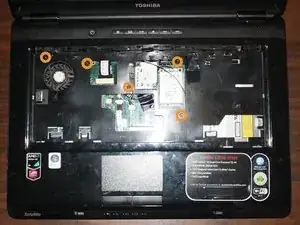
Remove all 5.25mm screws from the top of the laptop.
-
-
-
Unplug the wires highlighted with red squares.
-
Using a pry tool and yours hands to remove the motherboard cover.
-
-
-
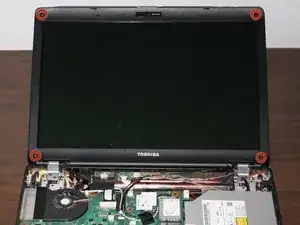
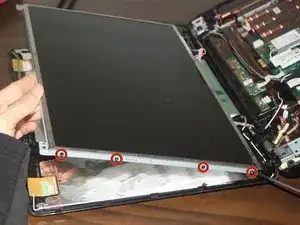
Located and unscrew the four 5.25mm screws located on the four corners of the LCD screen.
-
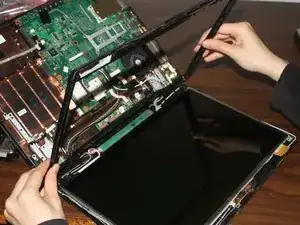
Use your hands to pry off the frame around the LCD screen.
-
Remove the frame from the LCD screen.
-
-
-
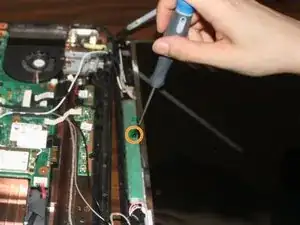
Remove the four 5.25mm screws on the sides of the LCD screen (this step will be done two times, for either side of the screen).
-
Remove the 5.25mm screw shown in the second picture.
-
-
-
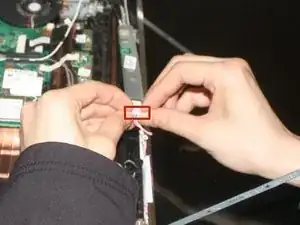
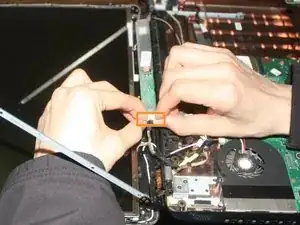
Unplug the wire located on the right side of the chip under the LCD screen
-
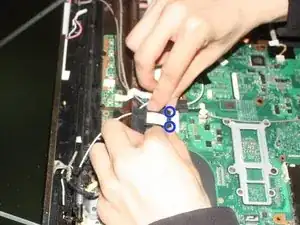
Unplug the wire located on the left side of the chip under the LCD screen. (Laptop has been rotated 180 degrees to complete this step)
-
Unplug the LCD screen from the motherboard.
-
To reassemble your device, follow these instructions in reverse order.
