Introduction

This guide will cover the access to and removal of the hard disk drive for replacement.

  1. rsZfbiTU5bFnIpvD
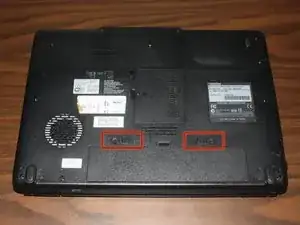
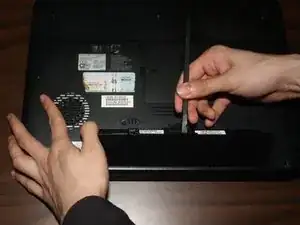
    • Locate the two sliding battery locks on the underside of the laptop.

  2. DVVaPQIxyEOZ4RJX
    DVVaPQIxyEOZ4RJX
    mnsBlg2g1VoGZY1G
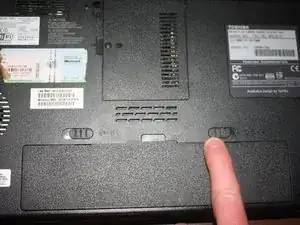
    • Locate the right battery lock and slide it to the right.

  3. UqnScxCURSIdGJKW
    UqnScxCURSIdGJKW
    wMsbyZYHSIGnemOg
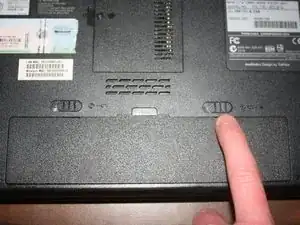
    • While holding the left battery lock to the left, lift up the battery using the tab located on the top center of the battery.

  4. UY14jbjiRACLwbWk
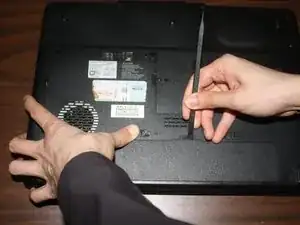
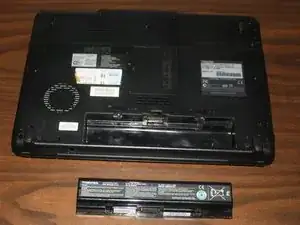
    • Remove the battery from the laptop.

  5. pPgIpTpdl1WV3Kxw
    pPgIpTpdl1WV3Kxw
    WbmCPQwlJyYKaHkQ
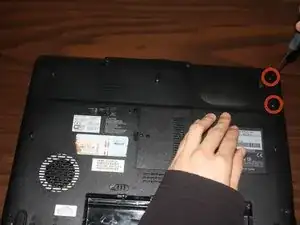
    • Unscrew the screws enough to remove the top cover.

  6. jOx3QTlc533qggan
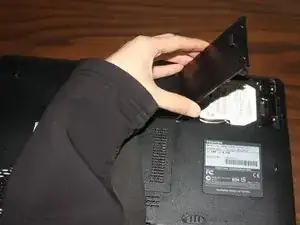
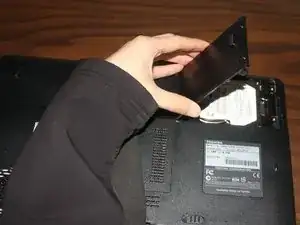
    • Remove the cover by lifting the right side up at an angle before removing the entire cover.

  7. YT4aDBnPXcqT2P5S
    YT4aDBnPXcqT2P5S
    DV6dl3dKnuWvb3UV
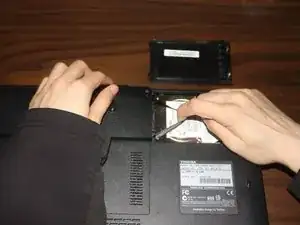
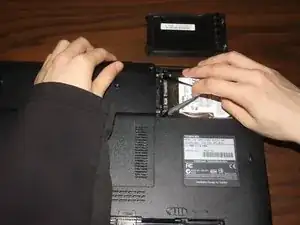
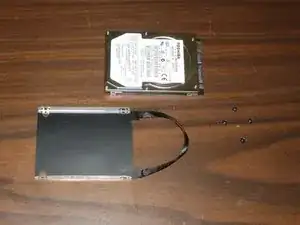
    • Remove the hard drive from the SATA slot by tugging lightly on the ribbon cable to the right.

  8. MW6mTITdpVJxZyTb
    MW6mTITdpVJxZyTb
    34hj2AMV1xhClu4I
    P3Jlrgj3XvXLYZB3
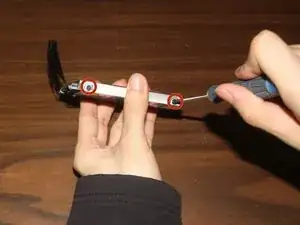
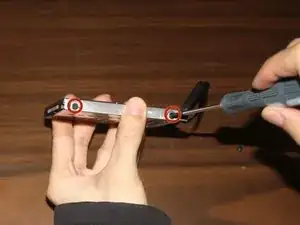
    • To separate the hard drive from the caddy, unscrew the two screws.

Conclusion

To reassemble your device, follow these instructions in reverse order.
Ricky Baker

Member since: 26/03/14

217 Reputation

0 comments