Introduction
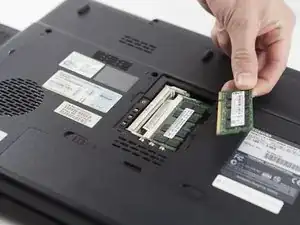
Whether you’re upgrading, replacing, or just toying around with your computer’s RAM, this guide will provide the steps to access and remove the computer’s RAM chips.
Tools
-
-
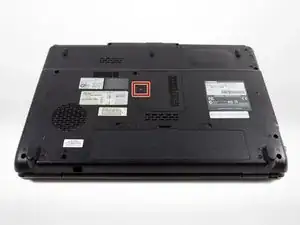
The 5.3 mm Phillips #1 screw boxed in red is located at the center on the underside of the computer.
-
-
-
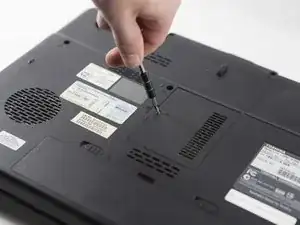
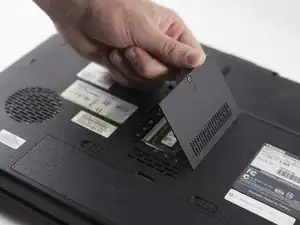
Remove the panel that houses the RAM chips by removing the screw that secures it into its spot.
-
-
-
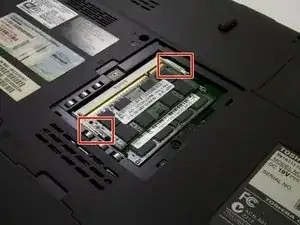
There are two metal holdings boxed in red is located at each side of the RAM chip (left and right).
-
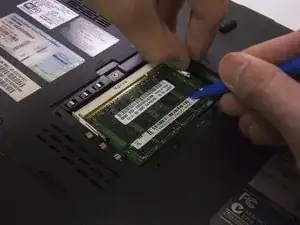
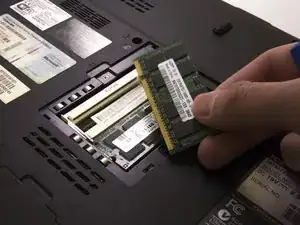
Use a plastic opening tool or your fingers to carefully pull or push up from the underside of the RAM chip until it naturally sits in the socket at an angle.
-
Conclusion
To reassemble your device, follow these instructions in reverse order.
