Introduction
If your keyboard needs a thorough cleaning or needs a replacement, this is the guide you’re looking for. This guide will show you how to safely remove your keyboard from the computer’s shell.
Tools
-
-
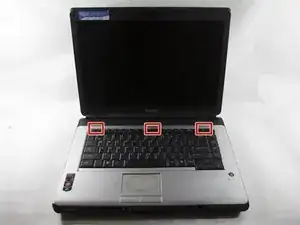
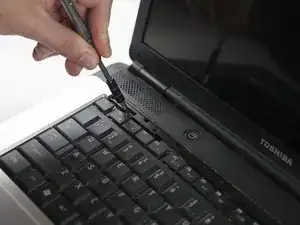
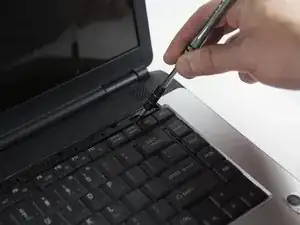
There are three points of contact boxed in red needed to release located at the far left, the far right and the middle of the plastic strip.
-
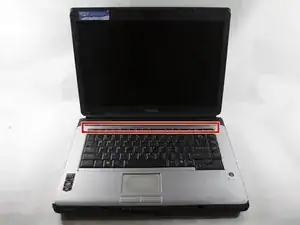
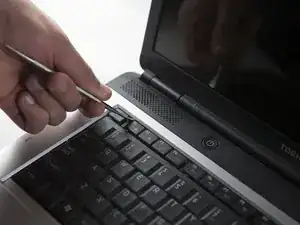
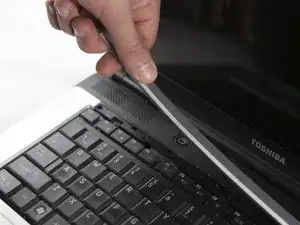
Remove the plastic strip from one far end progressively towards the other end using a metal spludger.
-
-
-
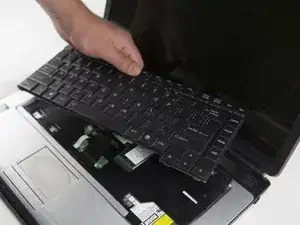
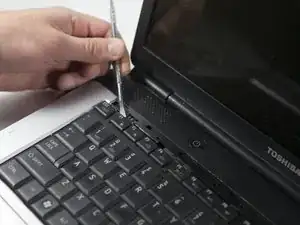
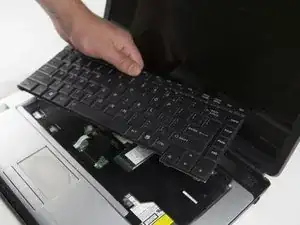
Use the metal spludger to push the keyboard in the direction of the track pad and then lift the keyboard up.
-
-
-
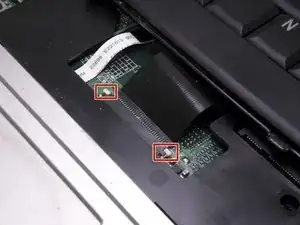
There are two tab boxed in red is located at each side of the ZIF (zero insertion force) connector.
-
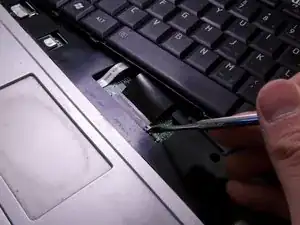
Use a metal spludger to push the tab upward in order to release the cable ribbon.
-
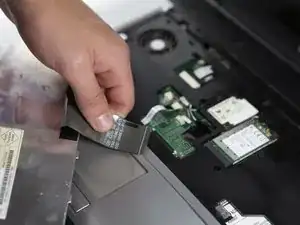
Carefully pull out the ribbon cable from the ZIF (zero insertion force) connector.
-
To reassemble your device, follow these instructions in reverse order.
