Introduction
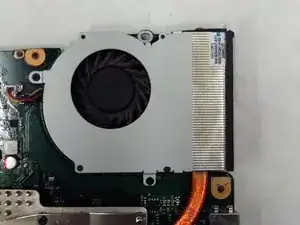
If your cooling fan fails or your computer overheats easily, it might be time to upgrade or replace your cooling fan.
Tools
-
-
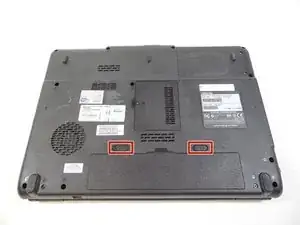
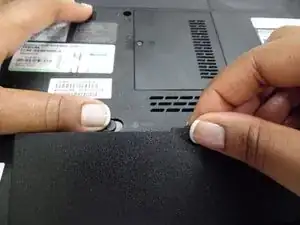
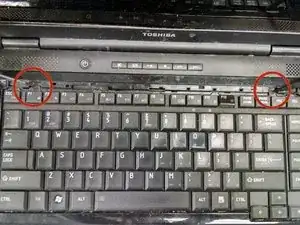
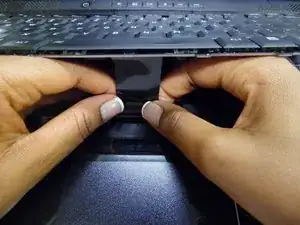
Slide the lock tabs outward. The right tab will lock into place, but the left tab must be held in place.
-
-
-
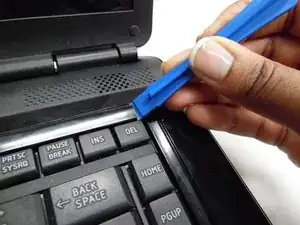
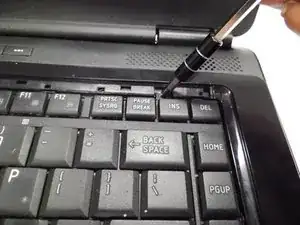
Use a plastic opening tool to lift out keyboard lining portion located at the top of the keyboard.
-
-
-
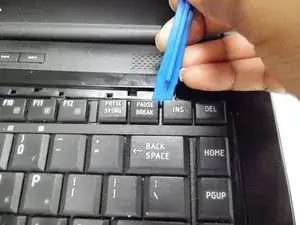
Use plastic opening tool to pry out the keyboard, starting by the 'delete' key in the top right corner.
-
-
-
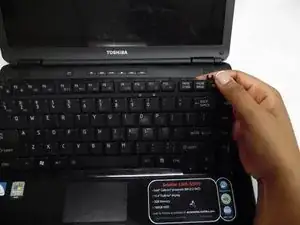
Lift the keyboard up and locate the ribbon.
-
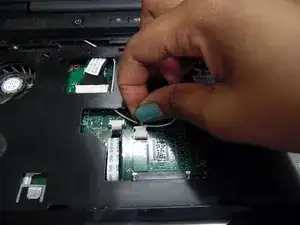
Gently pull the ribbon out of its compartment to release it from the motherboard.
-
-
-
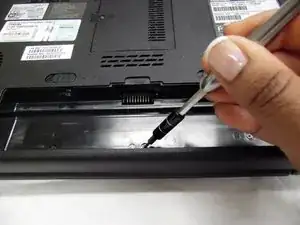
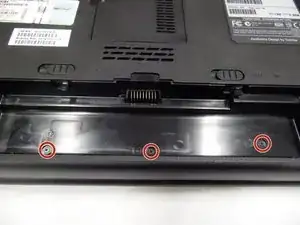
Once the battery is removed, locate and unscrew the 3.2 mm PH1000 Phillips head screws that are underneath the battery.
-
-
-
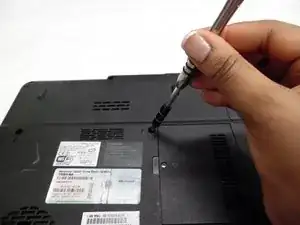
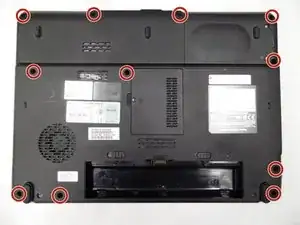
Unscrew all 6.7 mm PH1 Phillips head screws marked "F6" located on the back of your computer.
-
-
-
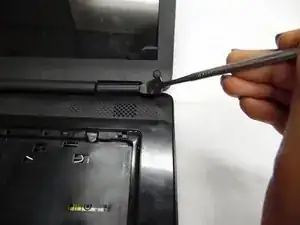
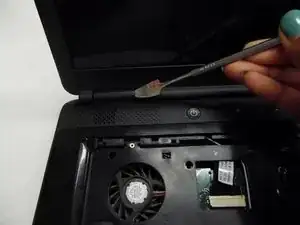
Pry open and remove the protective casing by using any flat-headed utensil at the hinges to expose the motherboard. You should hear it click when it unlatches.
-
Repeat this same process on the other hinge.
-
-
-
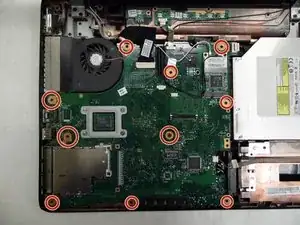
Unscrew all screws attached to the motherboard including the 3 following types of screws: Phillips head PH1 4.9 mm, 10.7 mm, and 4.3 mm.
-
-
-
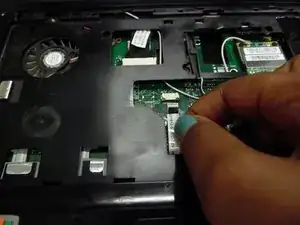
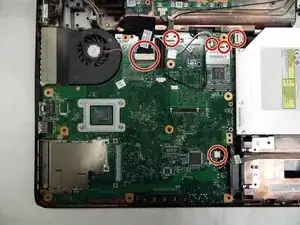
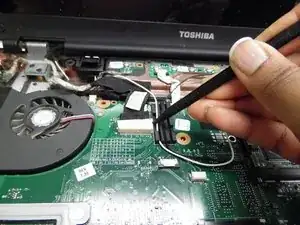
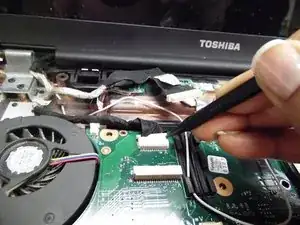
Push the head of the ZIF ribbon cable gently using a spudger until it detaches from the connector.
-
Repeat this step for the second ZIF ribbon cable.
-
-
-
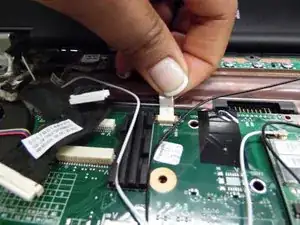
Pull the cable straight out from the connector to disconnect it.
-
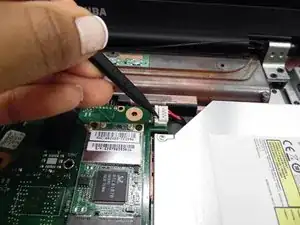
Push each side of the sliding connector using the tip of a spudger carefully.
-
Repeat previous step for bottom part of the sliding connector.
-
-
-
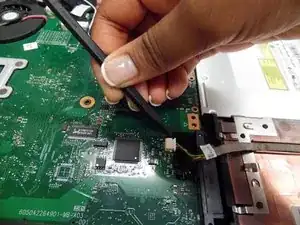
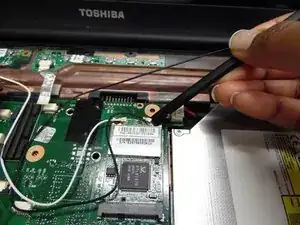
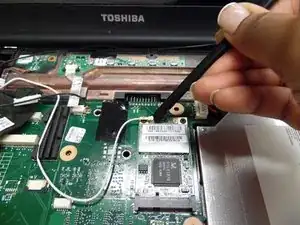
Pry the antenna cable connector straight up from the board using the flat edge of a spudger.
-
Repeat the previous step for the second antenna cable.
-
-
-
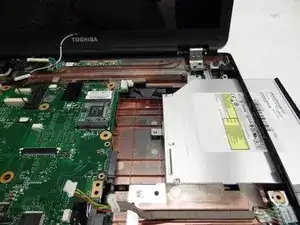
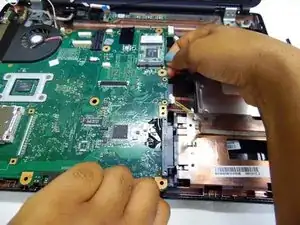
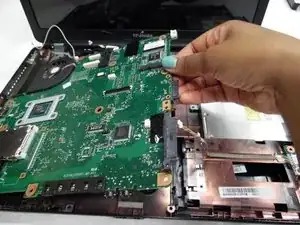
Place both hands on the front and right side of the motherboard, using your thumb and index finger, pinch it off of the latches.
-
Lift the motherboard up once the latches are detached.
-
-
-
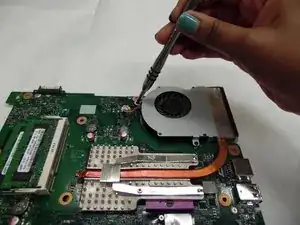
Flip the motherboard over and locate the fan.
-
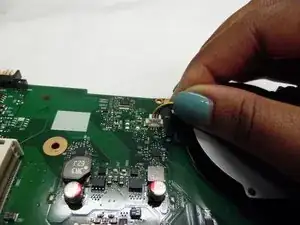
Unscrew the two Phillips head PH1 4.3 mm screws connecting the fan to the motherboard and pull up on the 3 colored wires until they are detached.
-
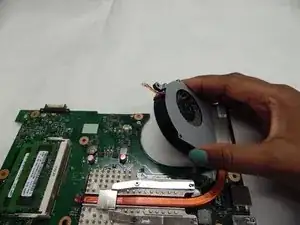
Lift the fan up and slide it out from the motherboard. Now you are ready to put in your new fan.
-
To reassemble your device, follow these instructions in reverse order.
