Introduction
Tools
-
-
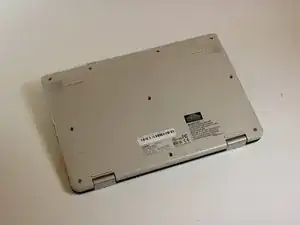
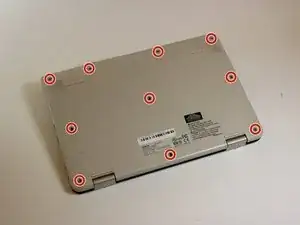
Unscrew the 10 5mm Phillips screws, located on the bottom side of the notebook using the PH1 bit and the Magnetic Driver.
-
-
-
Pry open the bottom cover of the notebook with the plastic spudger tools. Slide a thin tool along the edges without ports to pop open the latches.
-
-
-
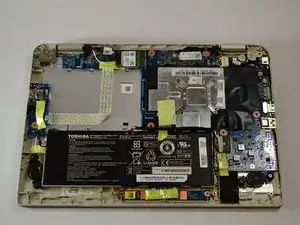
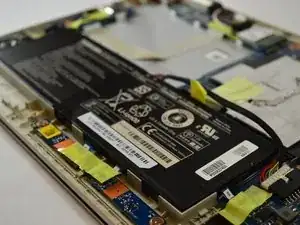
Remove the 1" yellow tape on top of the battery. This piece of tape is holding down the battery connection cable.
-
-
-
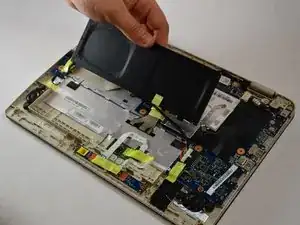
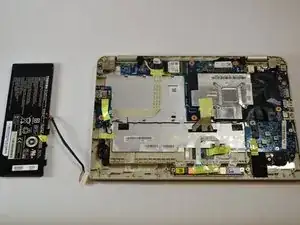
Lightly grip the battery on the two longest sides. Gently pull up until the adhesive on the notebook is separated from the battery.
-
-
-
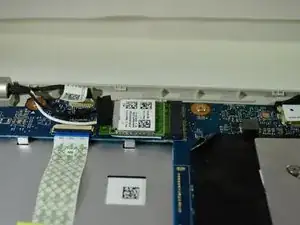
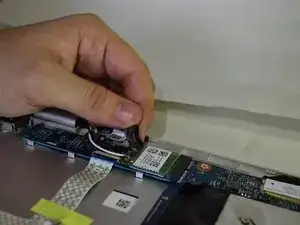
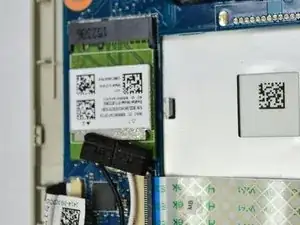
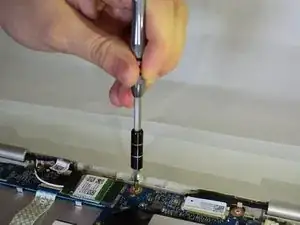
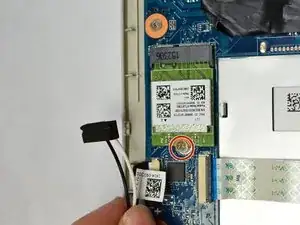
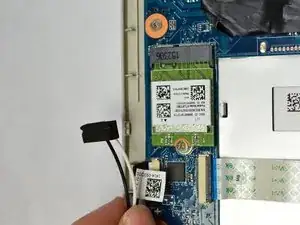
Carefully use the PH1 screw head to unscrew the one 3mm screw on the network card found near the hinge at the top.
-
Conclusion
To reassemble your device, follow these instructions in reverse order.
