Introduction
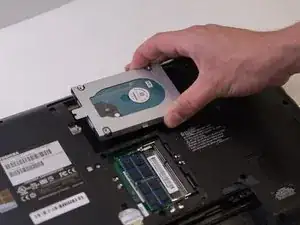
The hard disk drive is an essential component to a laptop. This guide will show you how to safely remove and replace your hard disk drive when your device needs a new one.
Tools
-
-
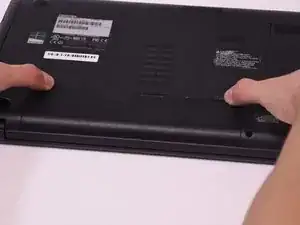
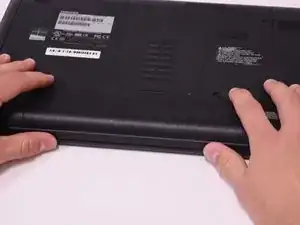
Use two fingers to pull the ridged lock tabs on the bottom of the computer toward the edges. This will unlock the battery.
-
-
-
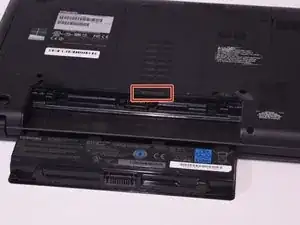
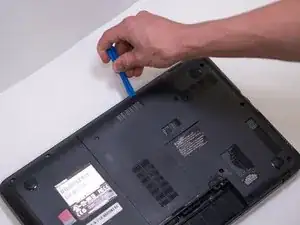
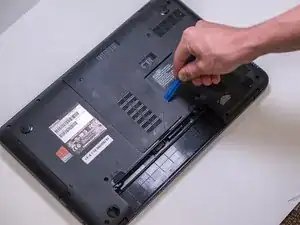
Holding the left tab in place, use the groove located between the two tabs to pry the battery up and out.
-
-
-
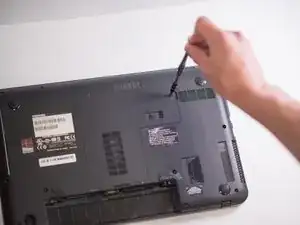
Remove the 7mm Phillips screw located on the back panel of the device using the J1S Phillips head screwdriver.
-
-
-
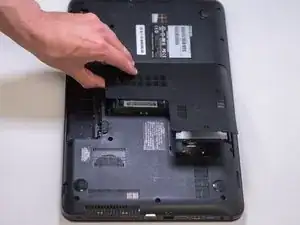
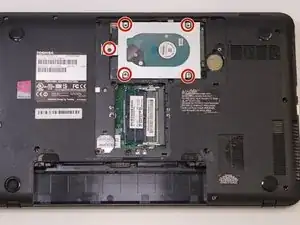
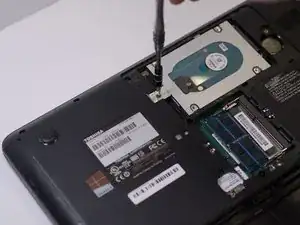
Locate and unscrew the five 3.5mm screws holding the hard drive in place using the J1S Phillips head screwdriver
-
-
-
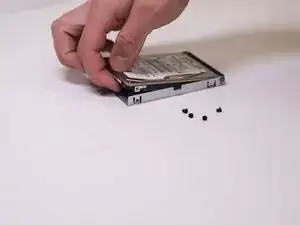
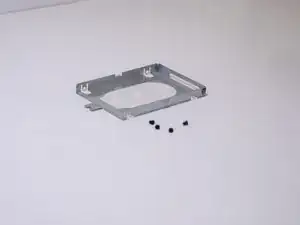
Remove the four 2mm Phillips screws from the HDD tray securing the disk using the J1S Phillips head screwdriver.
-
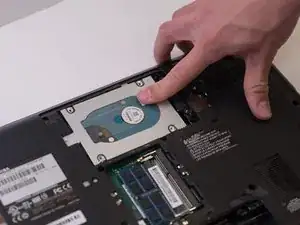
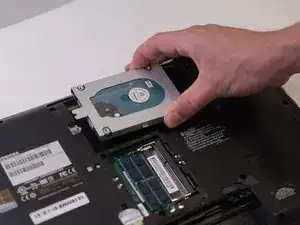
Remove the hard drive from the tray.
-
To reassemble your device, follow these instructions in reverse order.
