Introduction

This guide will show you how to replace your Toshiba's DVD tray when it is no longer working correctly.

  1. ZRCYnalbBPeCaoMW
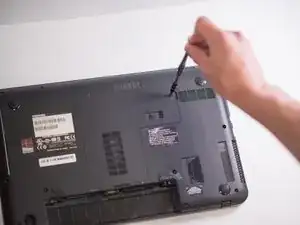
    • Remove the 7mm Phillips screw located on the back panel of the device using the J1S Phillips head screwdriver.

  2. nDKGRQmrIxO6sRrW
    nDKGRQmrIxO6sRrW
    AkQnxuIObgqoq1fG
    dhwcmVSZsUdauFOK
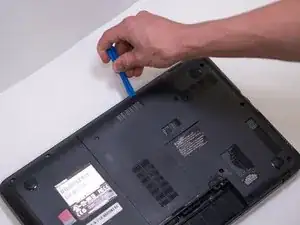
    • Pry the back panel out of the laptop using the spudger tool

  3. xAZWqnFsJJJIW2cE
    xAZWqnFsJJJIW2cE
    q2Cse4JH1R6LxOrt
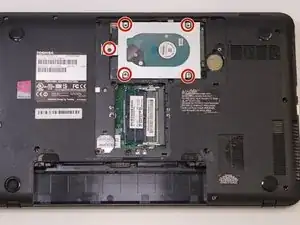
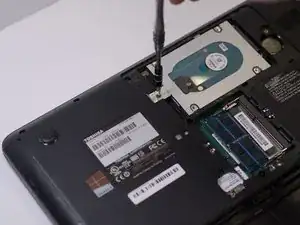
    • Locate and unscrew the five 3.5mm screws holding the hard drive in place using the J1S Phillips head screwdriver

  4. WuvKqrV2ECad2FPM
    WuvKqrV2ECad2FPM
    b42dKXDWNRRmLJaS
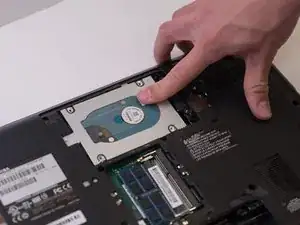
    • Slide the HDD towards the sticker on the left.

  5. BGELANykeZtKyN1Z
    BGELANykeZtKyN1Z
    rUheOQ1v14ppGoFm
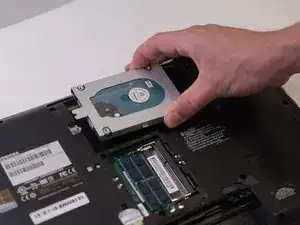
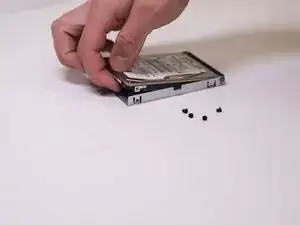
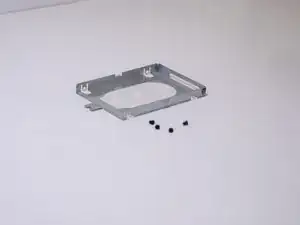
    • Remove the four 2mm Phillips screws from the HDD tray securing the disk using the J1S Phillips head screwdriver.

    • Remove the hard drive from the tray.

  6. YpZdTt54CUsLAAtD
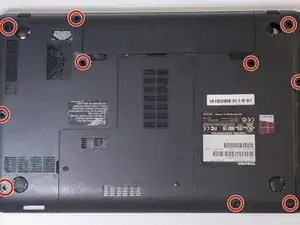
    • Remove the ten 7mm screws located on the bottom of the laptop using the J1S screwdriver.

  7. Vh4bXQRTpCNABPLp
    Vh4bXQRTpCNABPLp
    lBA4RuRIsvcCPyLS
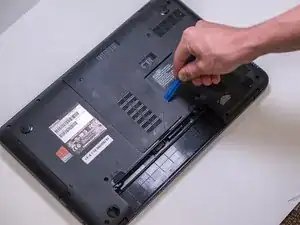
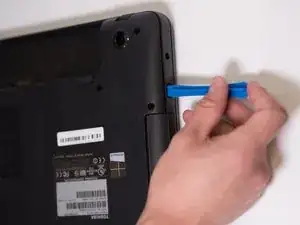
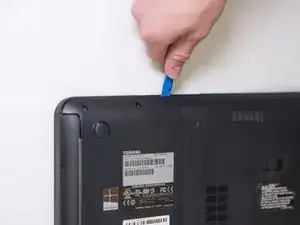
    • Insert a plastic opening tool and follow the edges to open the panel.

  8. y3XAJdEJBvMLktOI
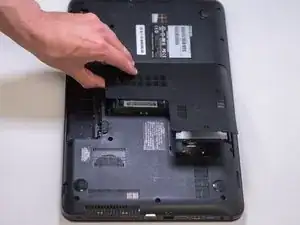
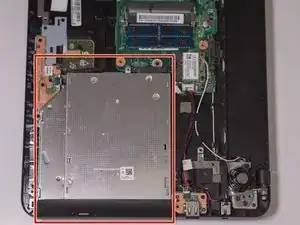
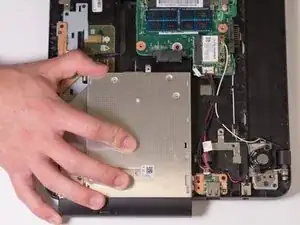
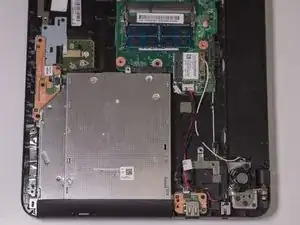
    • Once open, locate the CD tray indicated in this picture.

  9. ADKsfYJuH2VH6cNT
    ADKsfYJuH2VH6cNT
    JIRPtKwCaEXARMQR
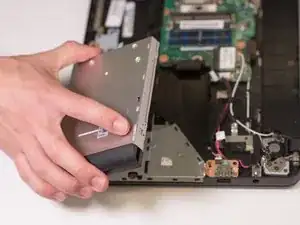
    • Lift the tray up and out.

Conclusion

To reassemble your device, follow these instructions in reverse order.
Claire Fletcher

Member since: 05/04/18

958 Reputation

0 comments