Introduction
Please remember to disconnect and remove all power sources before beginning disassembly, including AC power cord and battery.
Tools
-
-
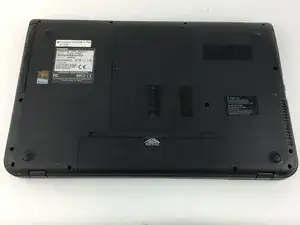
To begin replacing your battery, flip the laptop over so that the back is visible. Locate the battery at the bottom center of the laptop.
-
-
-
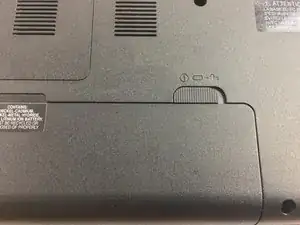
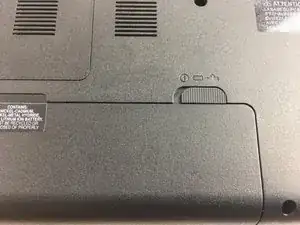
On the right side of the battery there will be a locking switch. Slide the switch into the unlocked position.
-
-
-
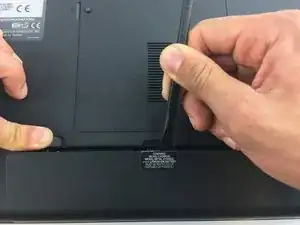
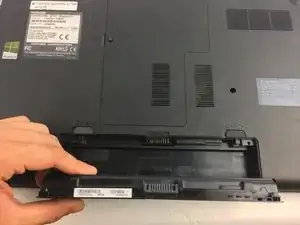
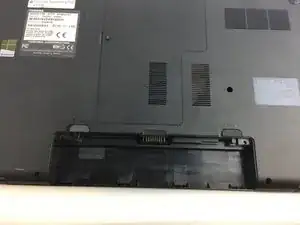
Using your left hand, move the switch on the left side of the battery towards the center of the laptop while simultaneously prying up on the center of the battery with a spudger. The battery will flip out and can be removed.
-
-
-
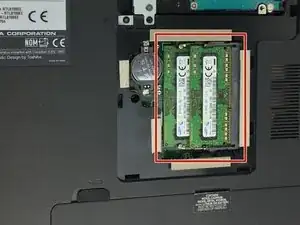
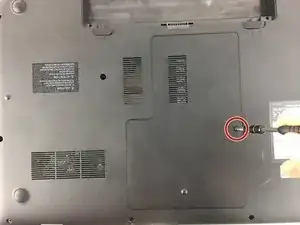
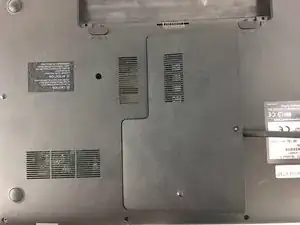
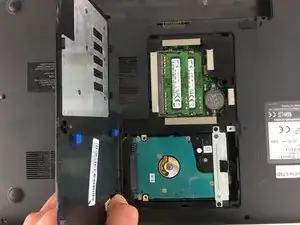
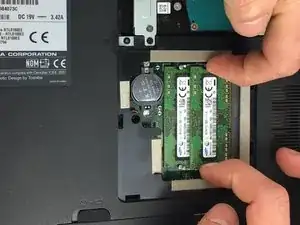
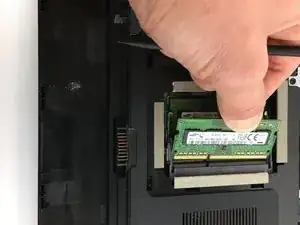
Remove the 7mm screw near the center of the back of the laptop with a P1 screwdriver and pry off the access panel with a nylon spudger.
-
To reassemble your device, follow these instructions in reverse order.
