Introduction

If your keyboard is inoperable, use this guide to remove and replace the keyboard.

  1. RnbWapDTJLp2DWG6
    RnbWapDTJLp2DWG6
    bau6hlKh3oCrGO64
    • Turn off your device before starting.

    • Flip the phone over so that the back camera is facing you.

  2. f3qYARdJhbsyX6w6
    f3qYARdJhbsyX6w6
    ITiV1CS1FImQFEkQ
    gqUIRVeQUIkLatEd
    • Use a your hands to remove the backing of the phone.

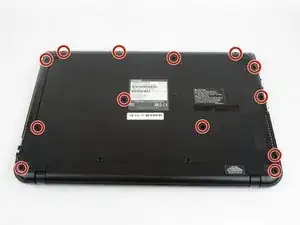
    • Use your phillips screwdriver to begin removing all the accesible screws.

    • Now begin to remove the coverings above and below the middle plate with your hand.

    • use your hand or a tool to remove the tabbing on the metal plate covering the battery.

    • Remove the metal plate covering the battery.

    • Use your wedging tool to begin removeing the adhesive under the battery.

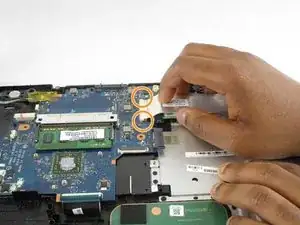
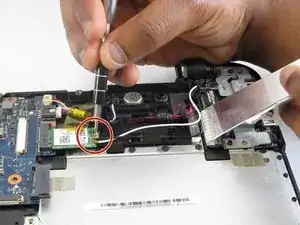
    • Remove these two screws with your phillips screw driver.

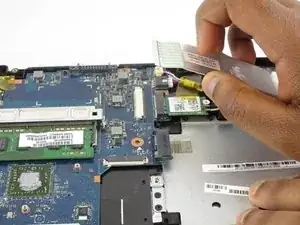
    • Open the two metal tabs

    • Flip the phone back over with the screen facing you.

    • Begin to use the wedging tool to remove the space bar off of the keyboard.

    • remove the screws on each end of the space bars vacant lcoation.

    • Grab the wedging tool and begin wedging the old keyboard.

    • begind wedging the back of the keyboard until free.

    • Begin deperating the keyboard from the backing.

    • grab your replacement keyboard and connect it to the backing of the old keyboard.

    • place the keyboard back onto the front of the phone

    • once placed, hold the keyboard onto the phone while clicking the two metal plates back down to connect the keyboard.

  3. vjy4pMQAhI2UcPPS
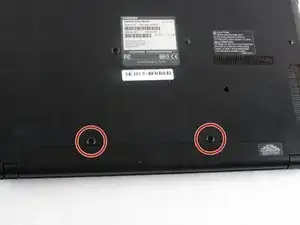
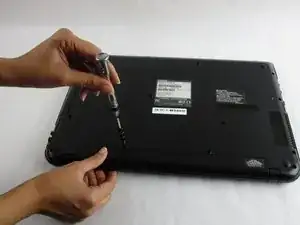
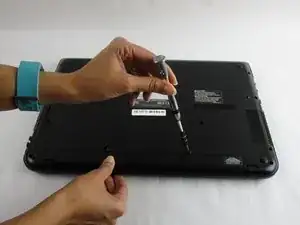
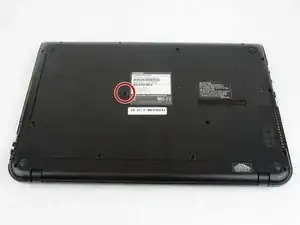
    • Use a Phillips #1 screwdriver (PH1 bit) to remove the single 7 mm screw that secures the CD/DVD drive.

  4. tLFxyuonwjQJFmUn
    tLFxyuonwjQJFmUn
    x3aTxOwWkGlXEUQW
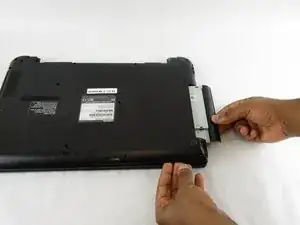
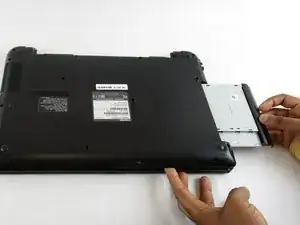
    • Slide the CD/DVD Drive out of the laptop.

  5. p1BZC54WbQZFulvY
    • Remove the remaining thirteen 7 mm Phillips screws holding the back cover using the PH1 bit and Magnetic Driver.

  6. HfLa3GArCVLcFVXg
    HfLa3GArCVLcFVXg
    hY2rJ1M1LPGuQYVN
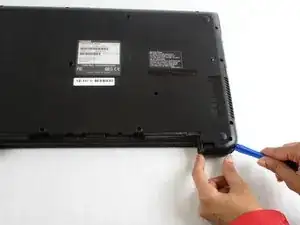
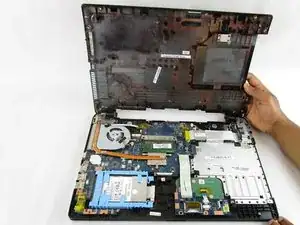
    • Using the plastic opening tools, separate the back cover from the laptop.

    • It is recommended that you start from a corner and run the tool along the edge of the cover.

    • Be careful not to bend or crack the plastic back cover.

  7. wAKfgXL3VQY3IuUc
    wAKfgXL3VQY3IuUc
    WblE1n2AdMc4UI1O
    Ikt2SqdAJRODQwcl
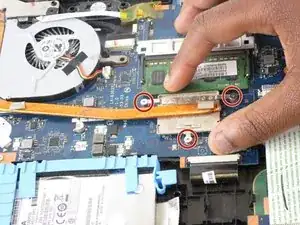
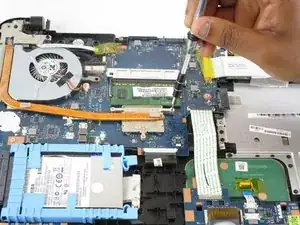
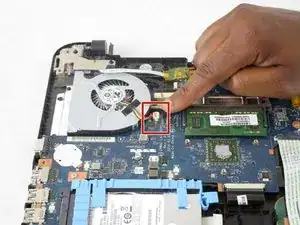
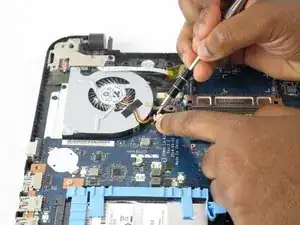
    • Remove the three 3 mm Phillips screws holding the fan cable in place using the PH1 bit and Magnetic Driver.

    • Lift the fan cable connector from the fan.

  8. SwVC3NfmEZMHFypK
    SwVC3NfmEZMHFypK
    wQQfSssxHRNlhXud
    Kvy1KSjtQH5Mmchg
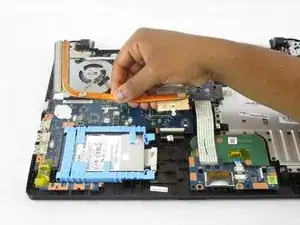
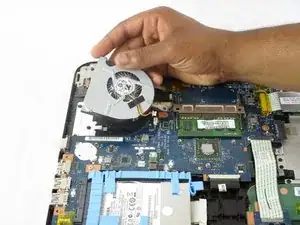
    • Remove the fan from the plug by releasing the clamps located on each side of the socket.

    • Slide the connector out of the socket.

    • Lift the computer fan from the motherboard.

    Cleaned fan, now wont power up, no light on power button but light on front shows it is plugged in. Please advise.

    Karen Hunt -

  9. WCRrjOlUMypYw5cg
    WCRrjOlUMypYw5cg
    tQRh1b3SFdMlkRwH
    R44NgeCdQW5kJGJA
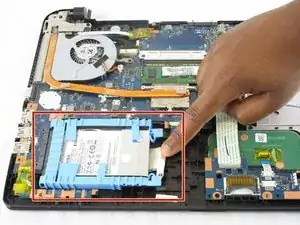
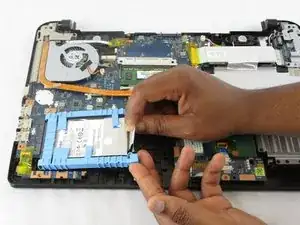
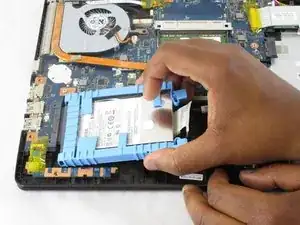
    • Using the ribbon beneath the hard drive lift it upwards and pull the hard drive out.

  10. nSmsDc2DTtsIADrx
    nSmsDc2DTtsIADrx
    vDotlLQeh4iYINDU
    ZKGpnXp1NIpqmpNj
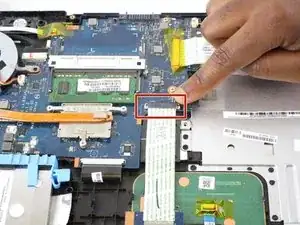
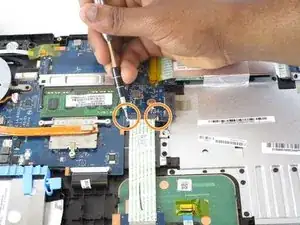
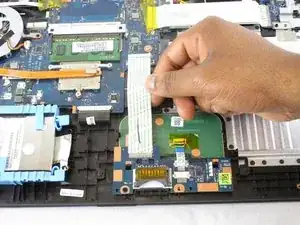
    • The white touchpad ribbon must be disconnected from the motherboard connection socket.

    • Release the two clamps holding the ribbon in place.

    • Slide the ribbon from the motherboard connection socket.

  11. oAJXWYeNXjLWBGHO
    oAJXWYeNXjLWBGHO
    I2WKmGPRhGTYht2u
    q2cGqXcPK3TyqBRE
    • Remove the white ribbon connecting the USB ports to the motherboard.

    • Release the two holding clamps.

    • Slide the ribbon out of the motherboard holding socket.

  12. jJBiwrpDndLEHK6X
    • Remove the 7 mm Phillips screw holding the USB Driver to the motherboard using the PH1 bit and Magnetic Driver.

  13. MGSgXcecKJd4NpDO
    MGSgXcecKJd4NpDO
    npo3P3OiIpuUdtvH
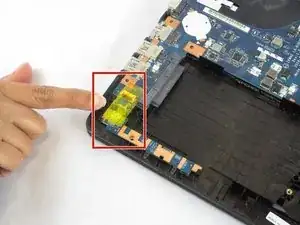
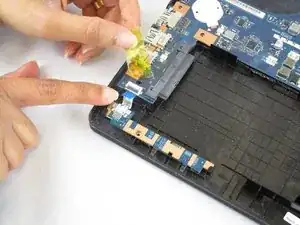
    • Remove the blue ribbon connecting the hard drive hardware to the motherboard by first lifting the yellow protective tape.

    • Slide the blue ribbon from its connection socket.

  14. RBeWlmukgWUdY4N6
    RBeWlmukgWUdY4N6
    DB6m2MG6LvMePS4u
    tFyVOaPFhCmnJdb3
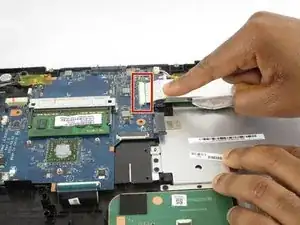
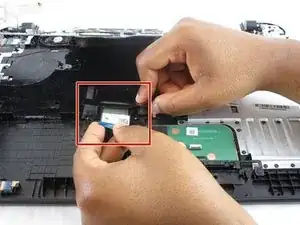
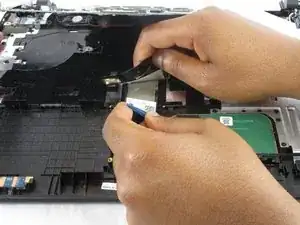
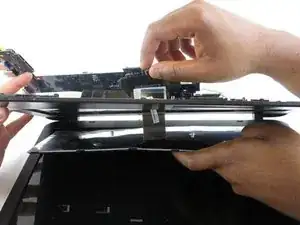
    • Carefully separate the securing tape from the ribbon attaching the keyboard to the motherboard.

    • At this point the keyboard will be free from the motherboard.

  15. E56V2WeyXFTRWDeD
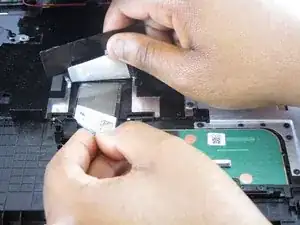
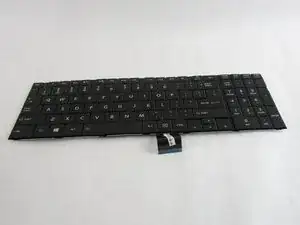
    • Slide the keyboard ribbon through its holding slot, completely releasing it from the laptop.

Conclusion

To reassemble your device, follow these instructions in reverse order.
Christopher White

Member since: 18/01/18

345 Reputation

0 comments