Introduction
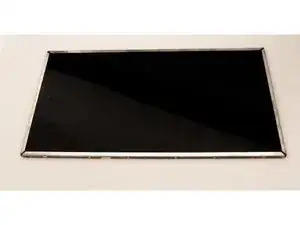
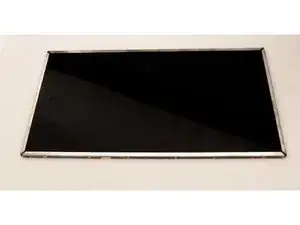
In this guide we will show you how to safely remove the screen of your Toshiba Satellite C55D device. If the screen of your device is cracked, it will be best to remove the screen for replacement. Removing the screen is a delicate process because of how fragile the material is. We aim to provide you with a step by step tutorial on how to easily remove the screen.
Tools
-
-
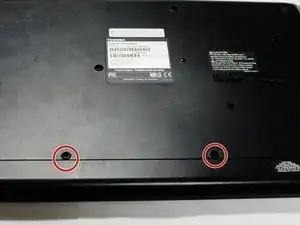
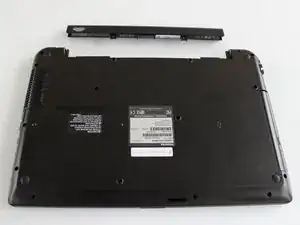
Turn the laptop upside down so the battery faces upwards.
-
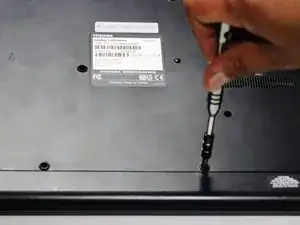
Remove the two 7 mm Phillips screws that secure the battery.
-
-
-
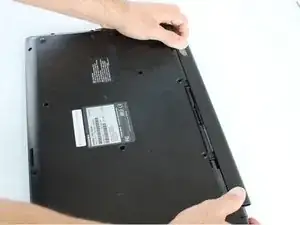
Place both thumbs on the outside edges of the battery that meet the device.
-
Push the battery out and away from the laptop.
-
-
-
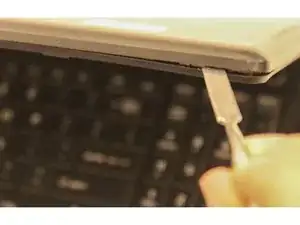
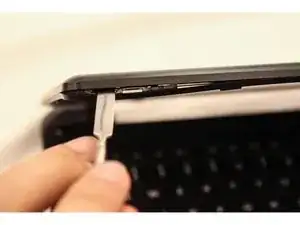
Use a spudger to pry the top corner of the casing by performing an upward motion.
-
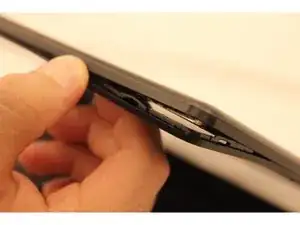
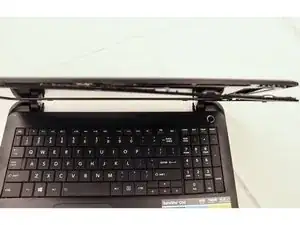
Continue to remove the casing using your hands.
-
-
-
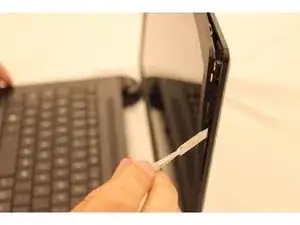
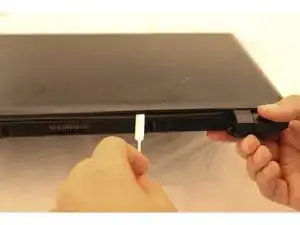
Slide the spudger down the side of the plastic screen casing until you hit a clip.
-
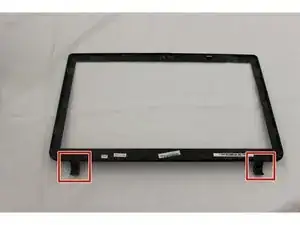
Use the spudger and release the screen clips.
-
-
-
Repeat steps 1 and 2 on the other side of the casing.
-
The top and sides of the casing should now be un-clipped from the monitor.
-
-
-
Gently close the monitor.
-
Turn the device around so the missing battery port is facing you.
-
Use the spudger and pry upward towards yourself.
-
-
-
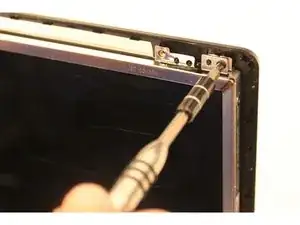
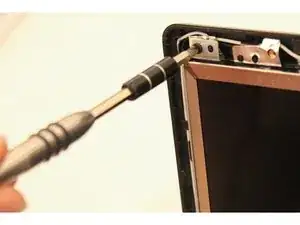
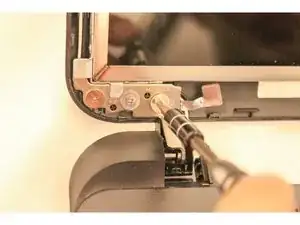
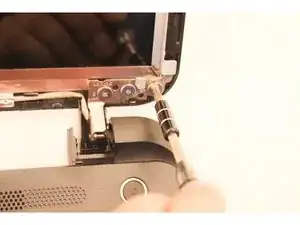
Use a Philips #1 screwdriver to remove the top left and right two 7 mm Phillips #1 screws by turning the screws counter clockwise.
-
-
-
Gently pull the screen one inch towards yourself.
-
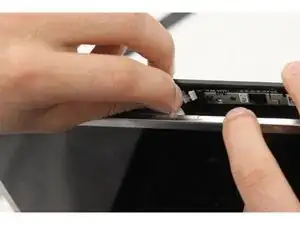
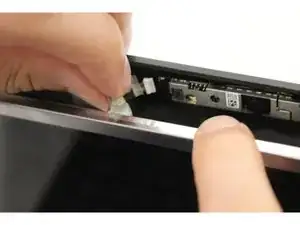
Detach the white cable from the camera in the center of the screen.
-
-
-
Use Phillips #0 screwdriver to remove the six, 2.5 mm screws on the bottom left and right, by rotating the screwdriver counterclockwise.
-
-
-
Gently pull the screen downward to separate the screen from the back screen casing.
-
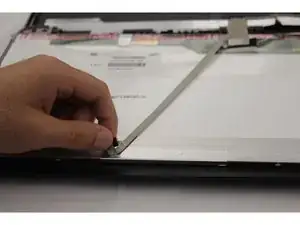
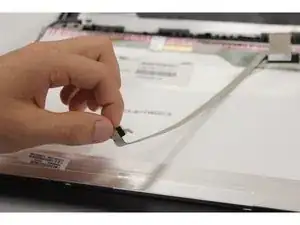
Gently grasp the cable that was removed from the camera and lift this cable upward.
-
-
-
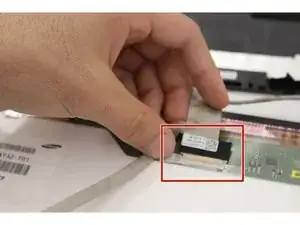
Grip the large end of the brown cable.
-
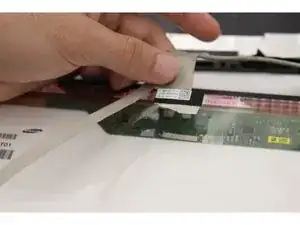
Peel off the beige colored tape. Do not worry about ripping this tape.
-
Detach the black connector from the screen.
-
-
-
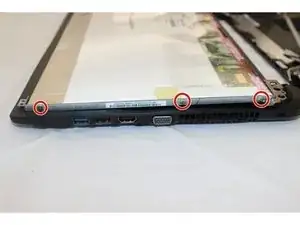
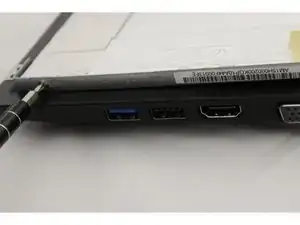
Use Phillips #0 screwdriver to remove three, 3 mm screws, on both side of the metal screen casing.
-
To reassemble your device, follow these instructions in reverse order.
