Introduction
Tools
Parts
-
-
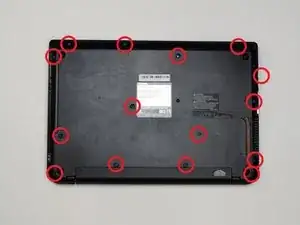
First, flip the laptop over and use the J1 screwdriver (in the iFixit tool kit) to unscrew the 15 screws indicated in the picture.
-
-
-
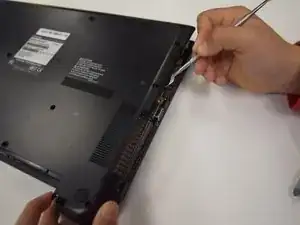
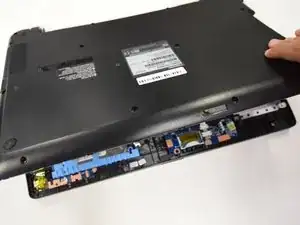
Next, move around the edges of the computer with the metal spudger prying off the casing. You should hear clicks as you do this; this is not the casing breaking, it is just popping off.
-
-
-
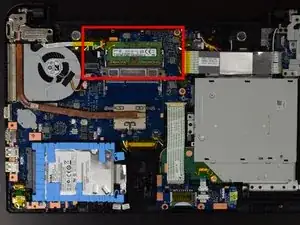
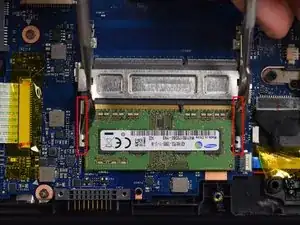
There are two clips holding the RAM in place.
-
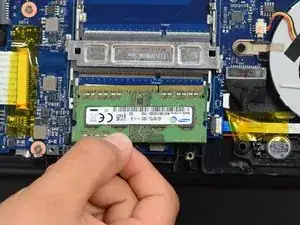
You will need to hold both of them back to be able to safely remove the RAM.
-
Conclusion
To reassemble your device, follow these instructions in reverse order.
One comment
This guide was done wonderfully. My critique for your group is to be more specific with the direction of how to pull/place the components of the device. Your instructions were simple, yet clear. Great work.
