Introduction

This guide shows you how to replace the RAM on a Toshiba C55-B5101 Satellite laptop. Often, a laptop has performance issues such as frequent freezing or crashing. The laptop can't handle large files or multiple applications at once. If you have these issues, it is time to upgrade the RAM. The RAM is responsible for temporary storage and multi-tasking. Upgrading or replacing the RAM will help with these functions.

Before beginning this guide, be sure to power off your laptop and unplug from the outlet or power source. This guide does not require any special skills.

  1. N6MI5jZBVa1OlfRL
    N6MI5jZBVa1OlfRL
    6mPbbsEZ4qgoVdqG
    oxJpEZqhZltPtLeI
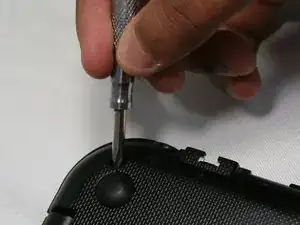
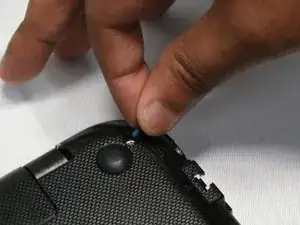
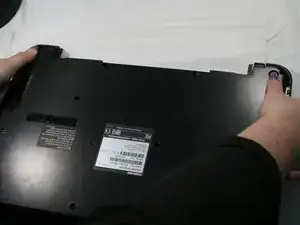
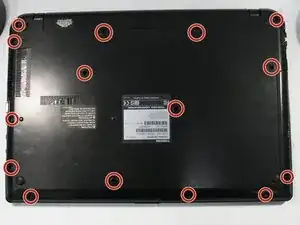
    • Use a Phillips #1 screwdriver to remove fifteen 7 mm screws from the back case.

    • Save all fifteen 7 mm screws in a safe place. The screws will be used in reassembly.

  2. ggRWdY5EnpDZloCs
    ggRWdY5EnpDZloCs
    UMTSCKtVLycS5Arf
    AQlZQSYpD5AiAC5Q
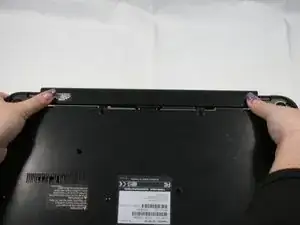
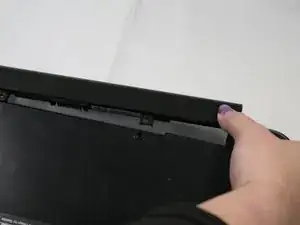
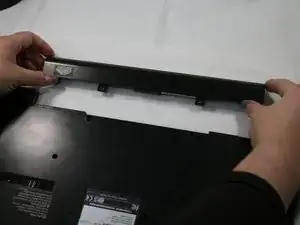
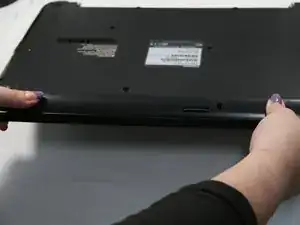
    • Use your thumbs to push the external battery out from the edge of the laptop.

    • Keep the battery in a safe place, as it will be needed for reassembly.

  3. xmDSYIrOu5nPhVqY
    xmDSYIrOu5nPhVqY
    C5WcoTBGN5u6jYUG
    pWCLaYTYRapK5E6t
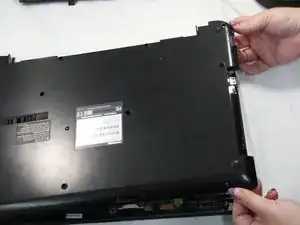
    • Use an opening tool in the seam between the top and bottom case to begin prying the back case from the device.

    • Continue around the perimeter of the laptop and release any clips with the opening tool.

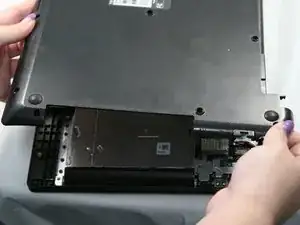
    • Pull off the back panel from the base starting on one side and working your way around.

    • Set the back panel aside.

  4. QwIOWwFq4FFASorJ
    QwIOWwFq4FFASorJ
    tP4DaonNXFPOncQA
    YSydrM25IGcpBtKr
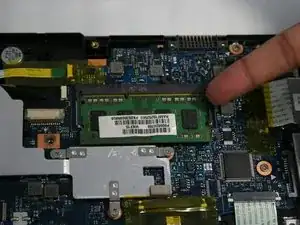
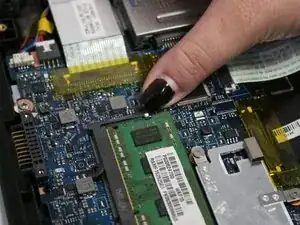
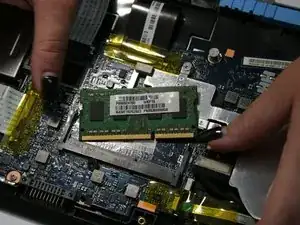
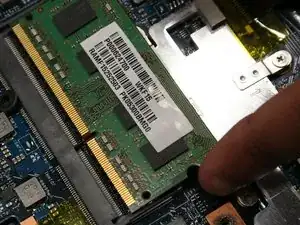
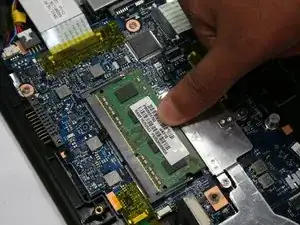
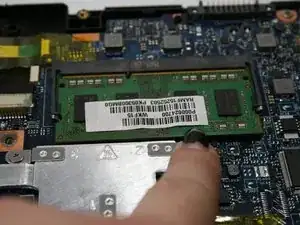
    • Simultaneously pull the tabs on each side of the RAM stick away from the center.

    • Once released the RAM stick should pop out at a 45 degree angle, making it easy to grasp and slide out.

  5. p35VDKbLLBRKeyC3
    p35VDKbLLBRKeyC3
    LIM3XW4FLsH4b1Y2
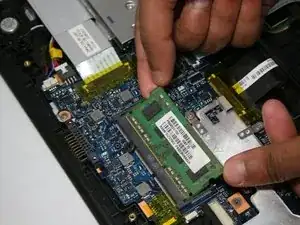
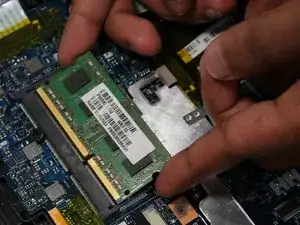
    • Gently slide the RAM stick out from the socket.

    • The stick should slide out easily.

    • Slide the RAM stick out at the released angle. Pulling it at an odd angle or too forcefully may risk bending the pins in the socket and damaging the laptop.

  6. RDYuHfDTc31tY4U1
    RDYuHfDTc31tY4U1
    neQebOlXNcfQ6MML
    4VHTM6GjuU2tSTQJ
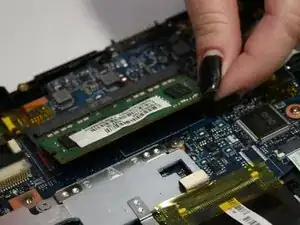
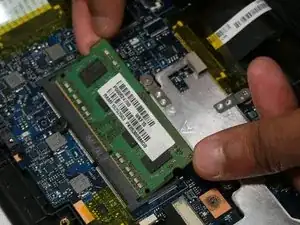
    • Hold the clips out a few millimeters while placing the new RAM stick back into.

    • Be sure the RAM is lined up properly with the connector to avoid damaging the pins.

  7. chHk4DoYoLQIOx32
    chHk4DoYoLQIOx32
    xT4IVBD4KHyuaPP5
    pEpbfHZOaDgW4mpL
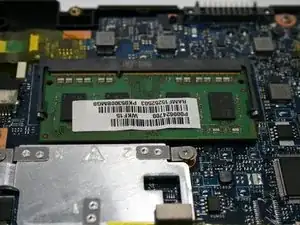
    • Press down on the back of the RAM until a "click" sound is heard.

    • The new stick is now in place.

    • The new RAM stick should lie flat.

  8. PUIo3sGWiNGUNvVS
    PUIo3sGWiNGUNvVS
    Lm2sprUYDSbLWGfG
    tYsEGJ2NwAvRYWaU
    • Reassemble the back case.

Conclusion

To reassemble your device, follow these instructions in reverse order.
Kelly knight

Member since: 29/08/23

157 Reputation

0 comments