Introduction

This guide will show you how to disassemble the parts necessary to remove and replace the screen.

  1. TWLNGKDracWpFTFa
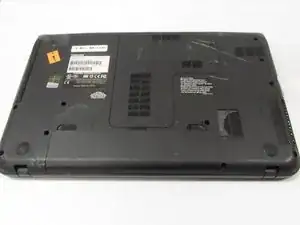
    • Power down the laptop and remove all power cords. After this is done, turn the laptop over.

  2. QhRPEUrPEOmJfCwM
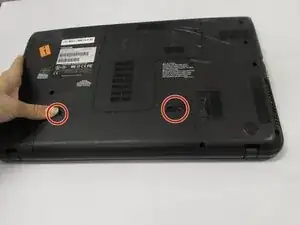
    • Slide the battery latches outwards away from the center of the device.

    • The right latch will slide to the right, and left latch to the left.

  3. 321RCbYniFgqDvS3
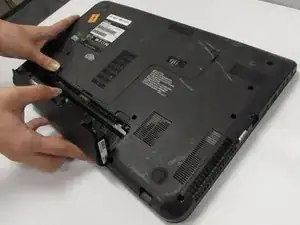
    • Lift and remove the battery from the device.

  4. dsXPeBRe44usmuyr
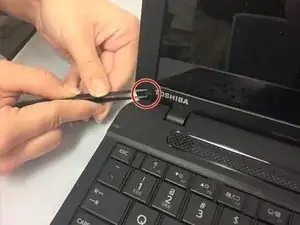
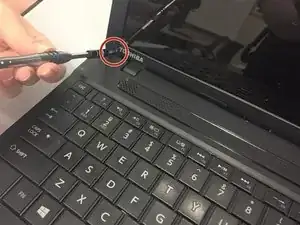
    • Use tweezers to remove the screw covers in the lower corners of the screen.

  5. IELE4bx3Bh4syvFl
    • Use the Phillips #1 screwdriver to unscrew the two screws in the lower corners of the screen.

  6. H1kSqDc2exr5YL1y
    H1kSqDc2exr5YL1y
    VJwyskSXFsa5hVeB
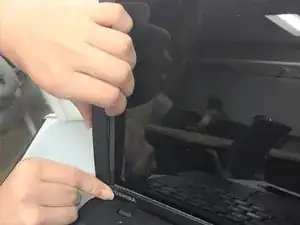
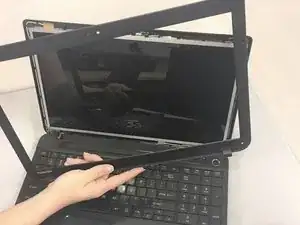
    • Start popping off the cover all the way around the screen until it comes off.

  7. TeRKBmPxM41we44N
    TeRKBmPxM41we44N
    NMOJwHZFDIDfHiFs
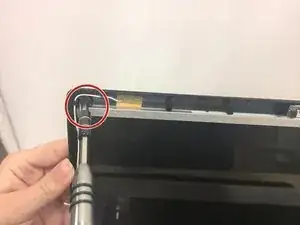
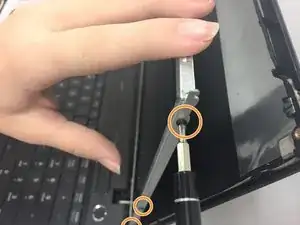
    • Remove the two screws in the top corners with a Phillips #1 screwdriver. The screen will pop forward after removing the two screws.

    • Using the same Phillips #1 screwdriver, remove the three screws on the side of screen frame.

  8. qCLmU4F5inRxm1Re
    qCLmU4F5inRxm1Re
    FwHRKgAgble4bdv3
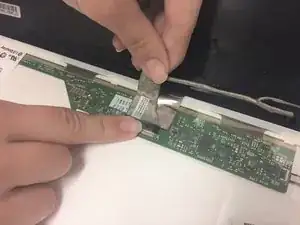
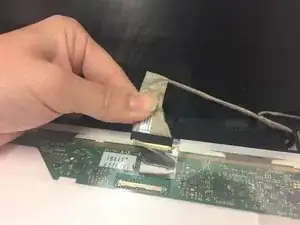
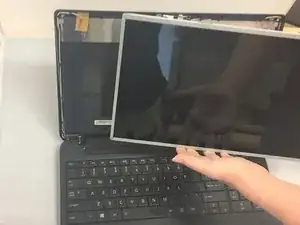
    • On the back of screen, lift up the plastic film and screen connector. Pop out the connector, and gently remove the screen.

Conclusion

To reassemble your device, follow these instructions in reverse order.
Nicole Hague

Member since: 10/04/18

572 Reputation

0 comments