Introduction

This guide will teach you how to disassemble the device in order to replace the Keyboard.

  1. TWLNGKDracWpFTFa
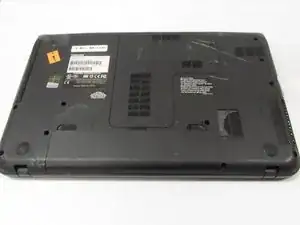
    • Power down the laptop and remove all power cords. After this is done, turn the laptop over.

  2. QhRPEUrPEOmJfCwM
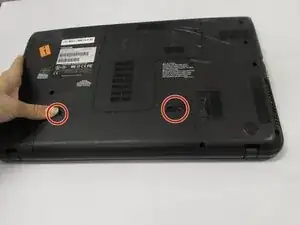
    • Slide the battery latches outwards away from the center of the device.

    • The right latch will slide to the right, and left latch to the left.

  3. 321RCbYniFgqDvS3
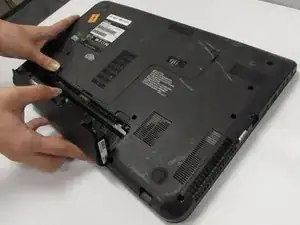
    • Lift and remove the battery from the device.

  4. dKnq24aYW2nYJDQb
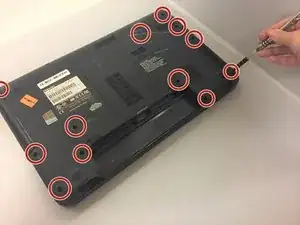
    • Use the Phillips #1 screwdriver to unscrew the thirteen screws on the back of your device.

  5. mpaa2NBKAeyv2N1E
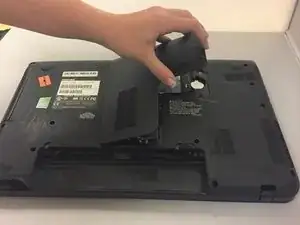
    • Remove the middle plastic cover to expose the hard drive.

  6. HoupO1TCPnbAtGtl
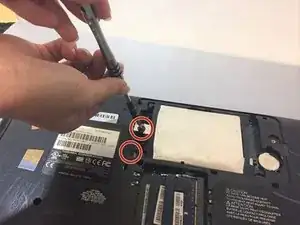
    • Using the Phillips #1 screwdriver, remove the two screws holding the hard drive in place.

  7. sAiCDoCUXneEUyFj
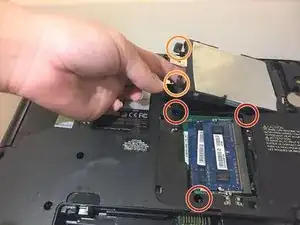
    • Remove the three screws using the Phillips #1 screwdriver.

    • Insert you fingers into the rubber ends and gently pull the hard drive out of the device.

  8. UY5miHNMJUkTEWbs
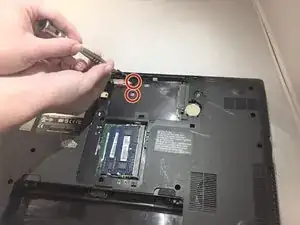
    • Use the Phillips #1 screwdriver to remove the two screws under the hard drive.

  9. W4ULddE2sYXstaOg
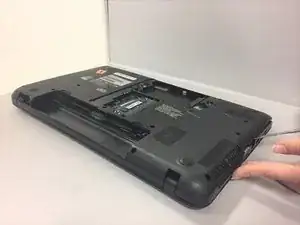
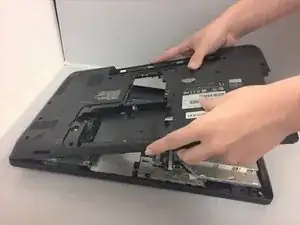
    • Use a metal spudger and run it along the edges of the computer to take off the plastic back cover. (Starting near a port usually allows more space for the spudger to be inserted)

  10. EvSjhcFcfVUm5mwe
    • Slowly work from one end to the other to lift the back cover off.

  11. LLLKSuIOeABDMprX
    LLLKSuIOeABDMprX
    fBahX21GNkEtORMC
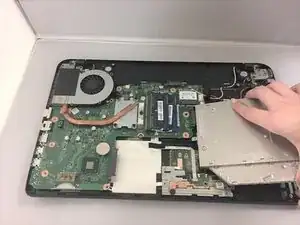
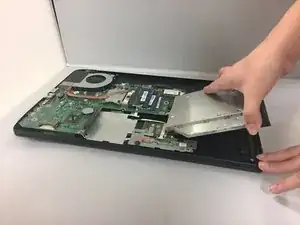
    • Grab hold of the optical drive and elevate it slightly and remove it from the computer.

  12. HVTKgAh2PEPCZONm
    HVTKgAh2PEPCZONm
    PZx1eWR3XkSWhe42
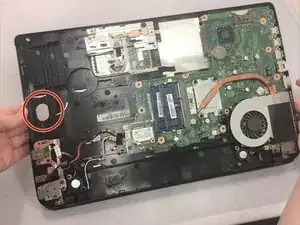
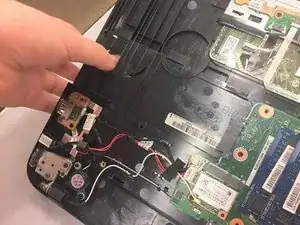
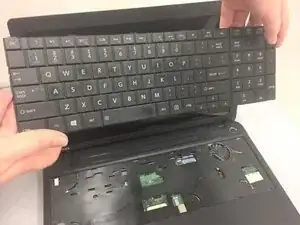
    • Using your thumb, apply a light amount of pressure to the underside of the keyboard until it pops out a bit.

  13. uNVKgWKfKNHmKl2S
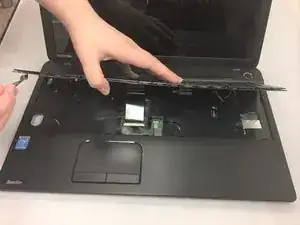
    • Using the metal spudger, carefully pry up the edges of the keyboard.

  14. ORPZykTCF6hpWMZl
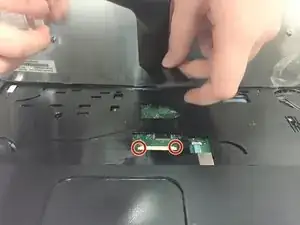
    • Shift the small tabs on either side of the ribbon outwards to release the end of the ribbon.

    • Gently remove the keyboard from the device.

Conclusion

To reassemble your device, follow these instructions in reverse order.
Nicole Hague

Member since: 10/04/18

572 Reputation

0 comments