Introduction
A common problem with laptop computers is that the CD drive can stop working. Whether that is from physical damage, defects, or a malfunction of the CD drive. When the CD drive stops working properly it can be replaced relatively easy.
Tools
-
-
Make sure the device is unplugged, completely off, and not warm to the touch.
-
Check for any visible battery defects such as bulges, bends or cracking as they could be signs of a leaking or deformed battery.
-
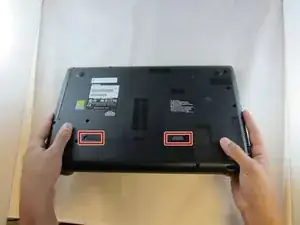
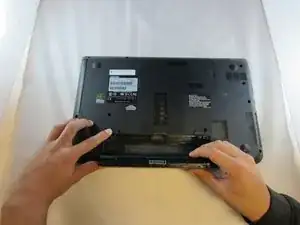
Flip device over and locate two switches on the back of the device.
-
-
-
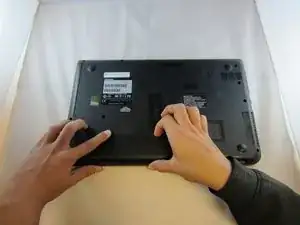
Slide switch 1 towards the unlock symbol on the device (switch should click into place).
-
Slide switch 2 towards the unlocked symbol on the device.
-
While holding switch 2 in the unlocked position, use the notch located at the top of the battery to pull battery out and away from the device.
-
-
-
Make sure that the device is unplugged, completely off, and that the device is not warm to the touch.
-
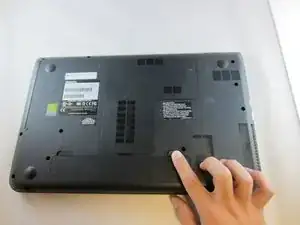
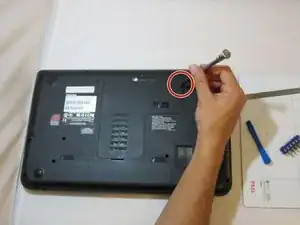
Flip the device over so you see the bottom, and loosen the 5mm PH#1 screw on the L shaped access panel.
-
-
-
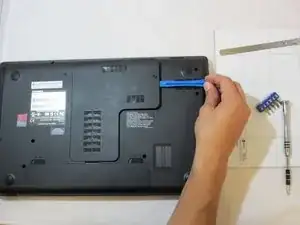
Use the plastic opening tool to open access panel by sliding it into notch near screw and prying access panel(L-shaped) away from device.
-
Pull panel completely free from device and set aside.
-
-
-
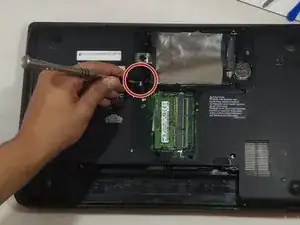
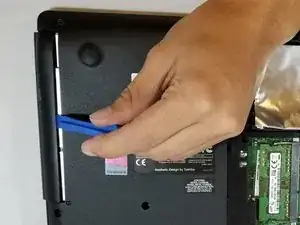
Using the plastic opening tool, pry the CD drive up.
-
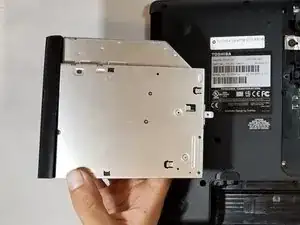
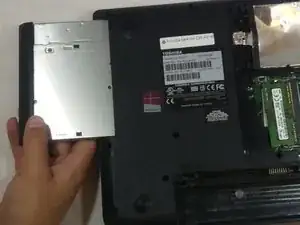
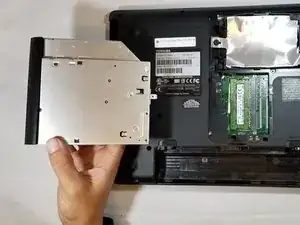
Once the CD drive is partially separated from the device, grasp with your hand and slide it out of the slot.
-
To reassemble your device, follow these instructions in reverse order.
