Introduction
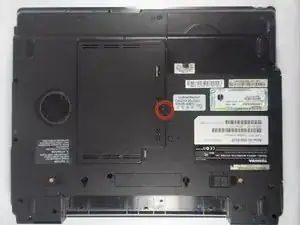
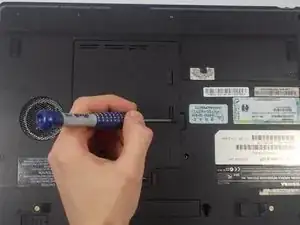
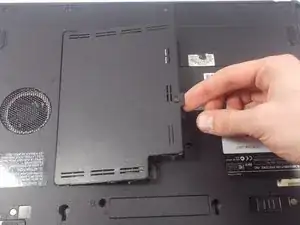
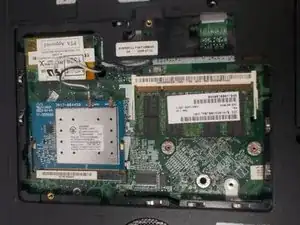
This guide will demonstrate how to install the wireless card in your Toshiba A85-S107 15" Laptop.
Tools
Parts
-
-
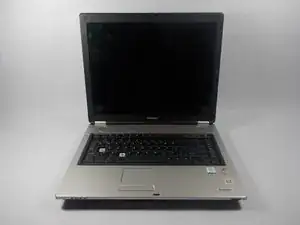
Flip the laptop over and orient it such that the battery faces towards you and the front faces away from you as shown in the diagram.
-
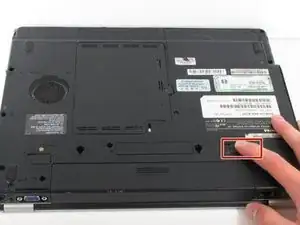
Unlock the battery by sliding the tab shown to the right.
-
This tab will latch into place.
-
-
-
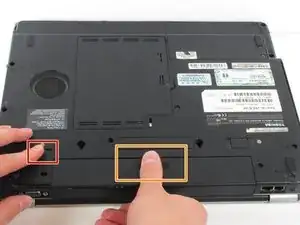
Slide the tab shown to the left and remain holding it.
-
Place your thumb on the grips of the battery as shown.
-
While holding onto the grips, pull the battery towards you and away from the laptop.
-
-
-
The computer should be open with many of the internal components shown. You can now access the RAM, and wireless card.
-
-
-
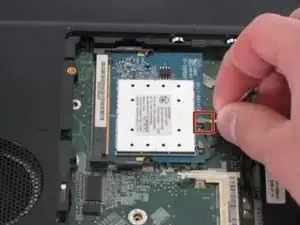
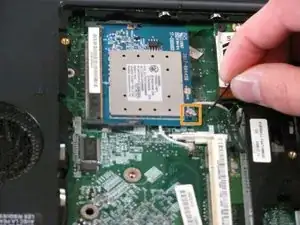
Carefully pull the white auxiliary wire out of its socket on the wireless card.
-
Now repeat this step with the black auxiliary wire.
-
-
-
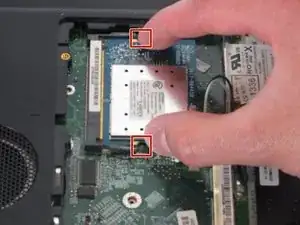
Push the two black tabs, located on the sides of the card, away from the card.
-
The right side of the wireless card should now pop out of its holder.
-
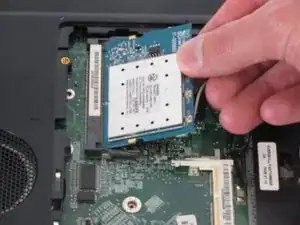
Pull the wireless card out by lifting it from the dock and sliding it towards the right.
-
To reassemble your device, follow these instructions in reverse order.
