Introduction
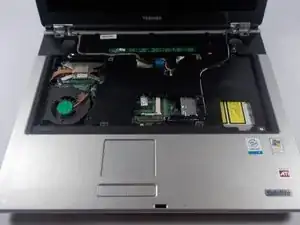
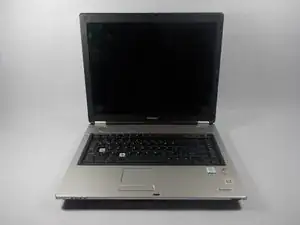
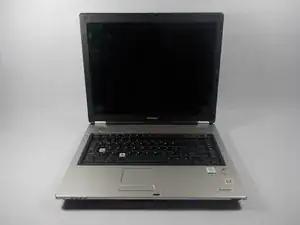
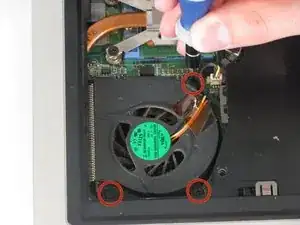
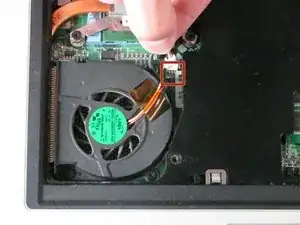
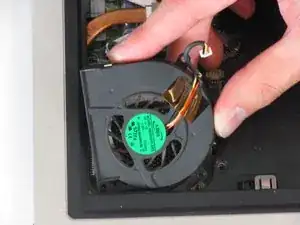
Use this guide to replace or install the fan in your Toshiba laptop.
Tools
-
-
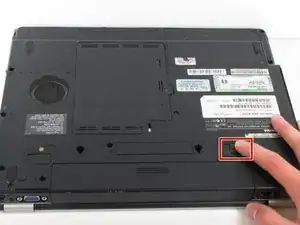
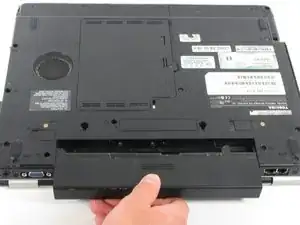
Flip the laptop over and orient it such that the battery faces towards you and the front faces away from you as shown in the diagram.
-
Unlock the battery by sliding the tab shown to the right
-
-
-
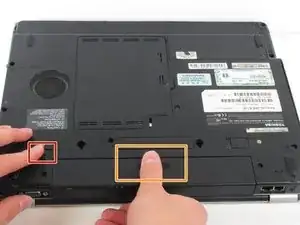
Slide the tab shown to the left and remain holding it.
-
Place your thumb on the grips of the battery as shown.
-
While holding onto the grips, pull the battery towards you and away from the laptop.
-
-
-
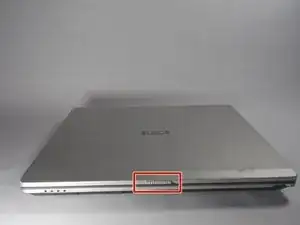
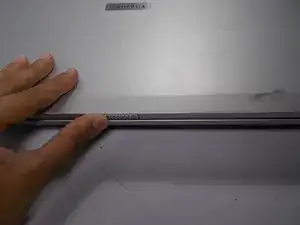
Unlock the laptop by sliding the front tab to the right.
-
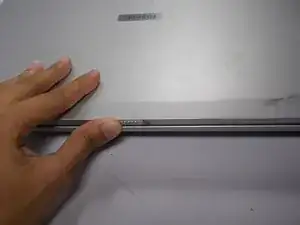
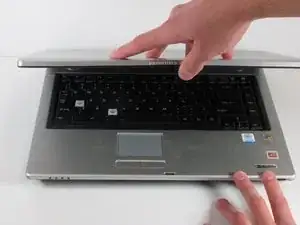
Open the laptop by lifting the screen up while holding the tab in place.
-
-
-
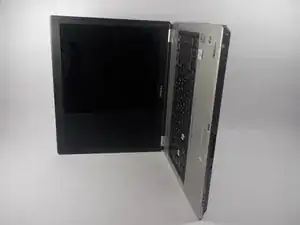
Place the laptop on its left side with the disk drive facing up and the screen open completely.
-
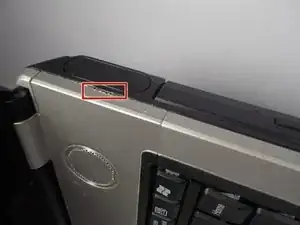
Locate the rectangular slot on the side of the laptop just above the disk drive.
-
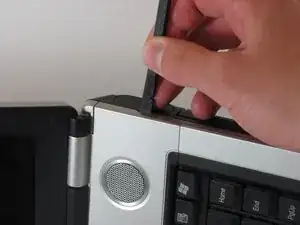
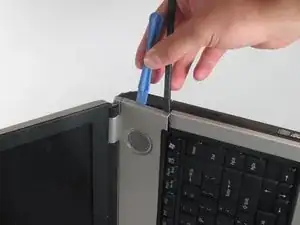
Insert the flat end of the spudger into the rectangular slot.
-
-
-
Insert the opening tool into the rectangular slot with the spudger.
-
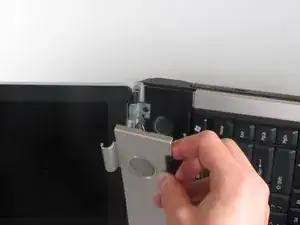
Pry off the top part of the laptop's case (above the keyboard) containing the speakers by using both the spudger and opening tool to push the case away from the computer.
-
Once the top part of the laptop's case has been popped off, use your hands to remove it.
-
-
-
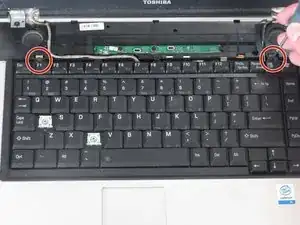
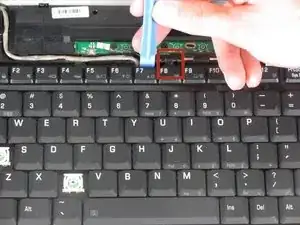
Unhook the plastic tab at the top of the keyboard using the plastic opening tool to pry the top of the keyboard up.
-
-
-
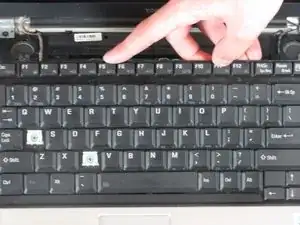
Lift up the keyboard from the back end where the function keys are located.
-
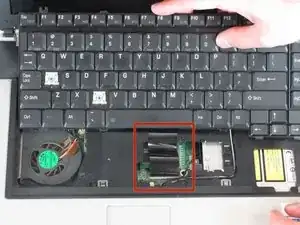
Slide the keyboard out towards the screen.
-
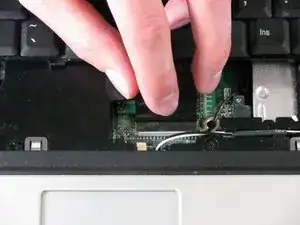
Be careful not to rip the ribbon out of its port.
-
To reassemble your device, follow these instructions in reverse order.
