Introduction

  1. DQQEX5R3VuuuDSMZ
    DQQEX5R3VuuuDSMZ
    EovTqu6lhI1Rgf4q
    6tF1CaqUfNspD53Z
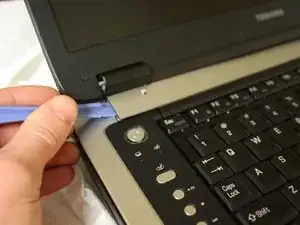
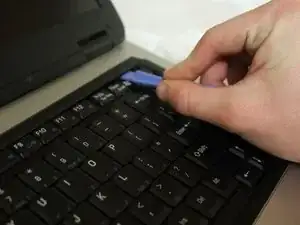
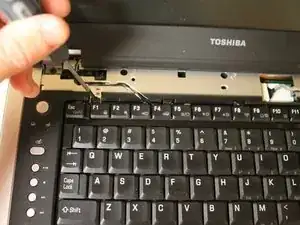
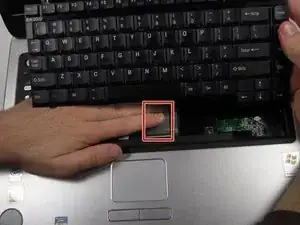
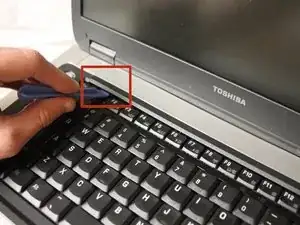
    • Use the plastic opening tool to lift up the top panel all the way along the keyboard until it loosens.

    • It may be helpful to first pry at the rear of the hinge covers (not shown) to release them. Then Insert the plastic opening tool underneath the top panel's sides and then front edge.

  2. E6SIqotbAmFpMvMI
    E6SIqotbAmFpMvMI
    XZLeTRFypmMKKJ11
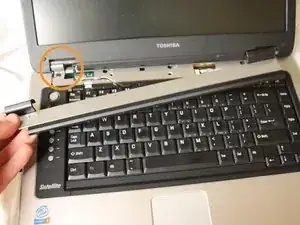
    • Remove the top panel by popping the panel out the top left socket, then do the same with the right side.

  3. K1psOEBT6prn5Sq2
    K1psOEBT6prn5Sq2
    U6LHlWbTDchyYuA2
    2WNs1VrSr12Y4OLi
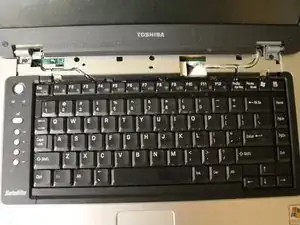
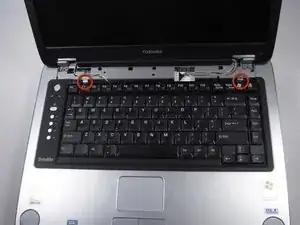
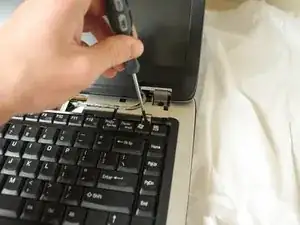
    • Remove the two 3.67 mm screws from the top corners of the keyboard.

  4. 4YOyaXMIHXdORCBJ
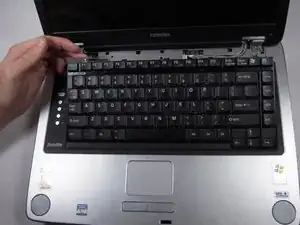
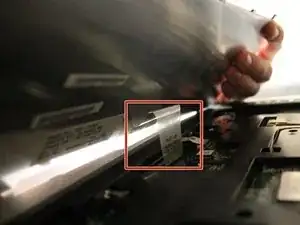
    • Use fingers to lift up the keyboard from the top.

    • Do not try to remove the keyboard completely because it is still attached to the motherboard.

  5. JheEhn56wNugpKTQ
    JheEhn56wNugpKTQ
    IYoDAWiqsxsEDaFr
    A3HQyJACuJ1i5WwM
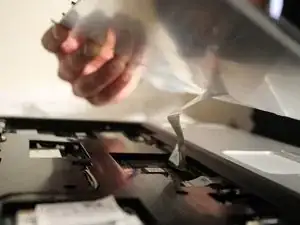
    • Remove the cable connecting the keyboard with the motherboard.

    • Be aware of the locking tabs on each side of the ribbon-cable connector—they slide back about 2mm to free the cable.

    • Lift up and remove the keyboard.

Conclusion

To reassemble your device, follow these instructions in reverse order.
Garrett Gudgel

Member since: 05/10/10

763 Reputation

0 comments